
If you have a couple of pears and a sheet of puff pastry, you HAVE to make this Pear Galette with Puff Pastry! It's filled with sweet cinnamon pears, nutty brown butter, and wrapped in the most delicious golden, flaky crust. SO GOOD!
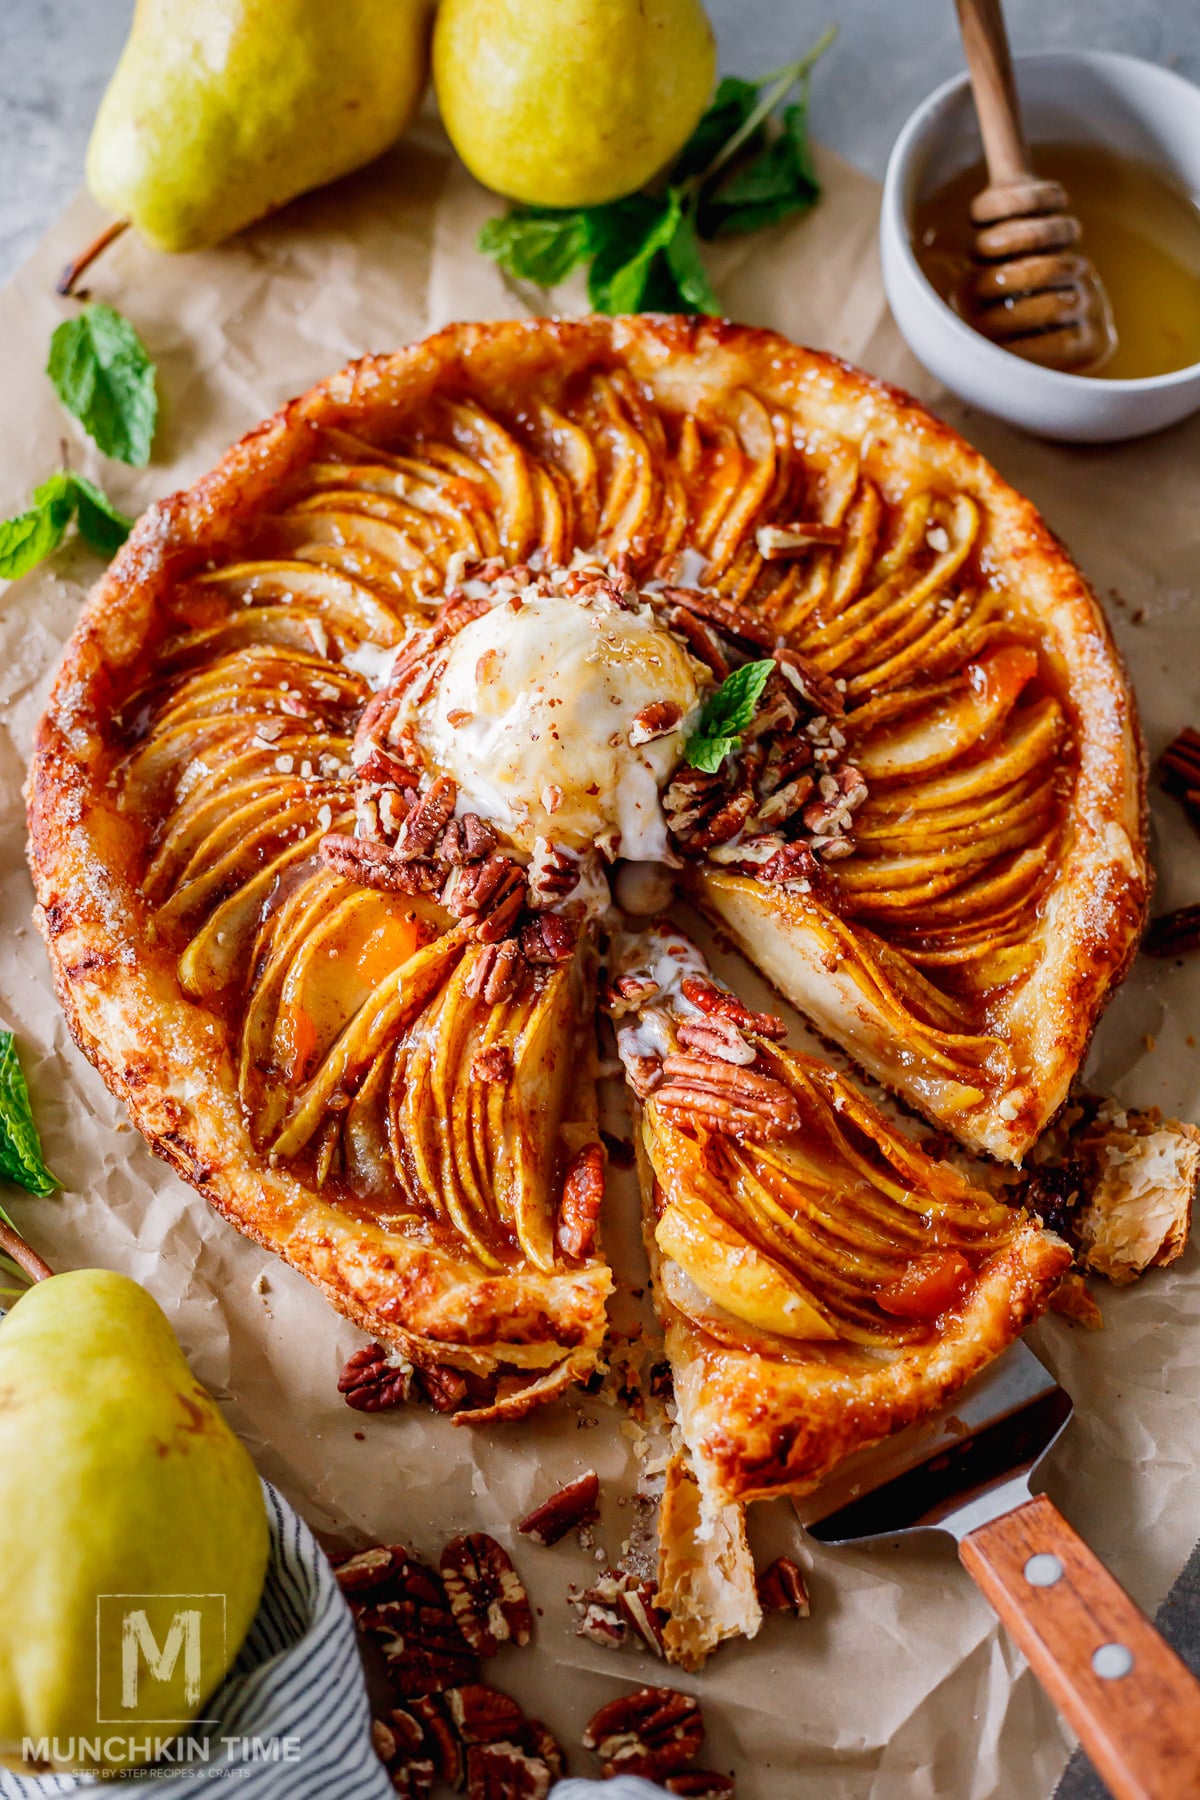
And the best part? You don't have to make pie crust from scratch!
I used Bartlett pears for this recipe, and I love how sweet and tender they get in the oven. The brown butter adds this amazing caramel-like flavor, and when you add a scoop of vanilla ice cream on top... oh my goodness!
Seriously, this is one of those desserts that looks like you spent hours making it, but it's actually SO simple.
I love making desserts like this when I want something homemade without spending all afternoon in the kitchen. And you don't even need a pie dish! Just fold the pastry around the pears, pop it in the oven, and let it bake until beautifully golden.
If you love easy fruit desserts like my Grilled Peaches with Ice Cream, I think you're going to love this one, too!
It's perfect for Thanksgiving, a cozy fall weekend, or anytime you're craving something sweet.
Jump to:
- Why You'll Love This Easy Pear Galette
- What Is a Pear Galette?
- Ingredients You'll Need
- What Are the Best Pears for a Galette?
- How to Make Pear Galette with Puff Pastry
- Expert Tips for a Perfect Pear Galette
- Easy Variations
- What to Serve with Pear Galette
- How to Store and Reheat Pear Galette
- Frequently Asked Questions
- More Easy Dessert Recipes You'll Love
- If You Make This Pear Galette...
- 📖 Recipe
Why You'll Love This Easy Pear Galette
- No homemade pie crust! Store-bought puff pastry makes this recipe so easy, and it bakes up beautifully flaky and buttery.
- Made with fresh Bartlett pears. They're naturally sweet, juicy, and delicious with warm cinnamon.
- Brown butter adds so much flavor. That nutty, caramel-like flavor makes this simple dessert taste extra special.
- No special baking pan needed. All you need is a baking sheet and parchment paper.
- Perfect for entertaining. It looks beautiful on a dessert table, especially served warm with vanilla ice cream.
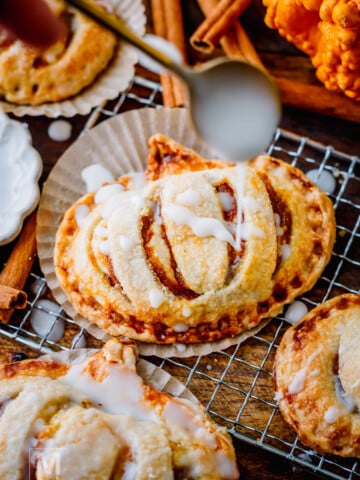
And if you love making pretty little desserts for fall, you should also try my Pumpkin Cream Cheese Hand Pies. They're another favorite for cozy baking days!
What Is a Pear Galette?
A pear galette is basically a rustic, free-form pear tart. Instead of baking it in a pie dish, you arrange sliced pears in the center of the pastry and fold the edges over the filling.
That's it!
And here's what I love about it: you don't have to worry about making the crust look perfect. Those little uneven folds are part of what makes a galette so pretty.
Traditional galettes are usually made with pie dough, but I use puff pastry because it's such an easy shortcut.
As it bakes, the pastry becomes golden and flaky while the cinnamon pears turn soft and sweet.
It's like a delicious combination of pear pie and a buttery bakery pastry!
Ingredients You'll Need
You only need a few simple ingredients to make this puff pastry pear galette, and you probably already have most of them in your kitchen!
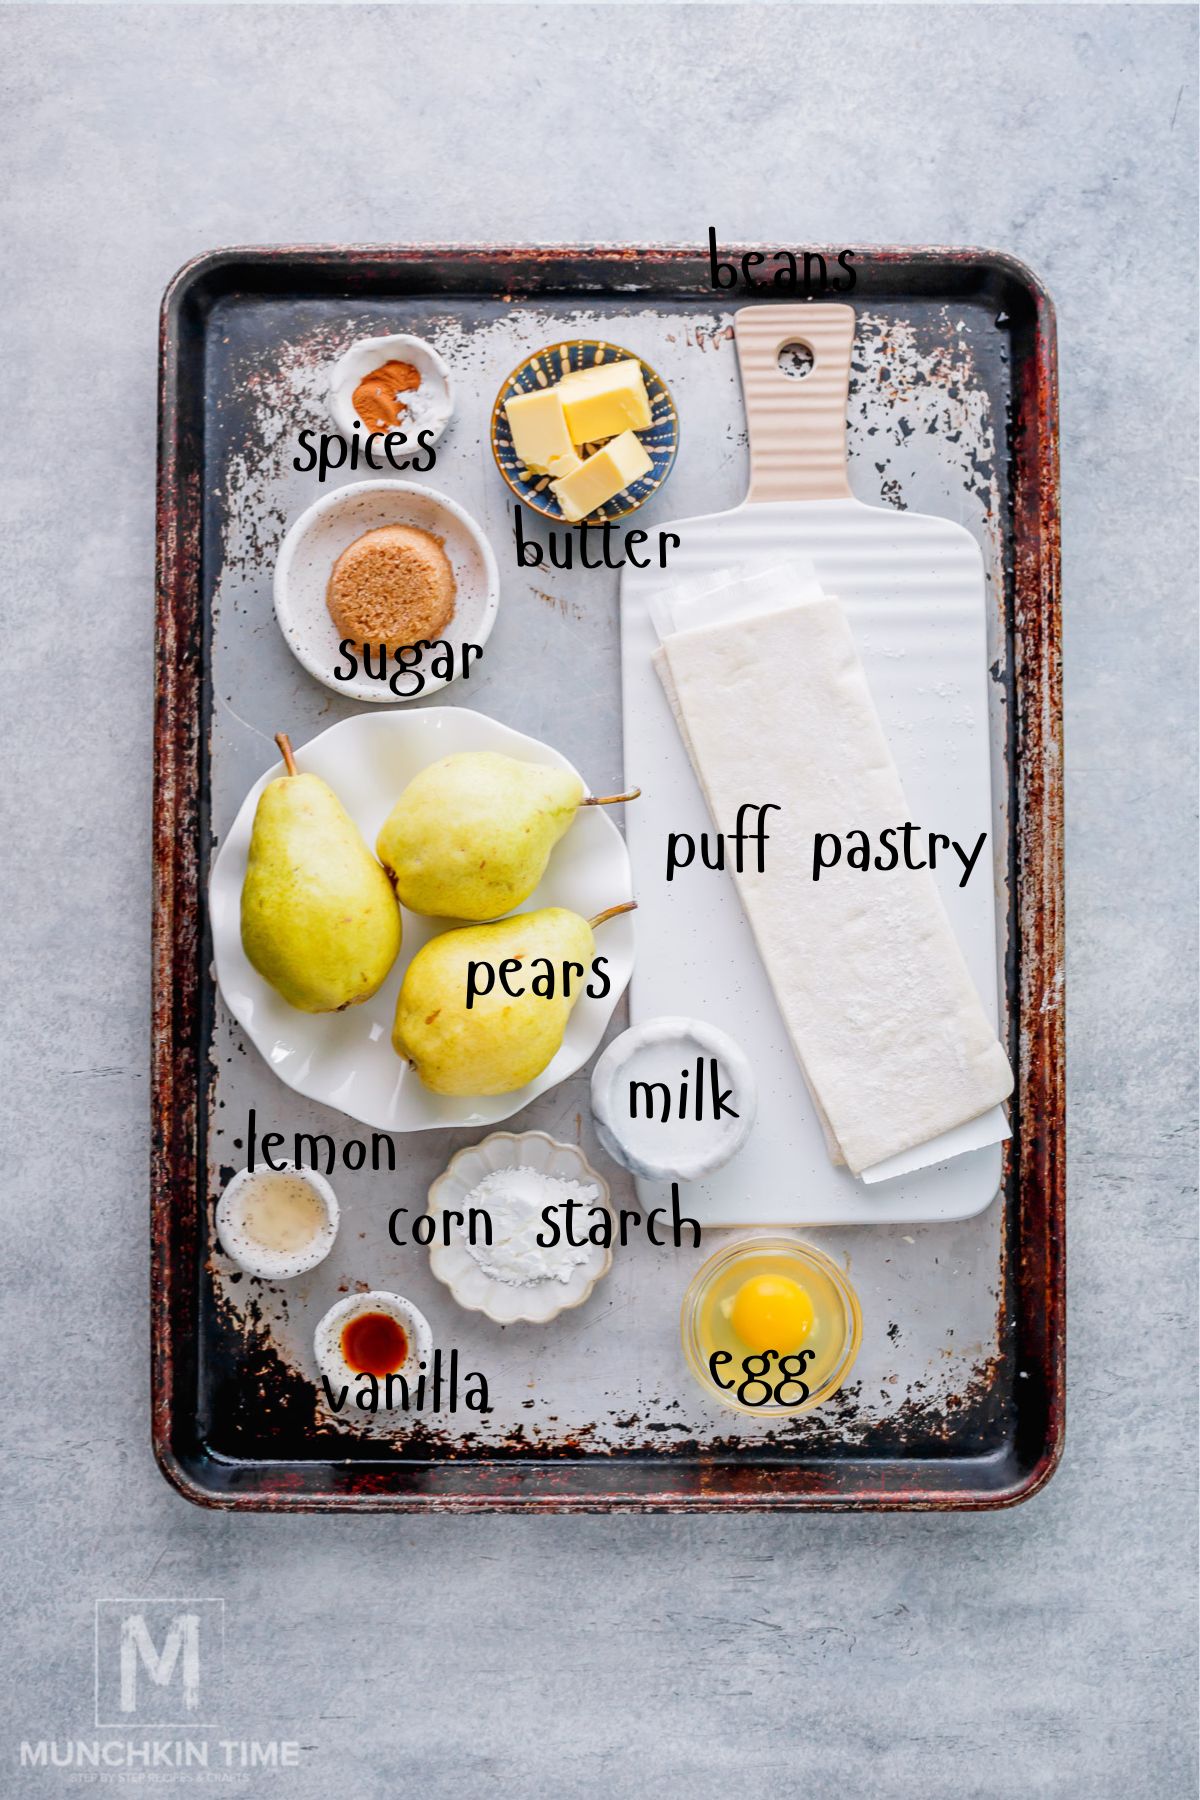
- Puff pastry: I use store-bought puff pastry to keep things easy. Make sure it's thawed but still cold so it bakes up nice and flaky.
- Bartlett pears: These are the pears I used! They're sweet, juicy, and become wonderfully tender when baked. Choose pears that are ripe but still slightly firm.
- Unsalted butter: We're going to brown the butter for that delicious nutty flavor. Trust me, it's worth the extra few minutes!
- Brown sugar: Adds sweetness and a lovely caramel flavor to the pears.
- Cornstarch: Helps thicken the juices from the pears so the pastry doesn't get soggy.
- Ground cinnamon: Gives the filling that warm, cozy flavor that's SO good with pears.
- Vanilla extract: Adds a little extra sweetness and warmth.
- Lemon juice: Brightens the flavor and helps keep the sliced pears from browning.
- Salt: Just a pinch helps balance everything.
- Egg and milk: We'll whisk these together to brush over the pastry for that beautiful golden crust.
- Coarse sugar: Optional, but I love adding a little for extra crunch.
- Apricot preserves: Gives the finished pears a beautiful, glossy bakery-style finish.
- Vanilla ice cream: My favorite way to serve this dessert!
Scroll down to the recipe card for the exact measurements.
What Are the Best Pears for a Galette?
I used Bartlett pears, and they work beautifully in this recipe!
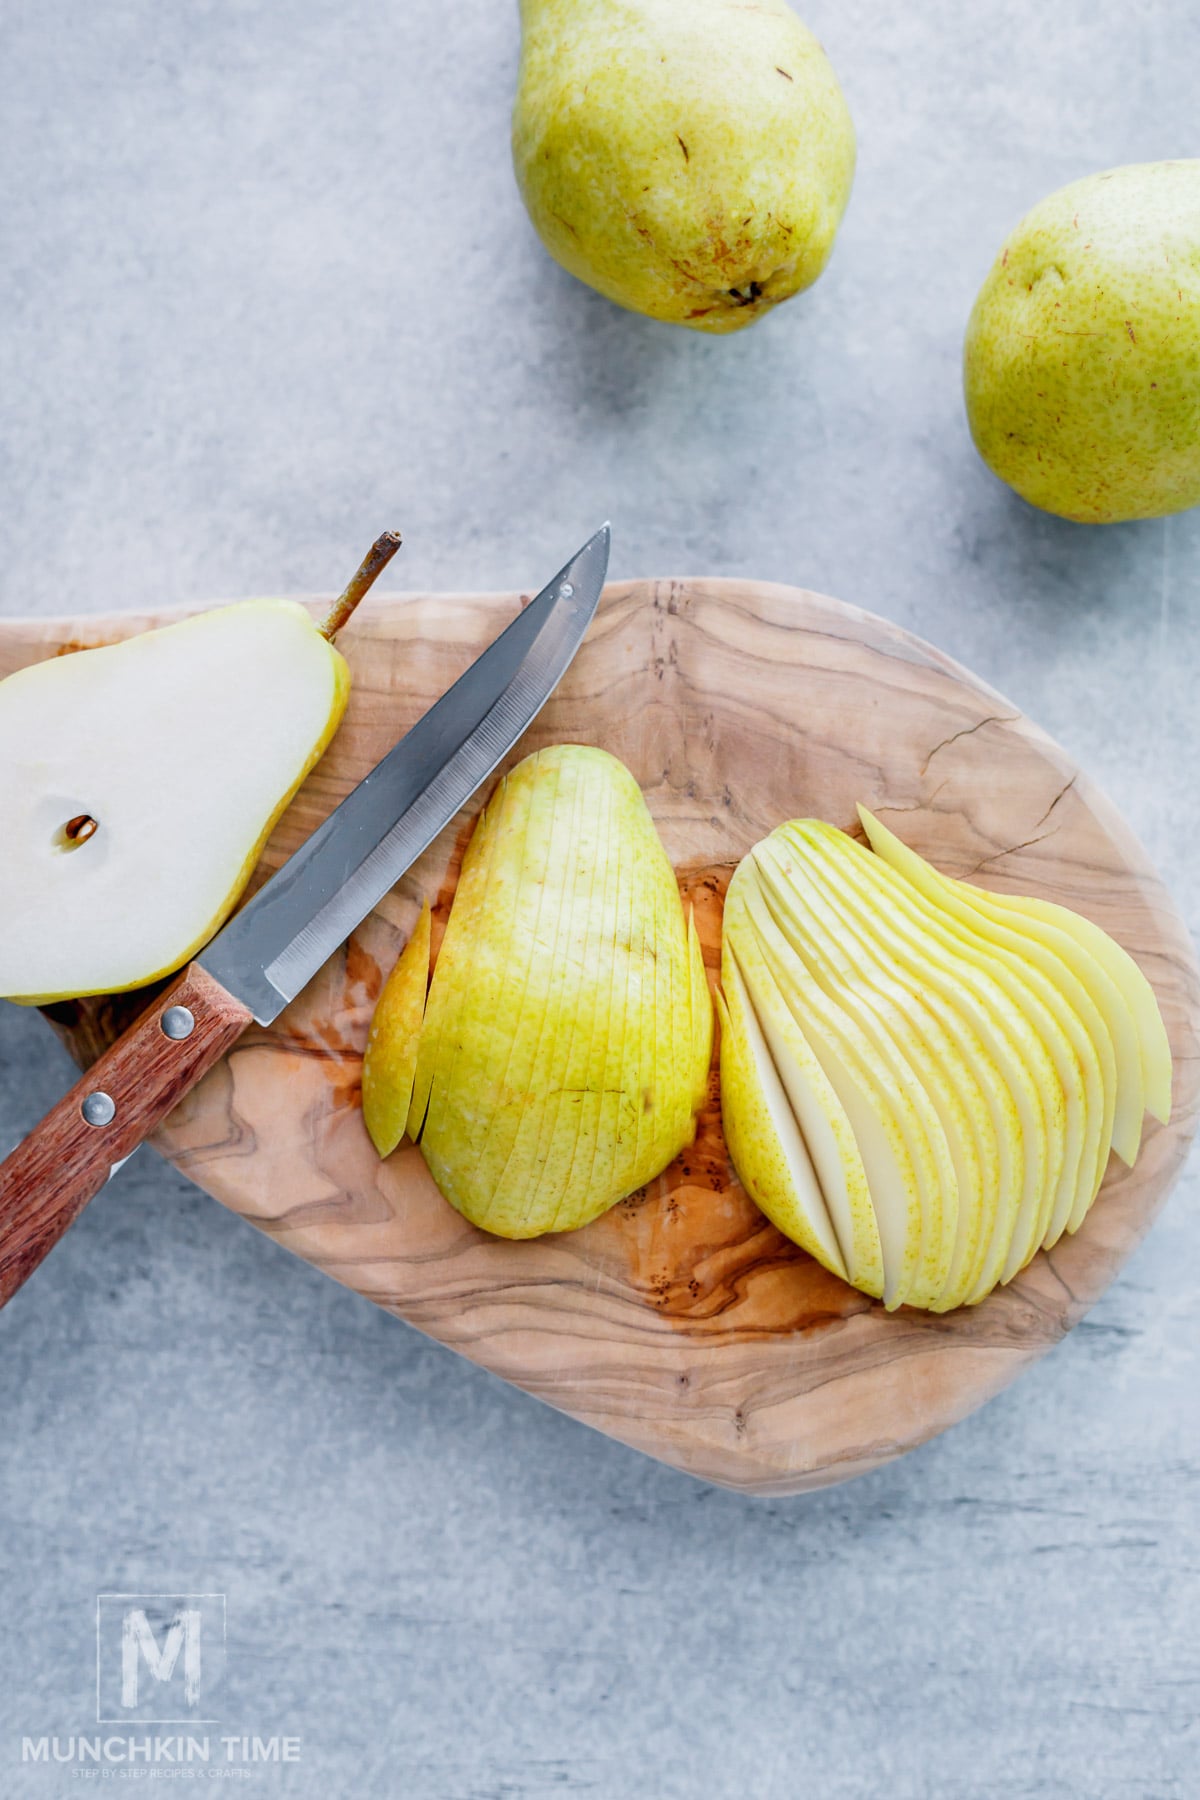
They're naturally sweet and juicy, and I love how tender they become when baked with cinnamon and brown butter.
One thing to keep in mind is that Bartlett pears can get pretty soft when they're fully ripe, so I recommend choosing ones that still feel slightly firm.
You want them ripe enough to taste sweet but not so soft that they fall apart when you slice them.
You can also use Bosc or Anjou pears if that's what you have.
How to Make Pear Galette with Puff Pastry
Don't let those pretty layers of pears fool you! This dessert is surprisingly easy to make.
Here's how I do it.
Step 1: Brown the Butter
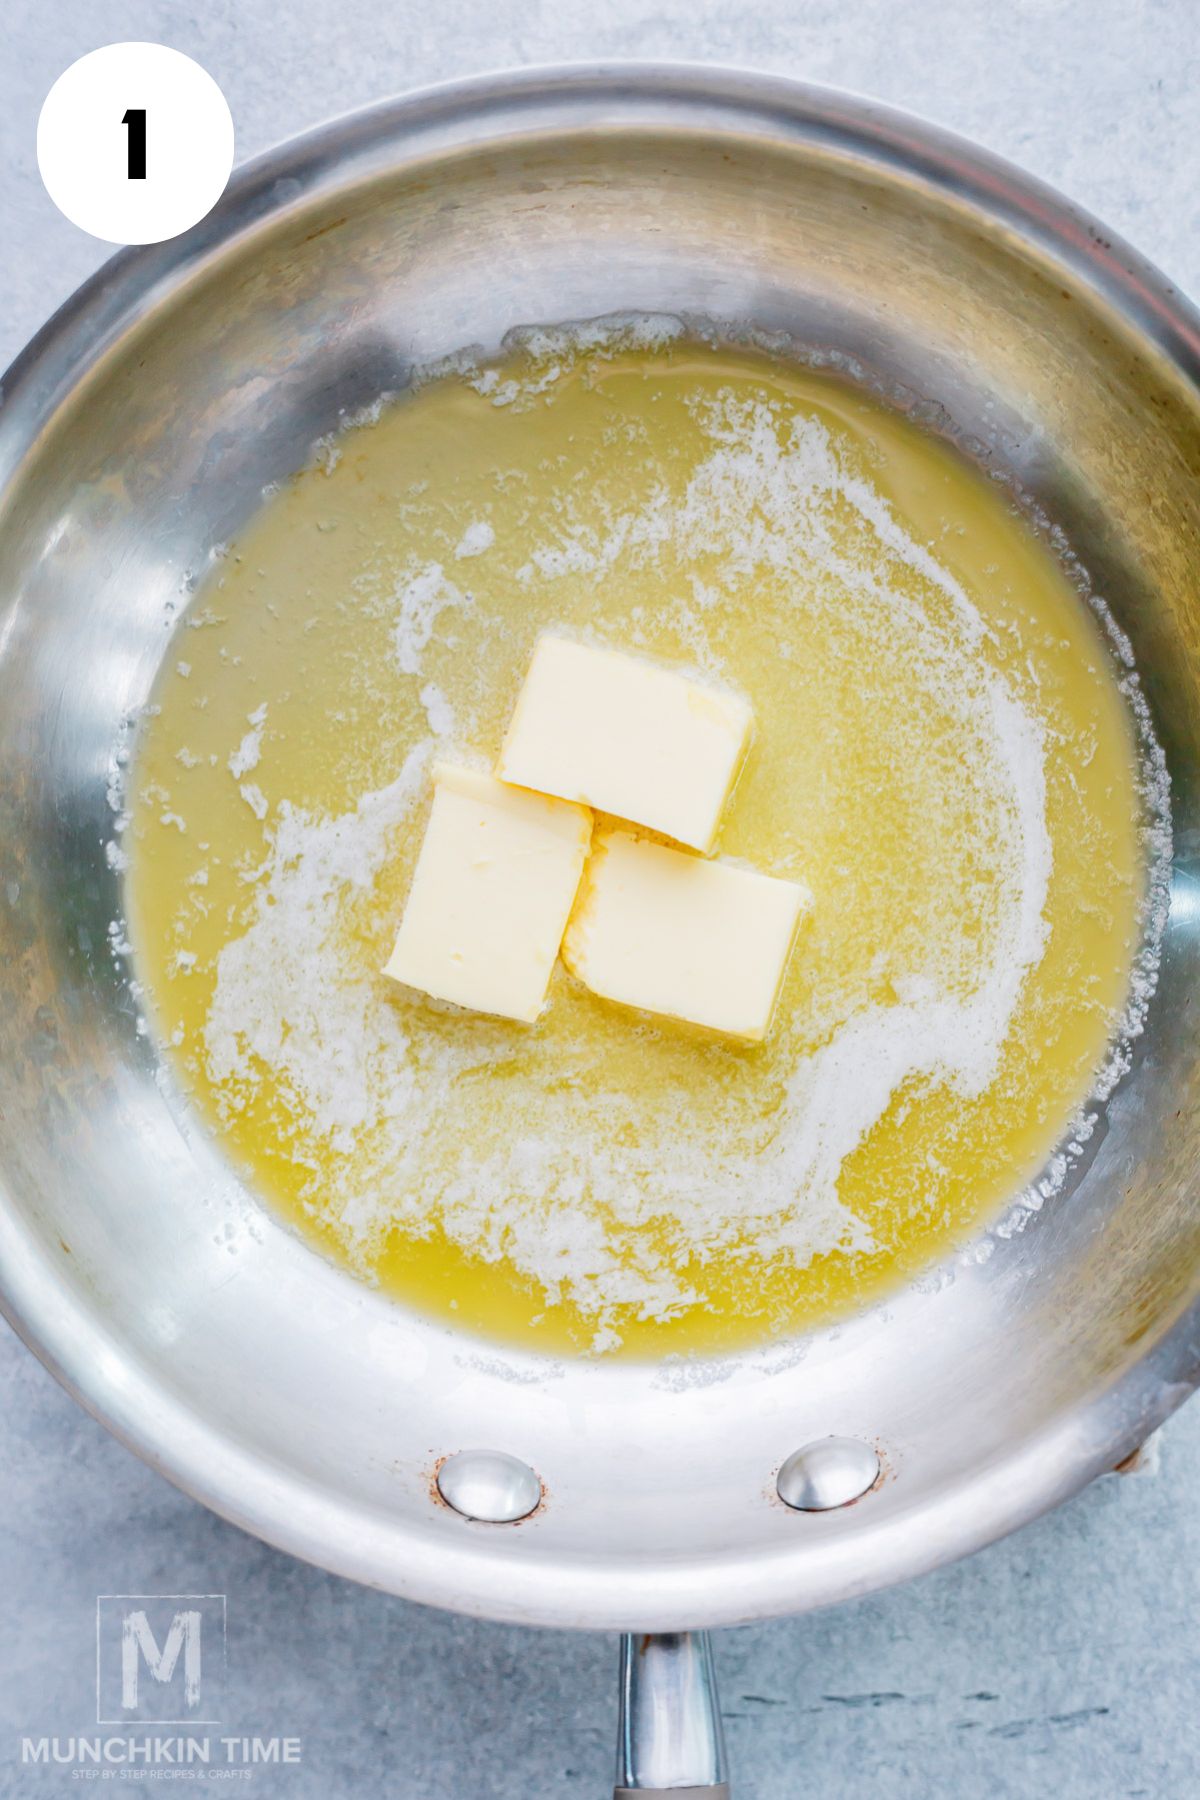
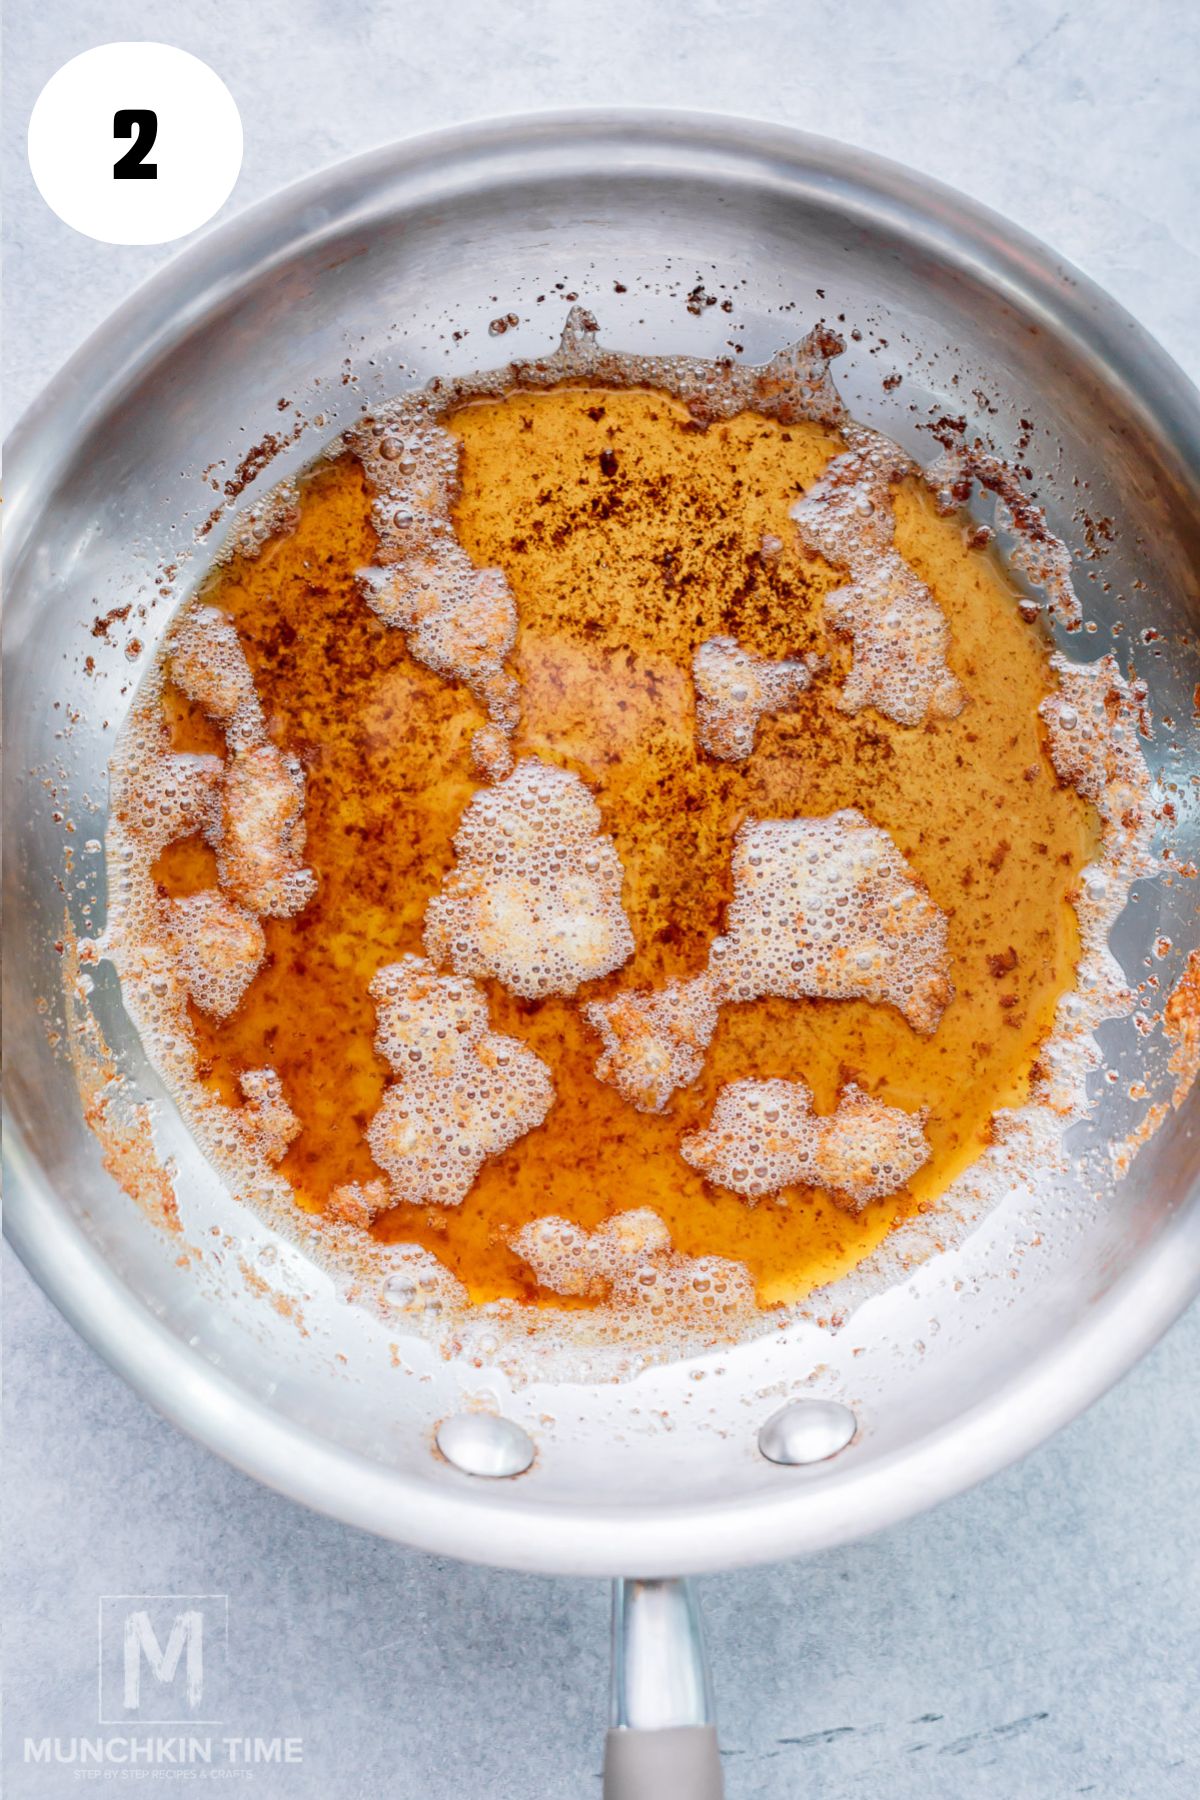
Start by adding the butter to a small, light-colored saucepan over medium heat.
Let it melt, stirring or swirling the pan occasionally. After a few minutes, you'll notice the butter starting to foam.
Keep an eye on it because this part happens pretty quickly!
Once you see little golden-brown bits at the bottom and the butter smells nutty, it's ready.
Remove it from the heat and immediately pour it into a heatproof bowl.
Munchkin Tip: Don't leave the butter in the hot pan once it's browned. It can continue cooking and burn. And make sure to include those little brown bits because that's where all the delicious flavor is!
Step 2: Prepare the Pear Filling
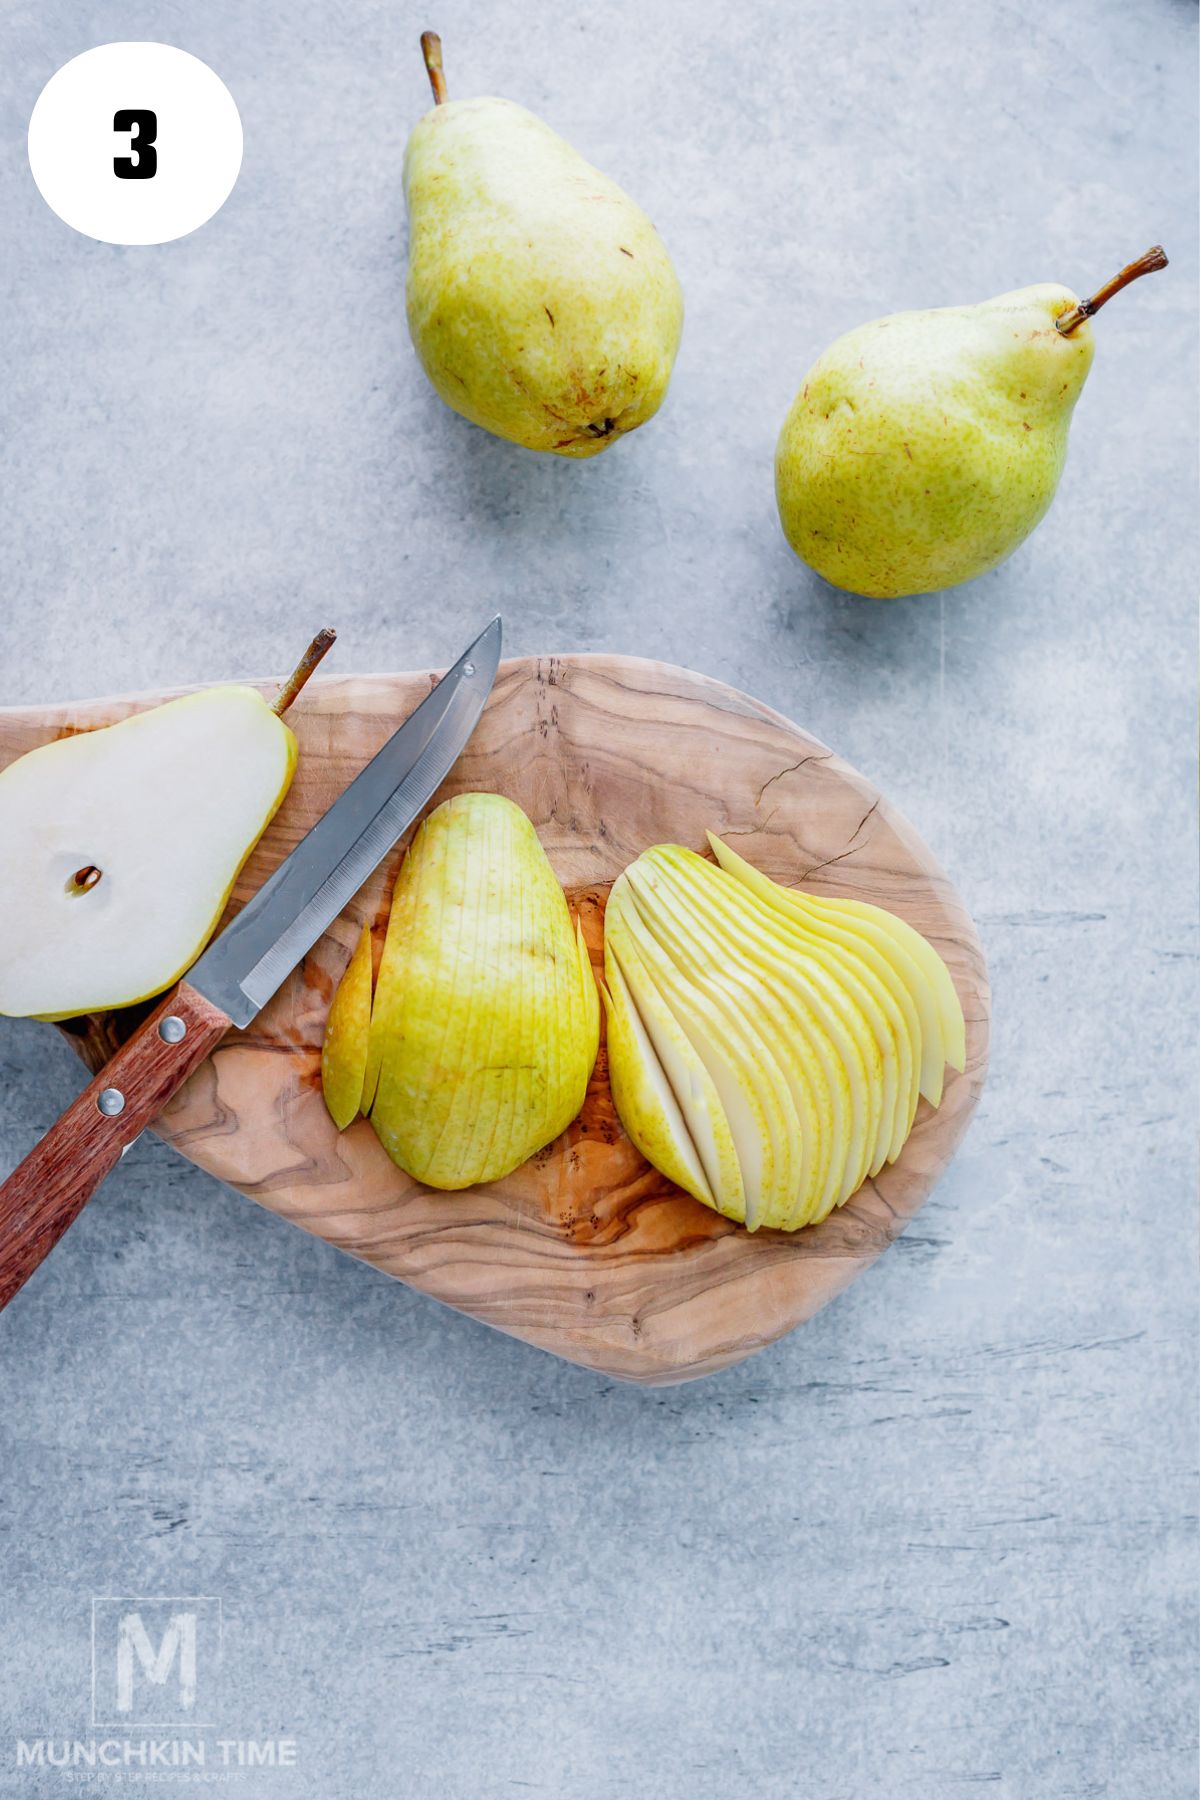
Wash and dry your Bartlett pears, then cut them in half and remove the cores.
Slice them thinly, about ⅛–¼ inch thick.
I like leaving the skins on because they look so pretty once baked, but you can peel them if you prefer.
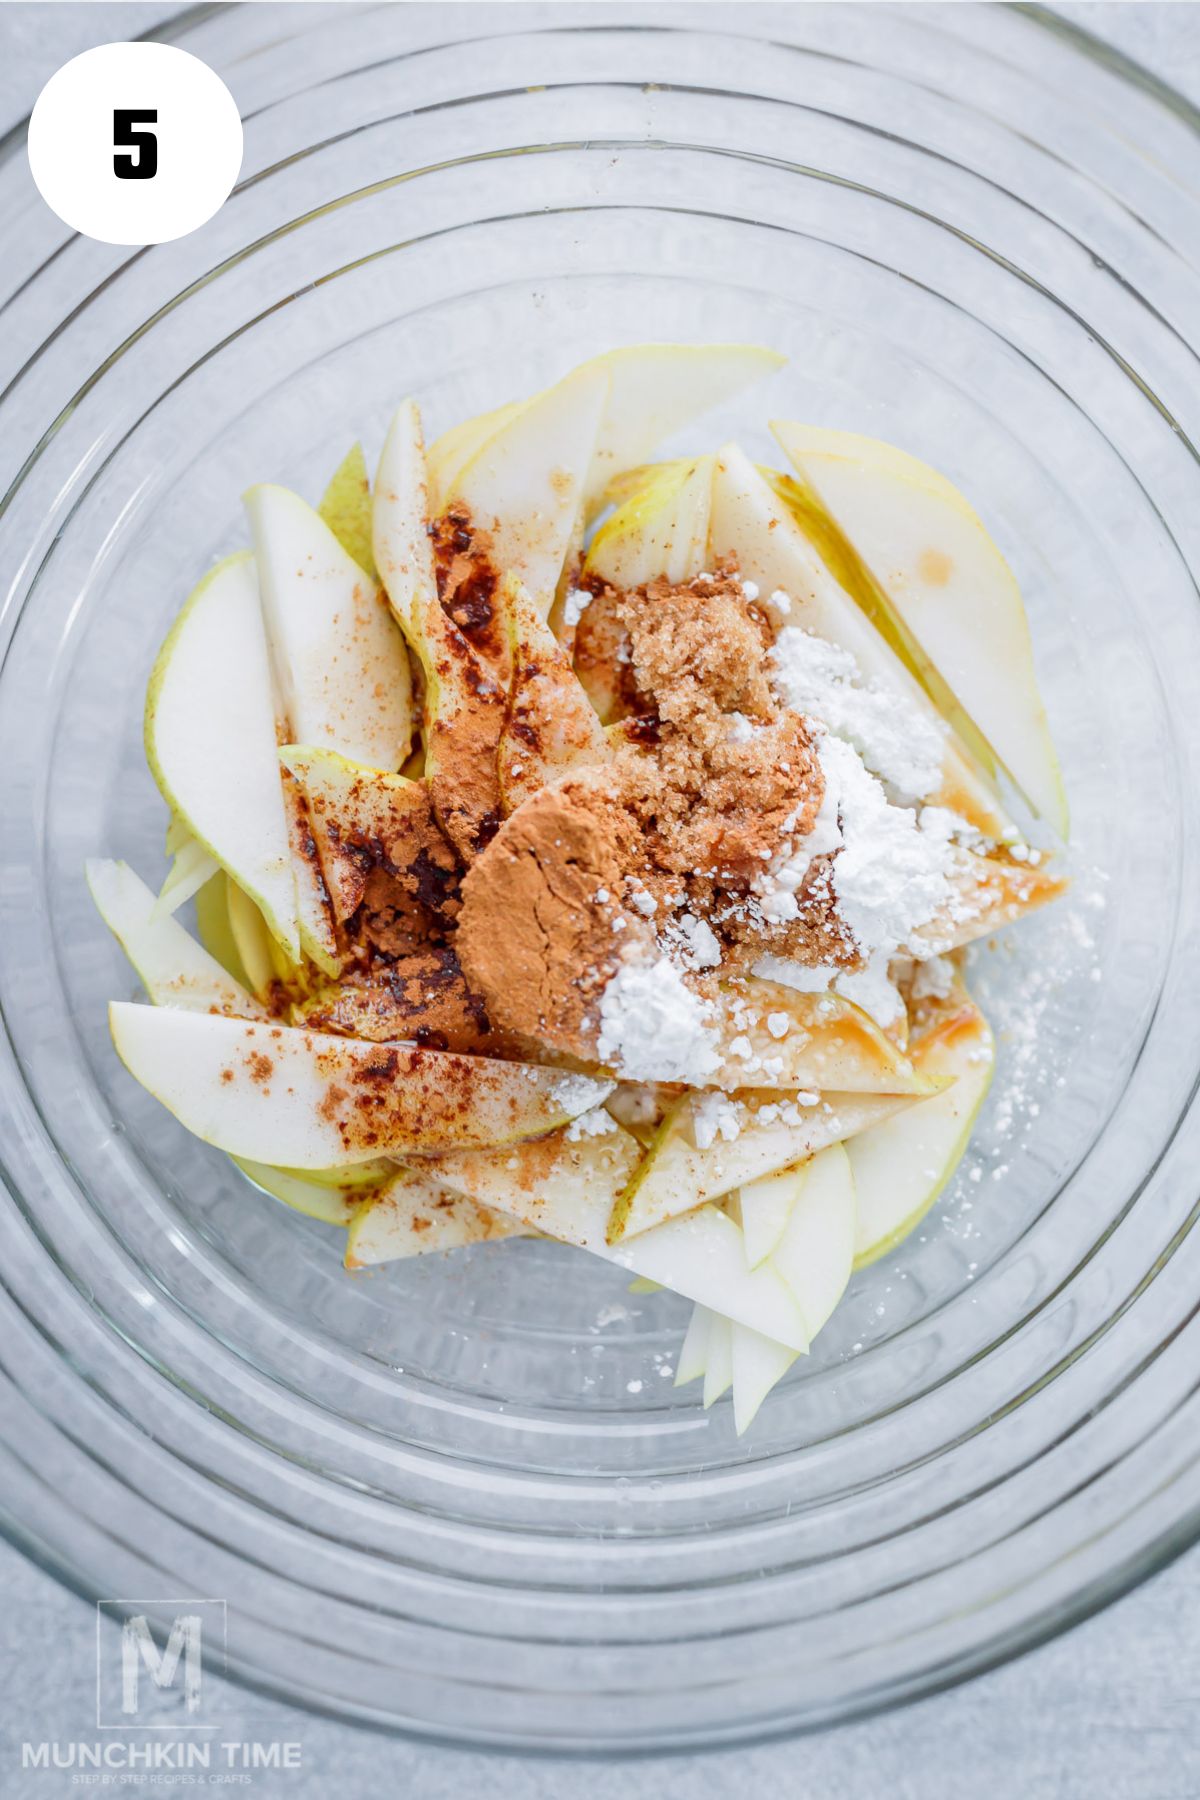
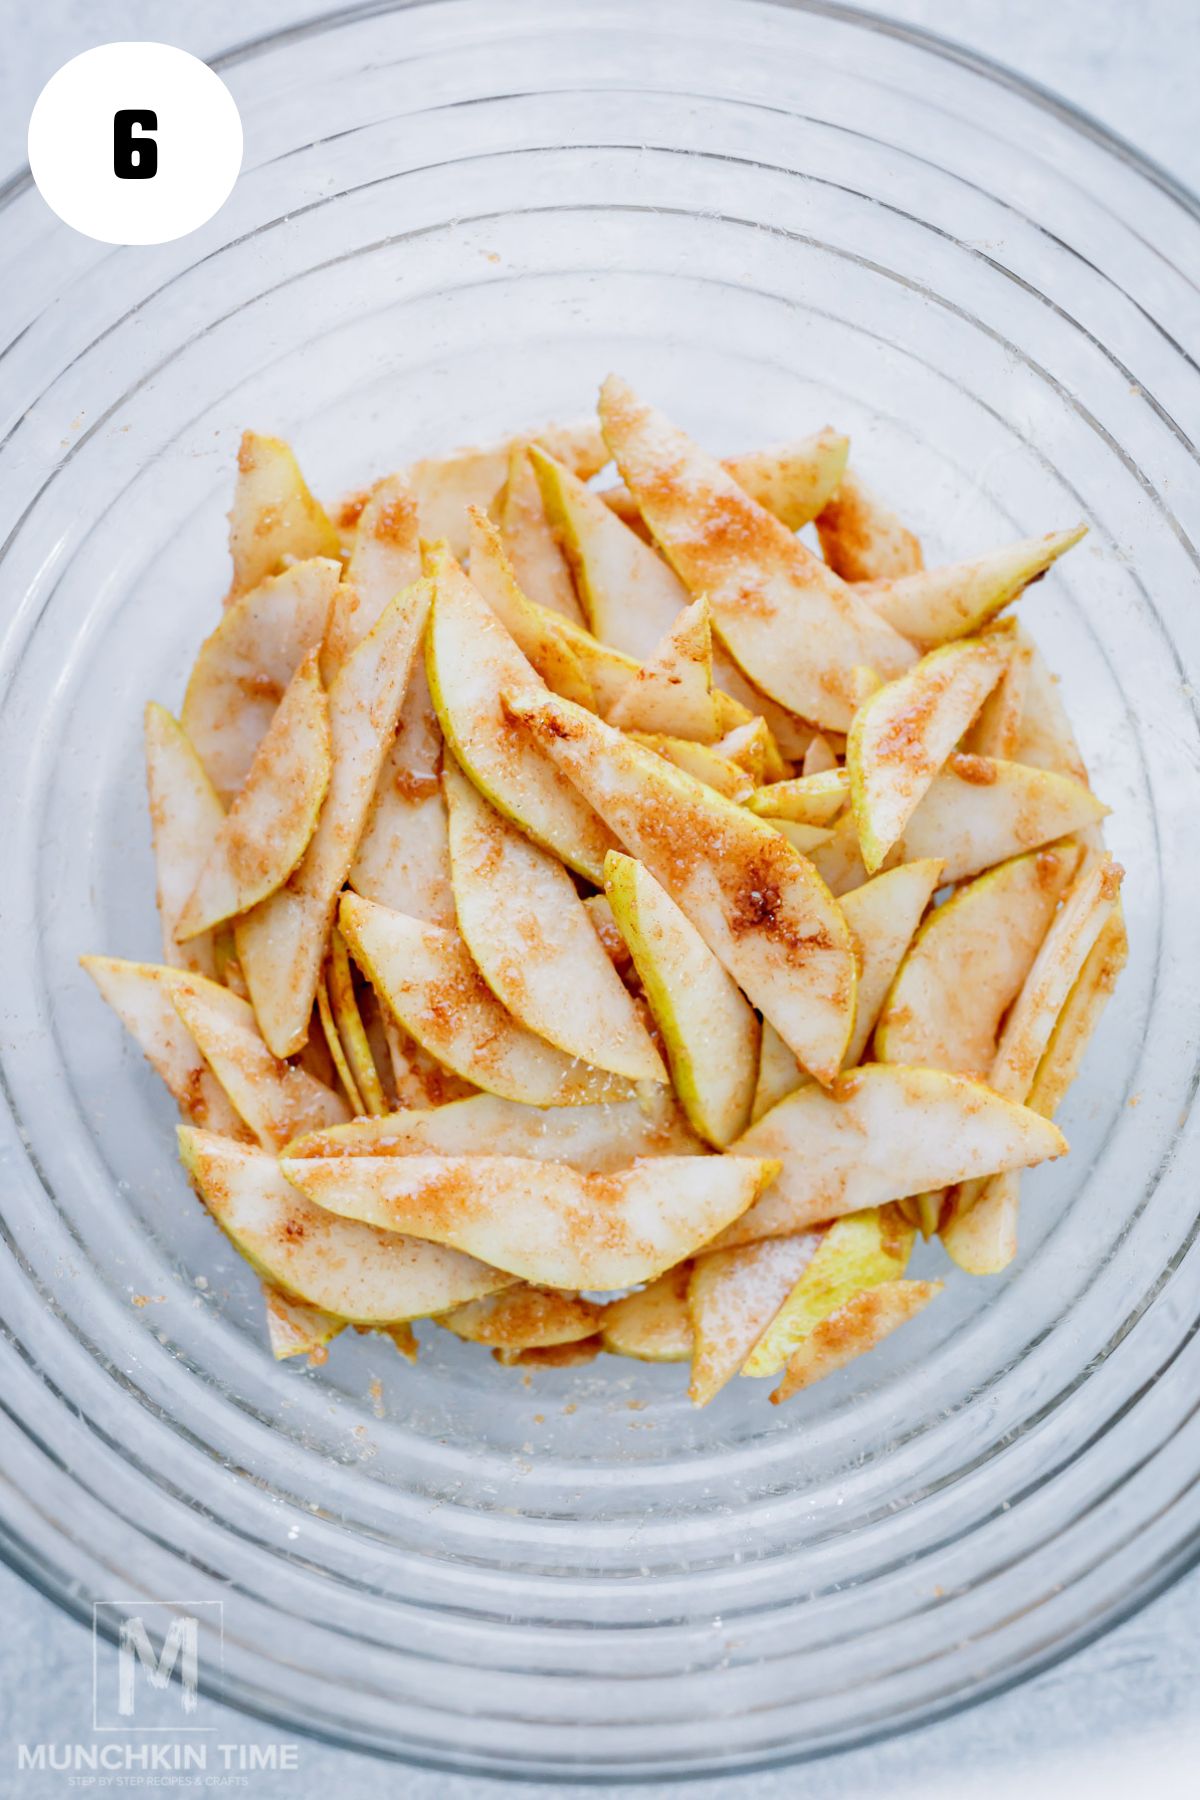
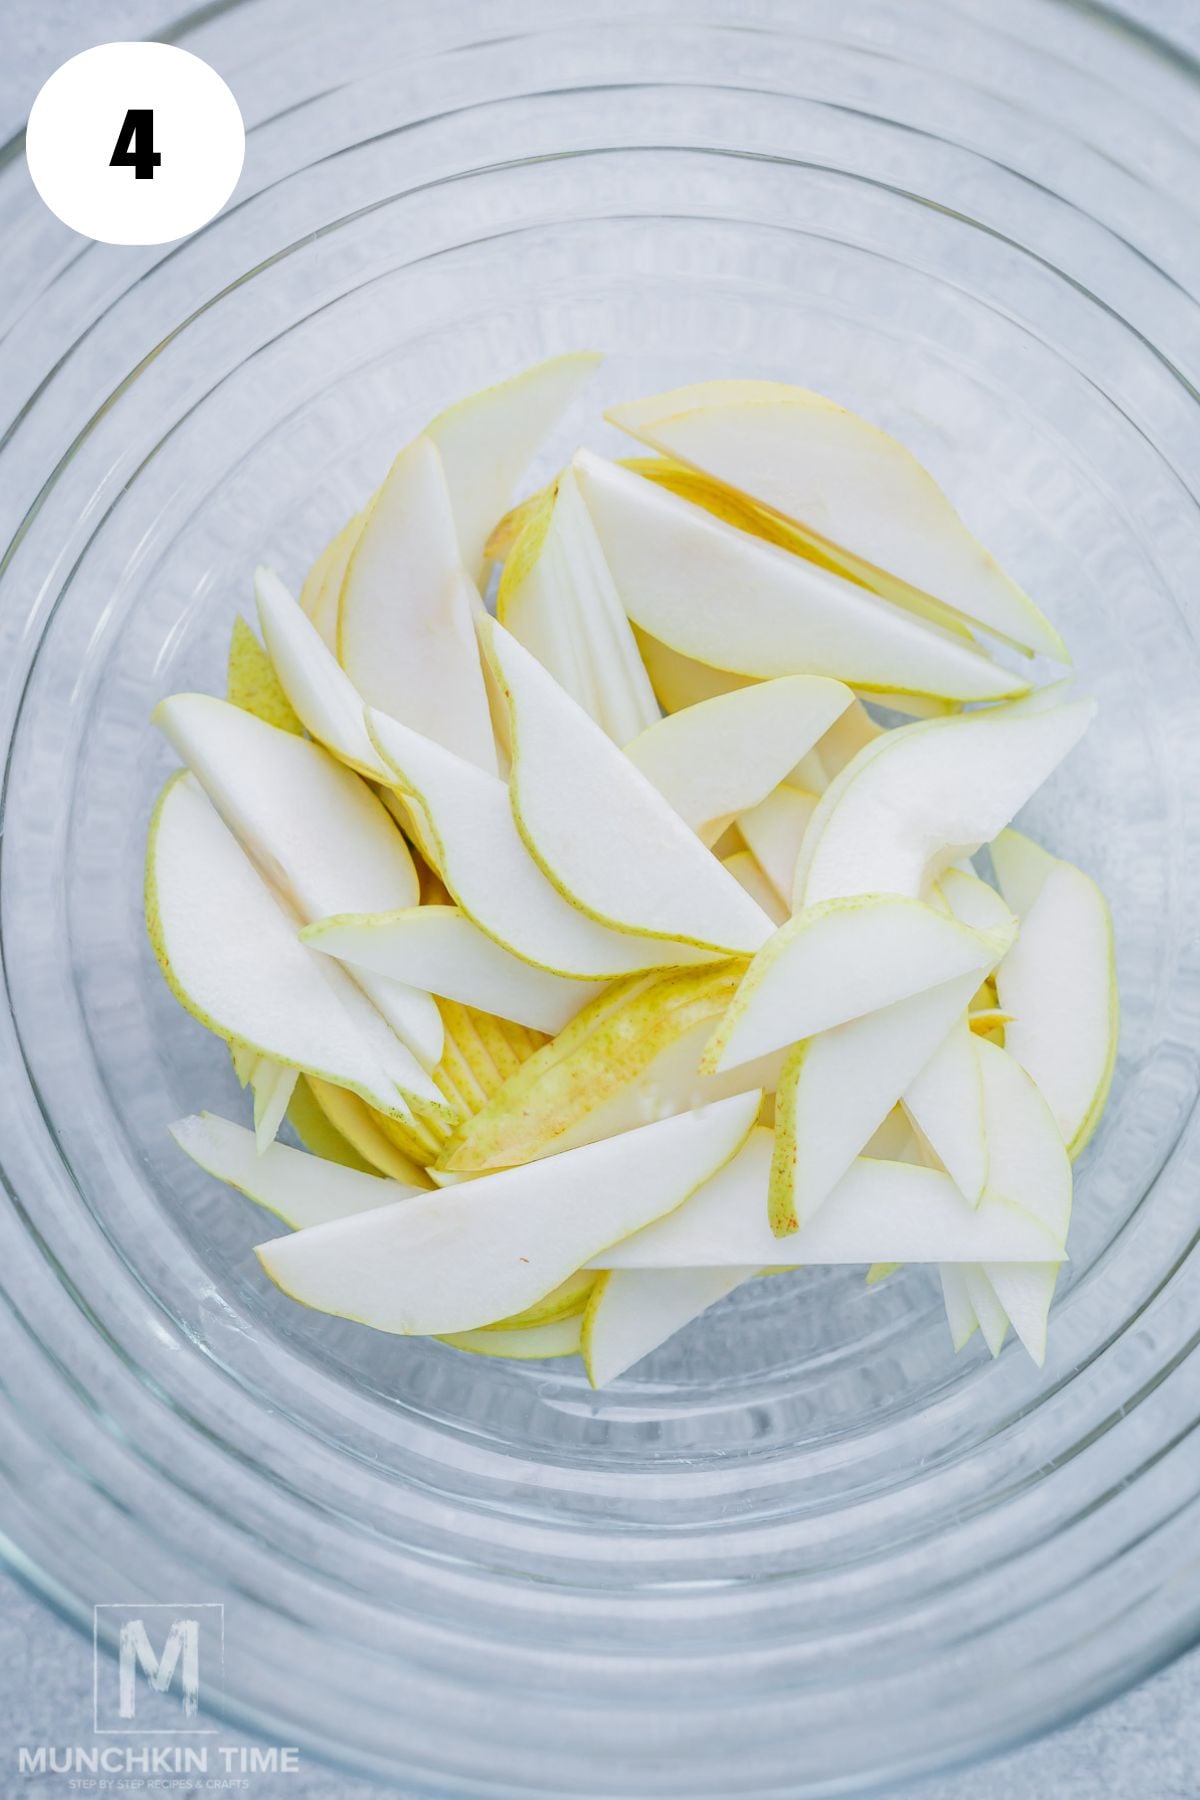
Add the pear slices to a mixing bowl along with the brown sugar, cornstarch, cinnamon, vanilla, lemon juice, and salt.
Drizzle in 2 tablespoons of the brown butter and gently toss until everything is coated.
Try not to break the slices if you're planning to arrange them in a pretty pattern.
Step 3: Prepare the Puff Pastry
Preheat your oven to 400°F and line a large baking sheet with parchment paper.
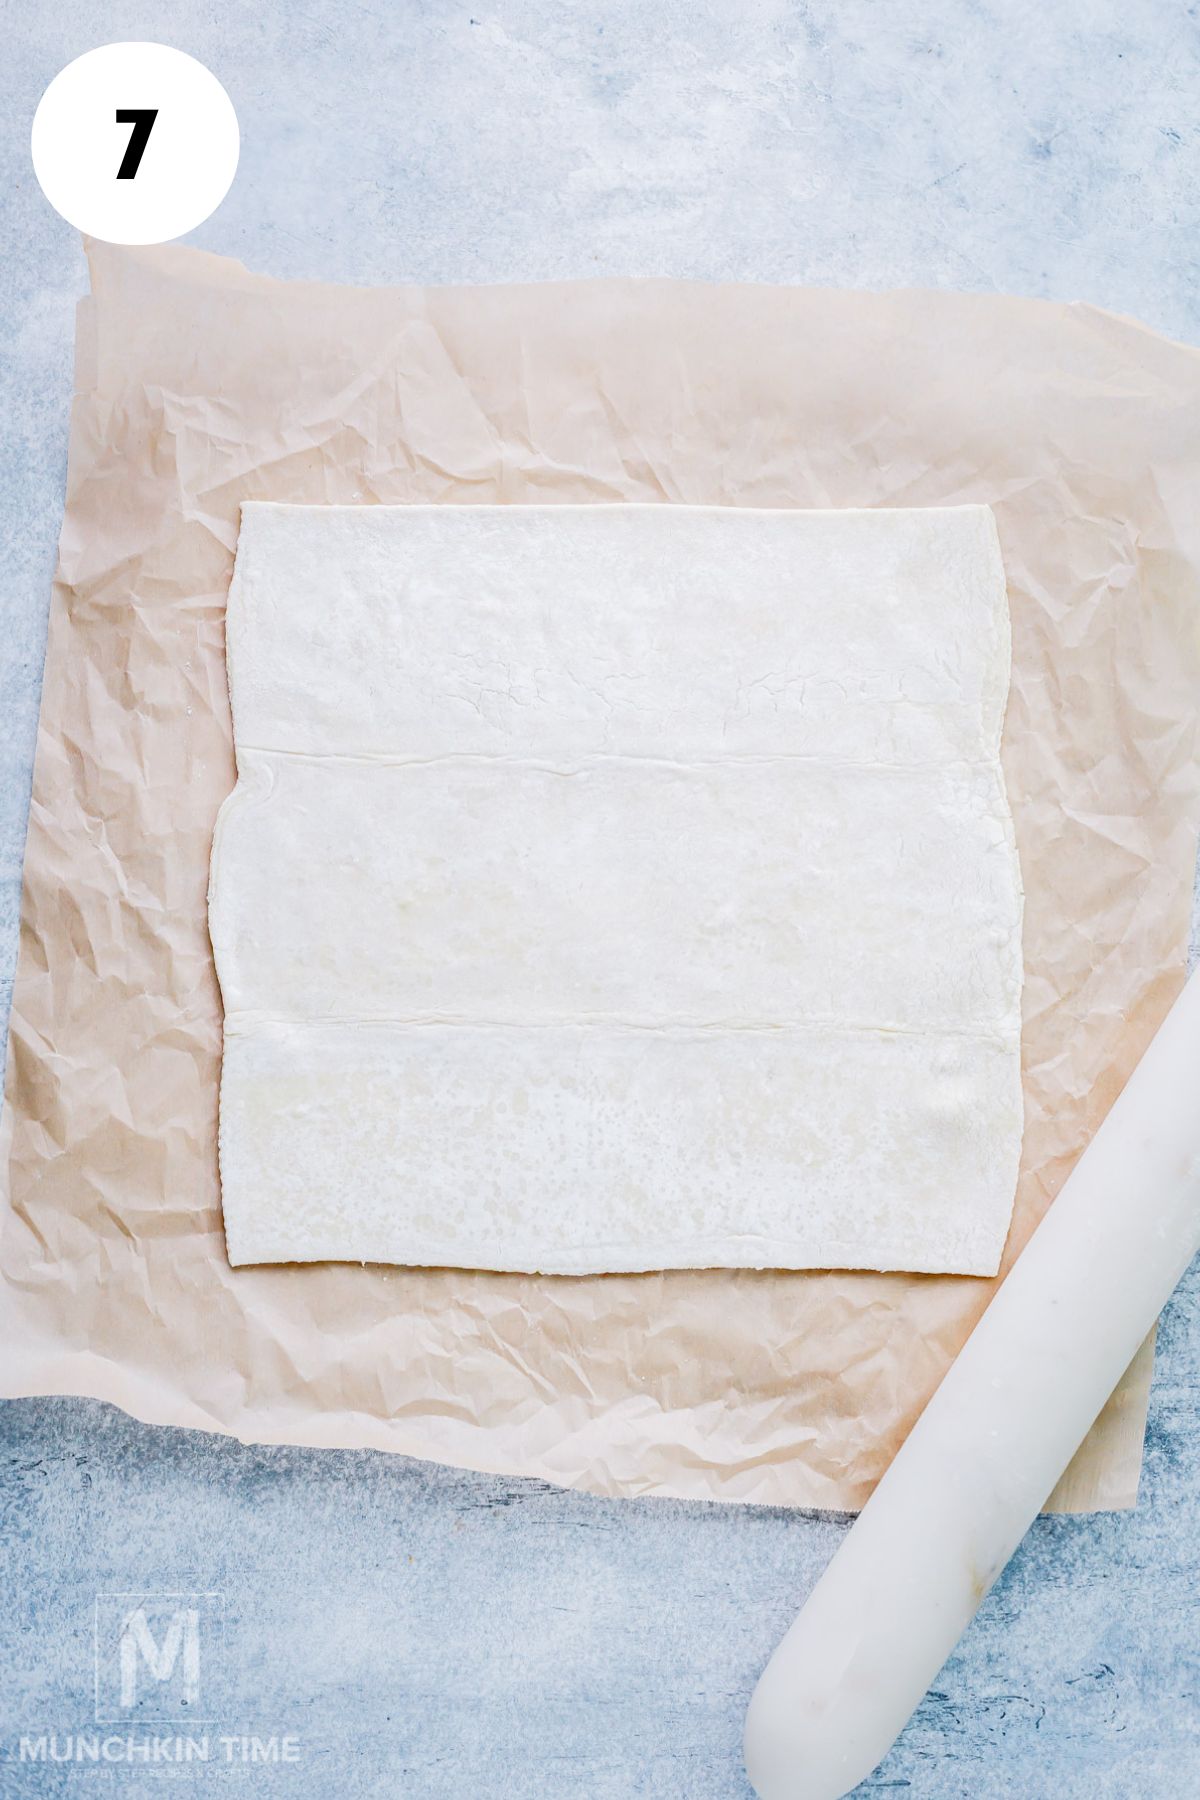
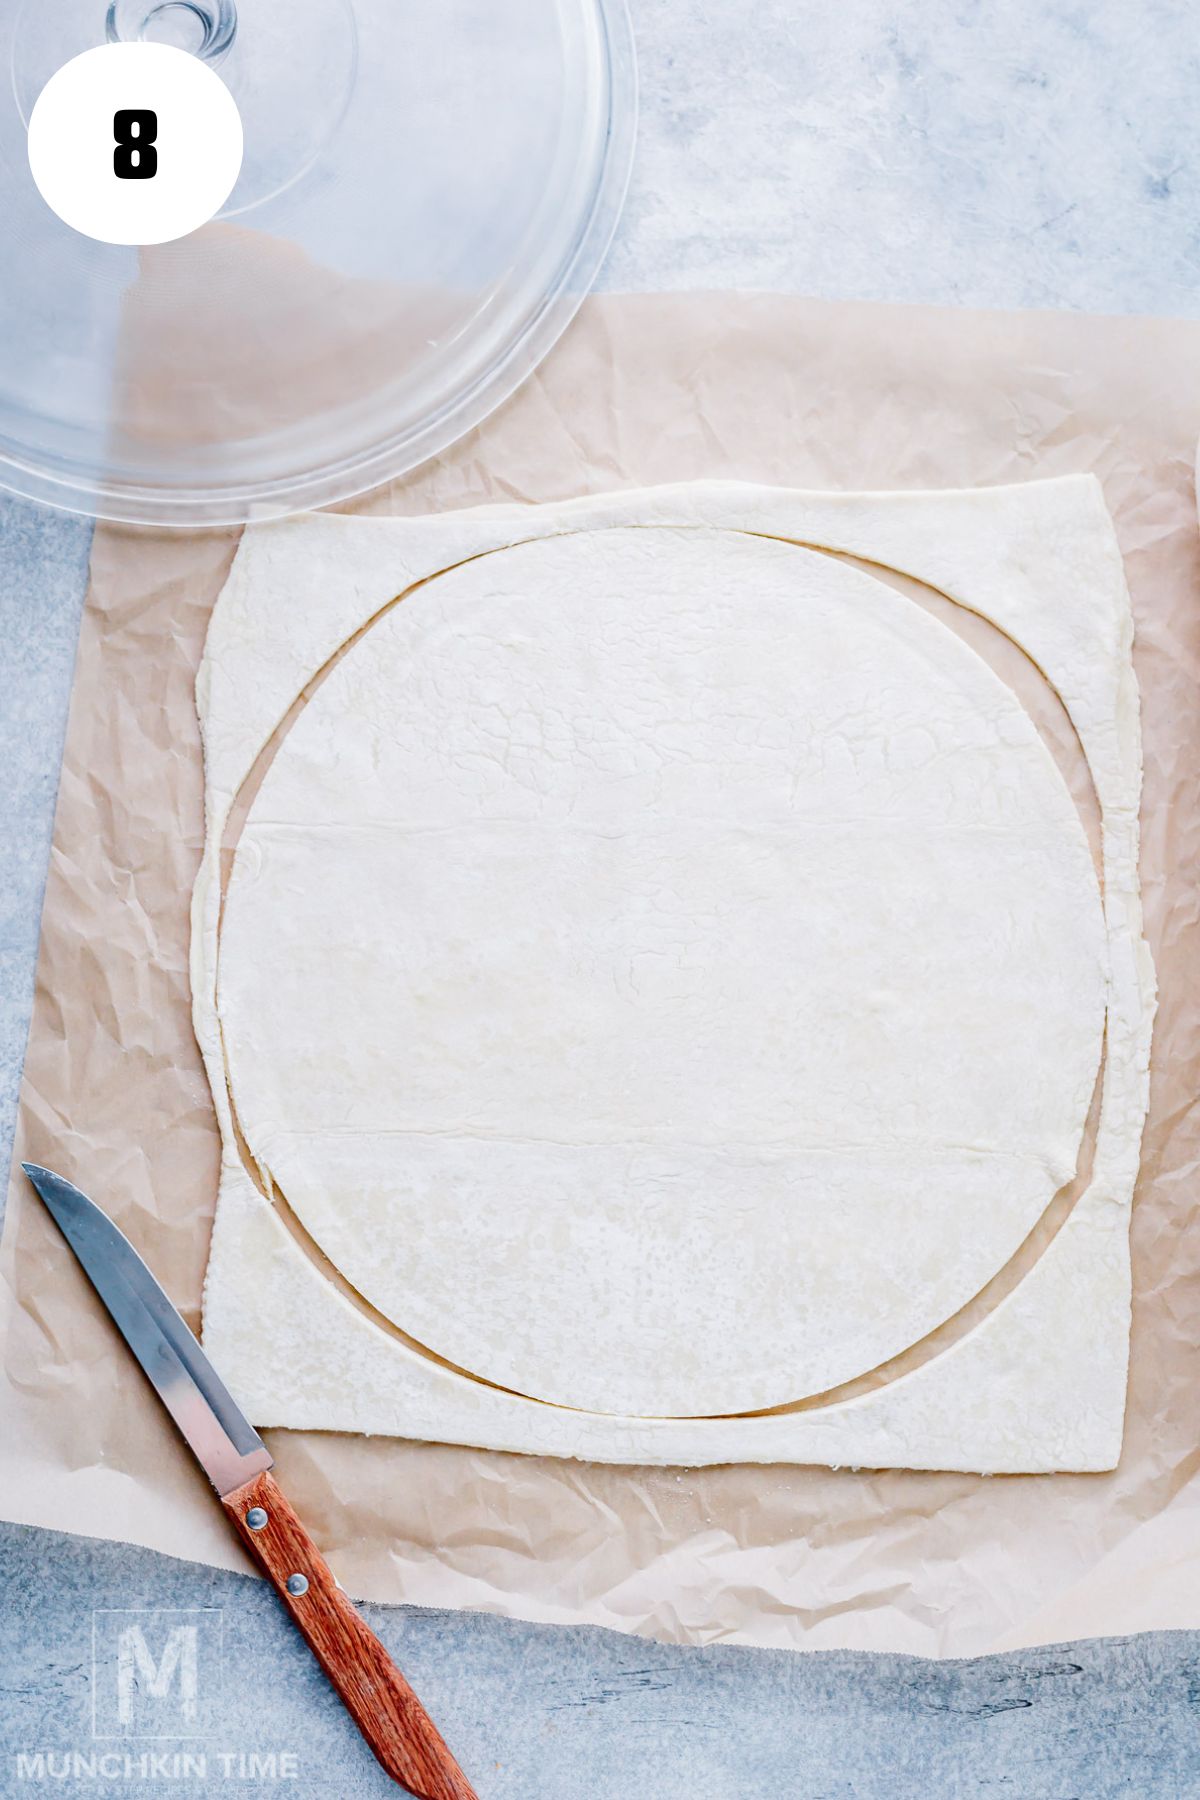
Lightly flour your work surface and unfold the thawed puff pastry.
Using a rolling pin, gently roll it into an approximately 11-inch circle.
Don't worry if it's not perfectly round. That's the beauty of a rustic galette!
Transfer the pastry onto your prepared baking sheet.
Munchkin Tip: If your puff pastry starts feeling soft or sticky, place it in the refrigerator for about 10 minutes. Keeping the pastry cold helps those beautiful flaky layers puff up in the oven.
Step 4: Arrange the Pears
Now for the fun part!
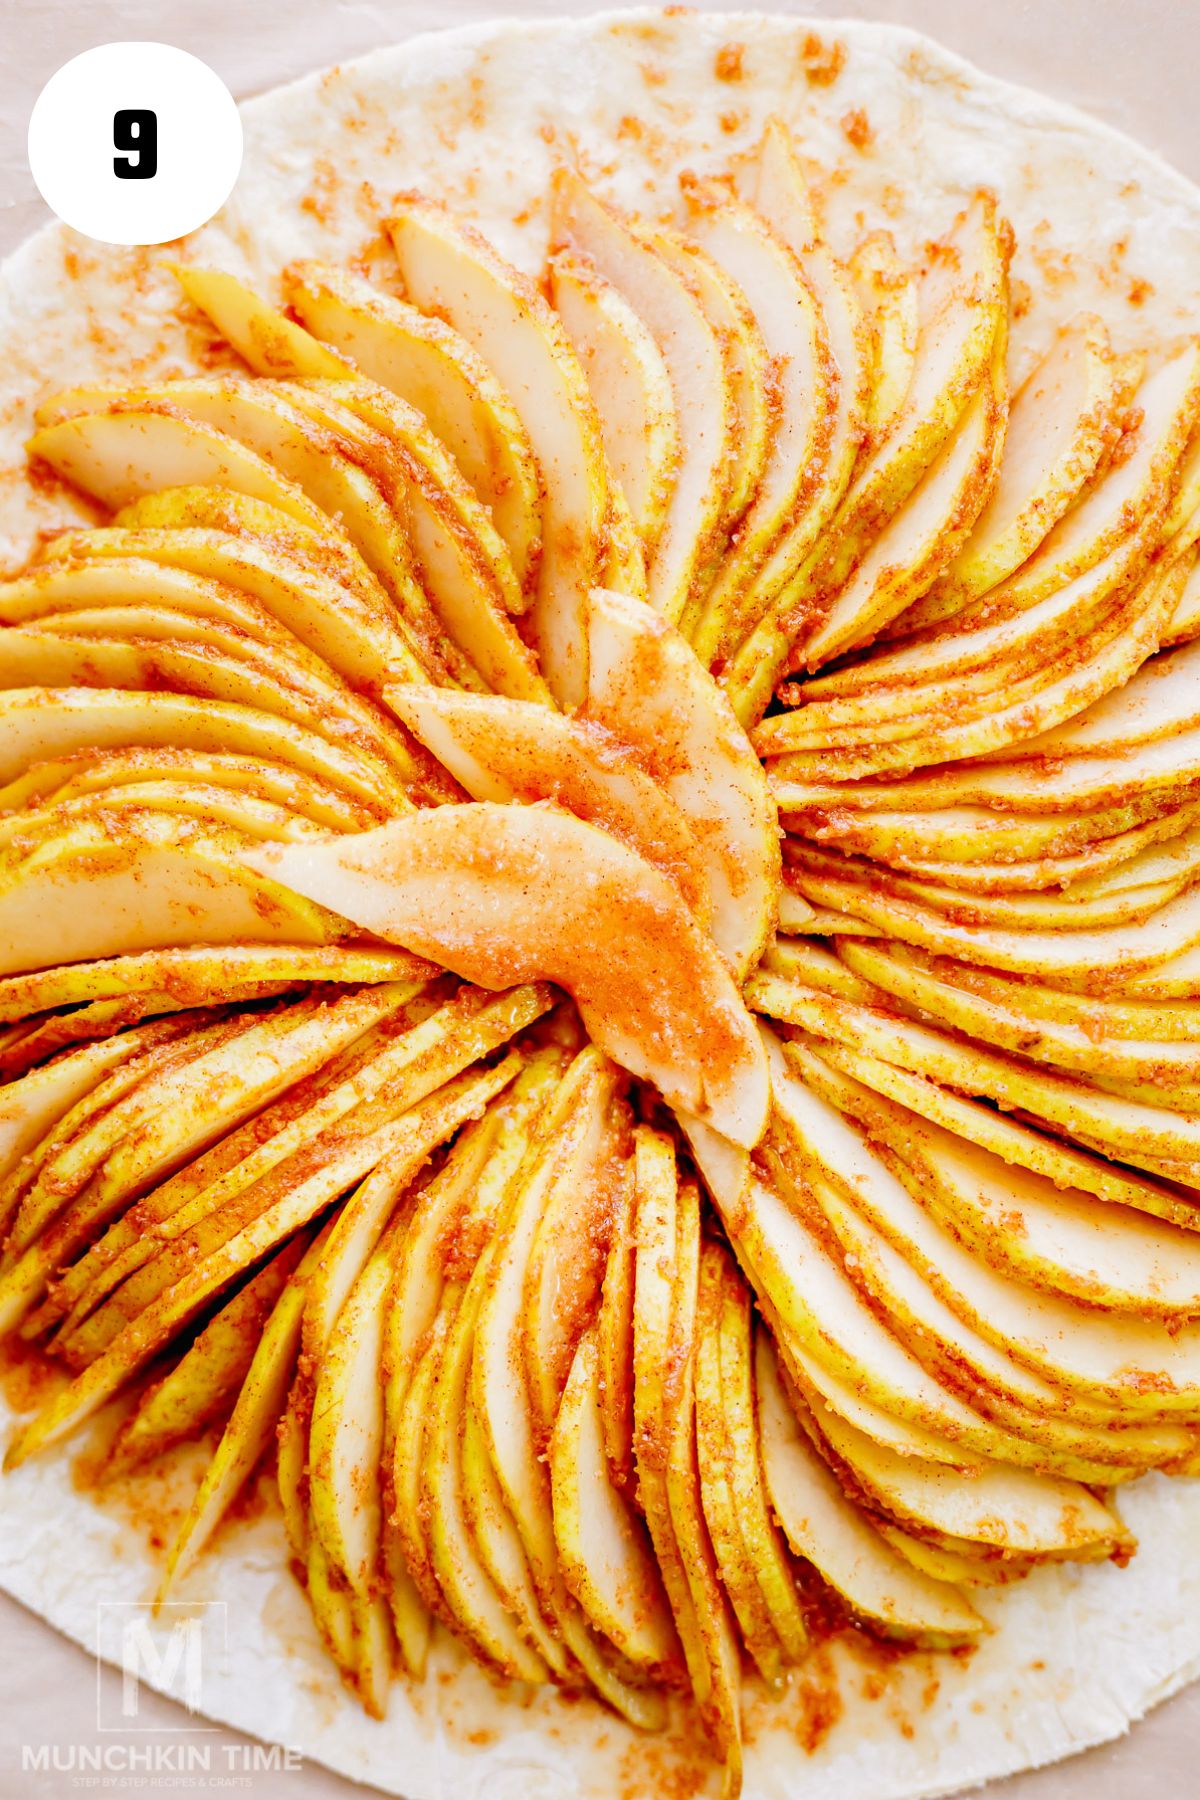
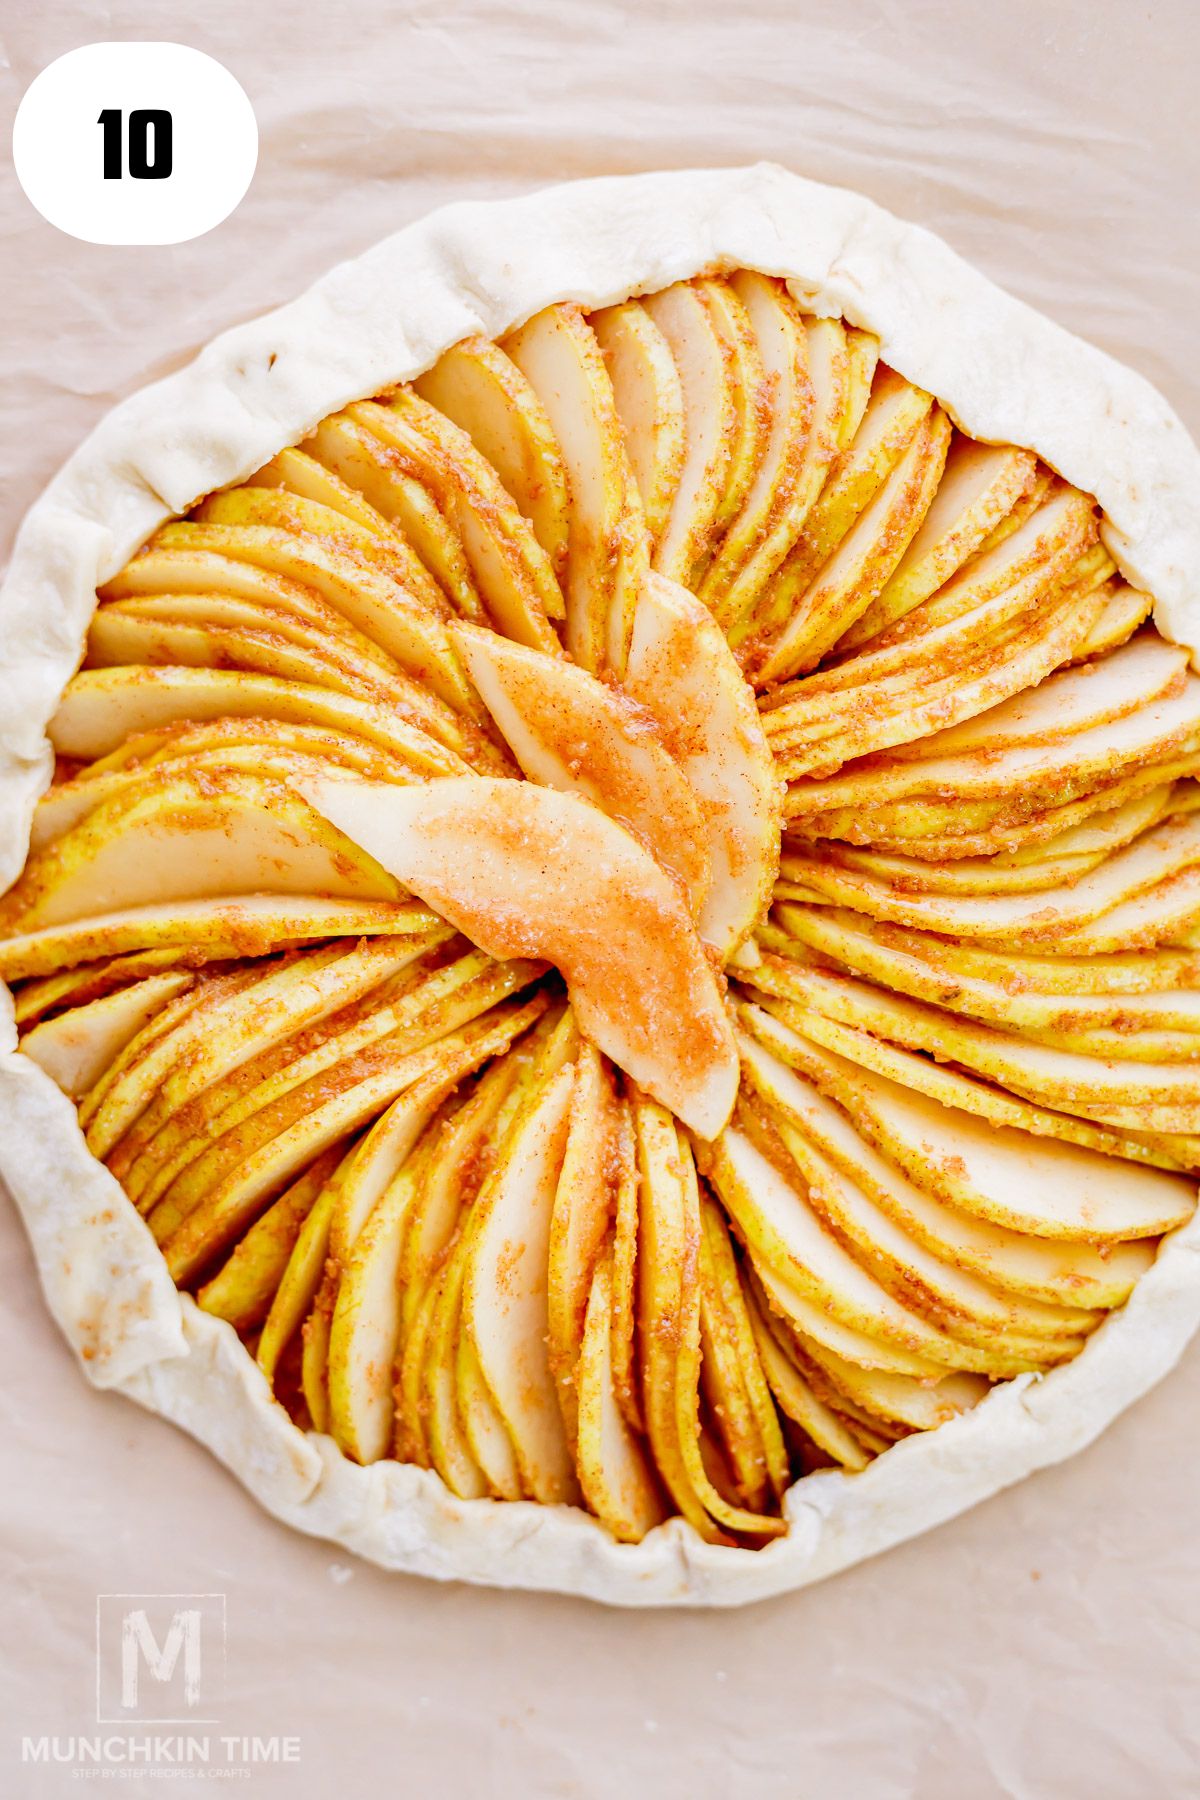
Arrange the sliced pears in the center of the puff pastry, slightly overlapping them.
I like arranging them in a circle because it looks so beautiful once baked, but you can also make simple rows.
Leave about a 1 inch border around the edges so there's enough pastry to fold over the pears.
Step 5: Fold the Pastry
Gently fold the edges of the puff pastry over the pears, working your way around the galette.
Overlap the pastry slightly as you go, making little folds.
Don't worry about making everything perfectly even. I actually love how rustic it looks!
Drizzle the remaining brown butter over the pears.
Step 6: Add the Egg Wash
In a small bowl, whisk together the egg and milk.
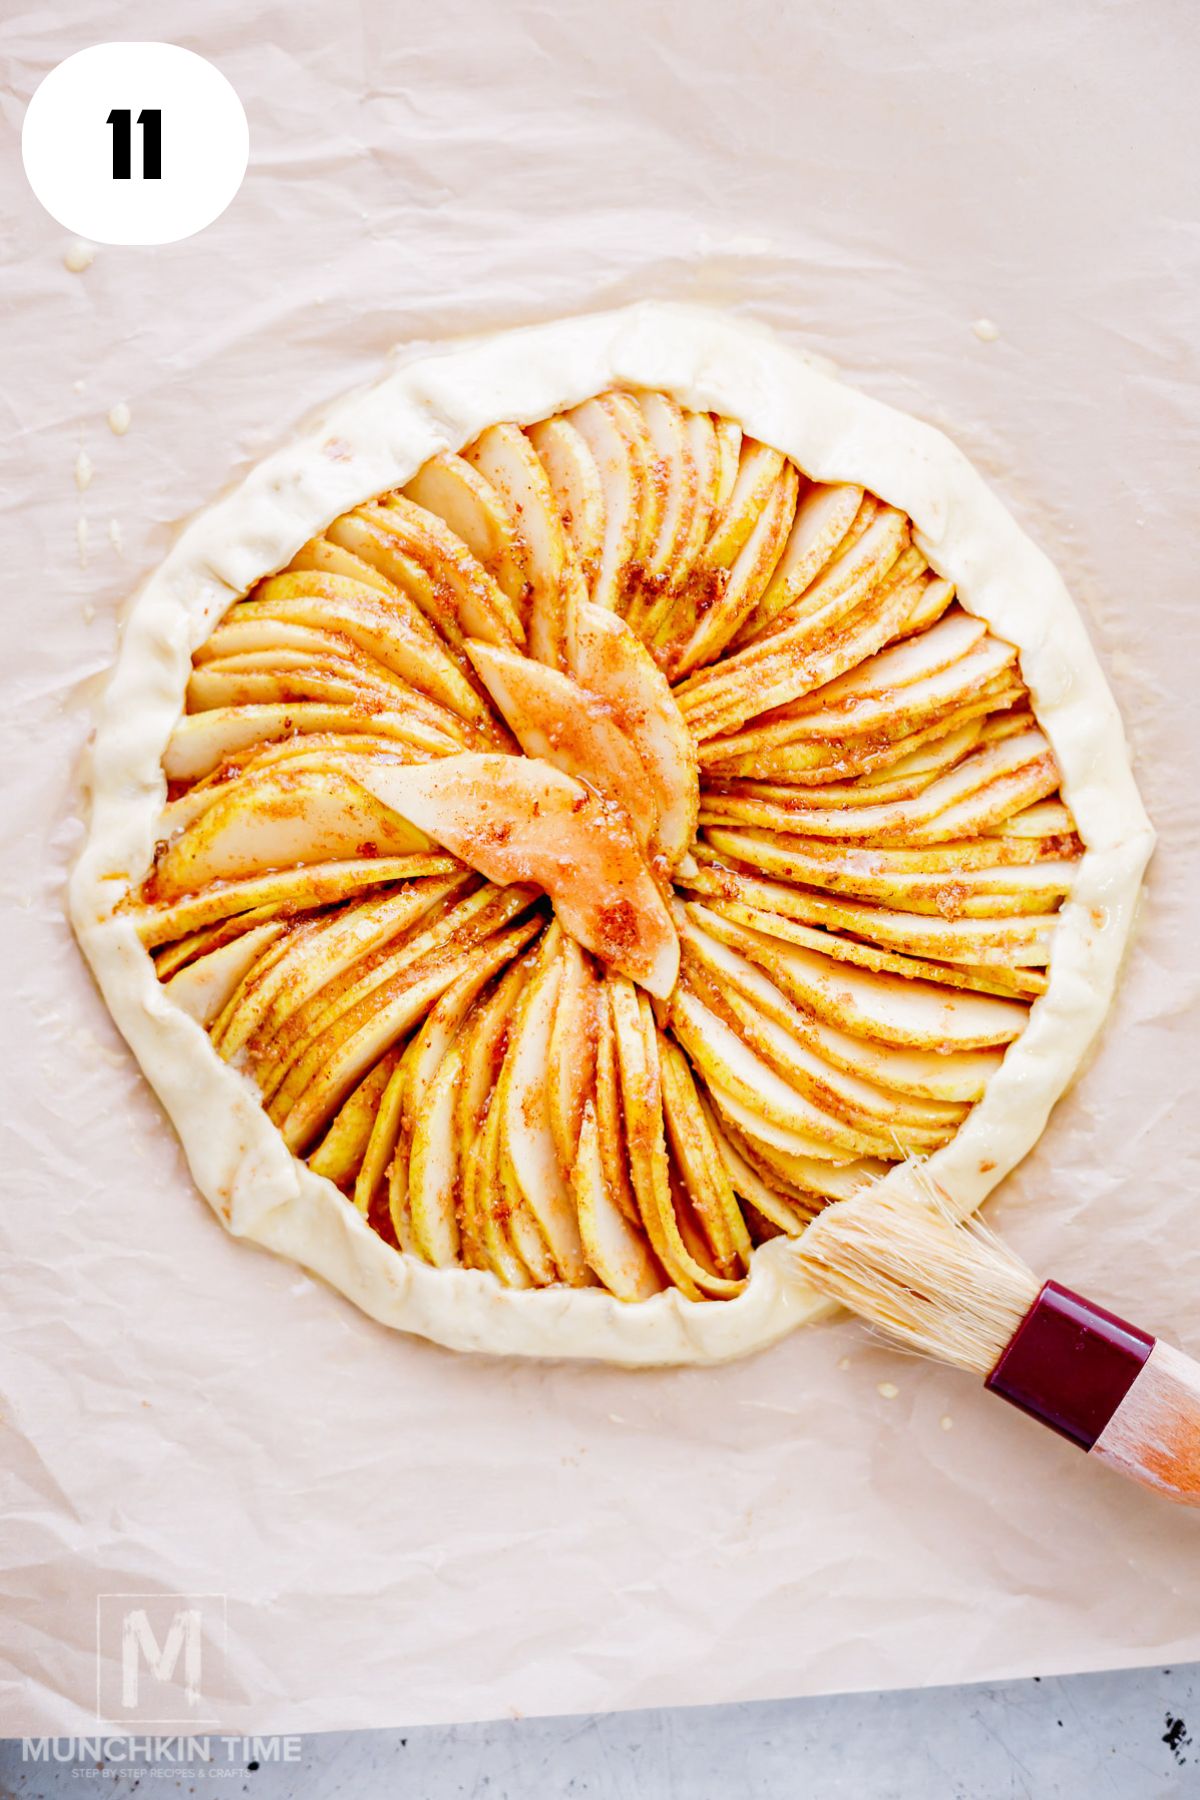
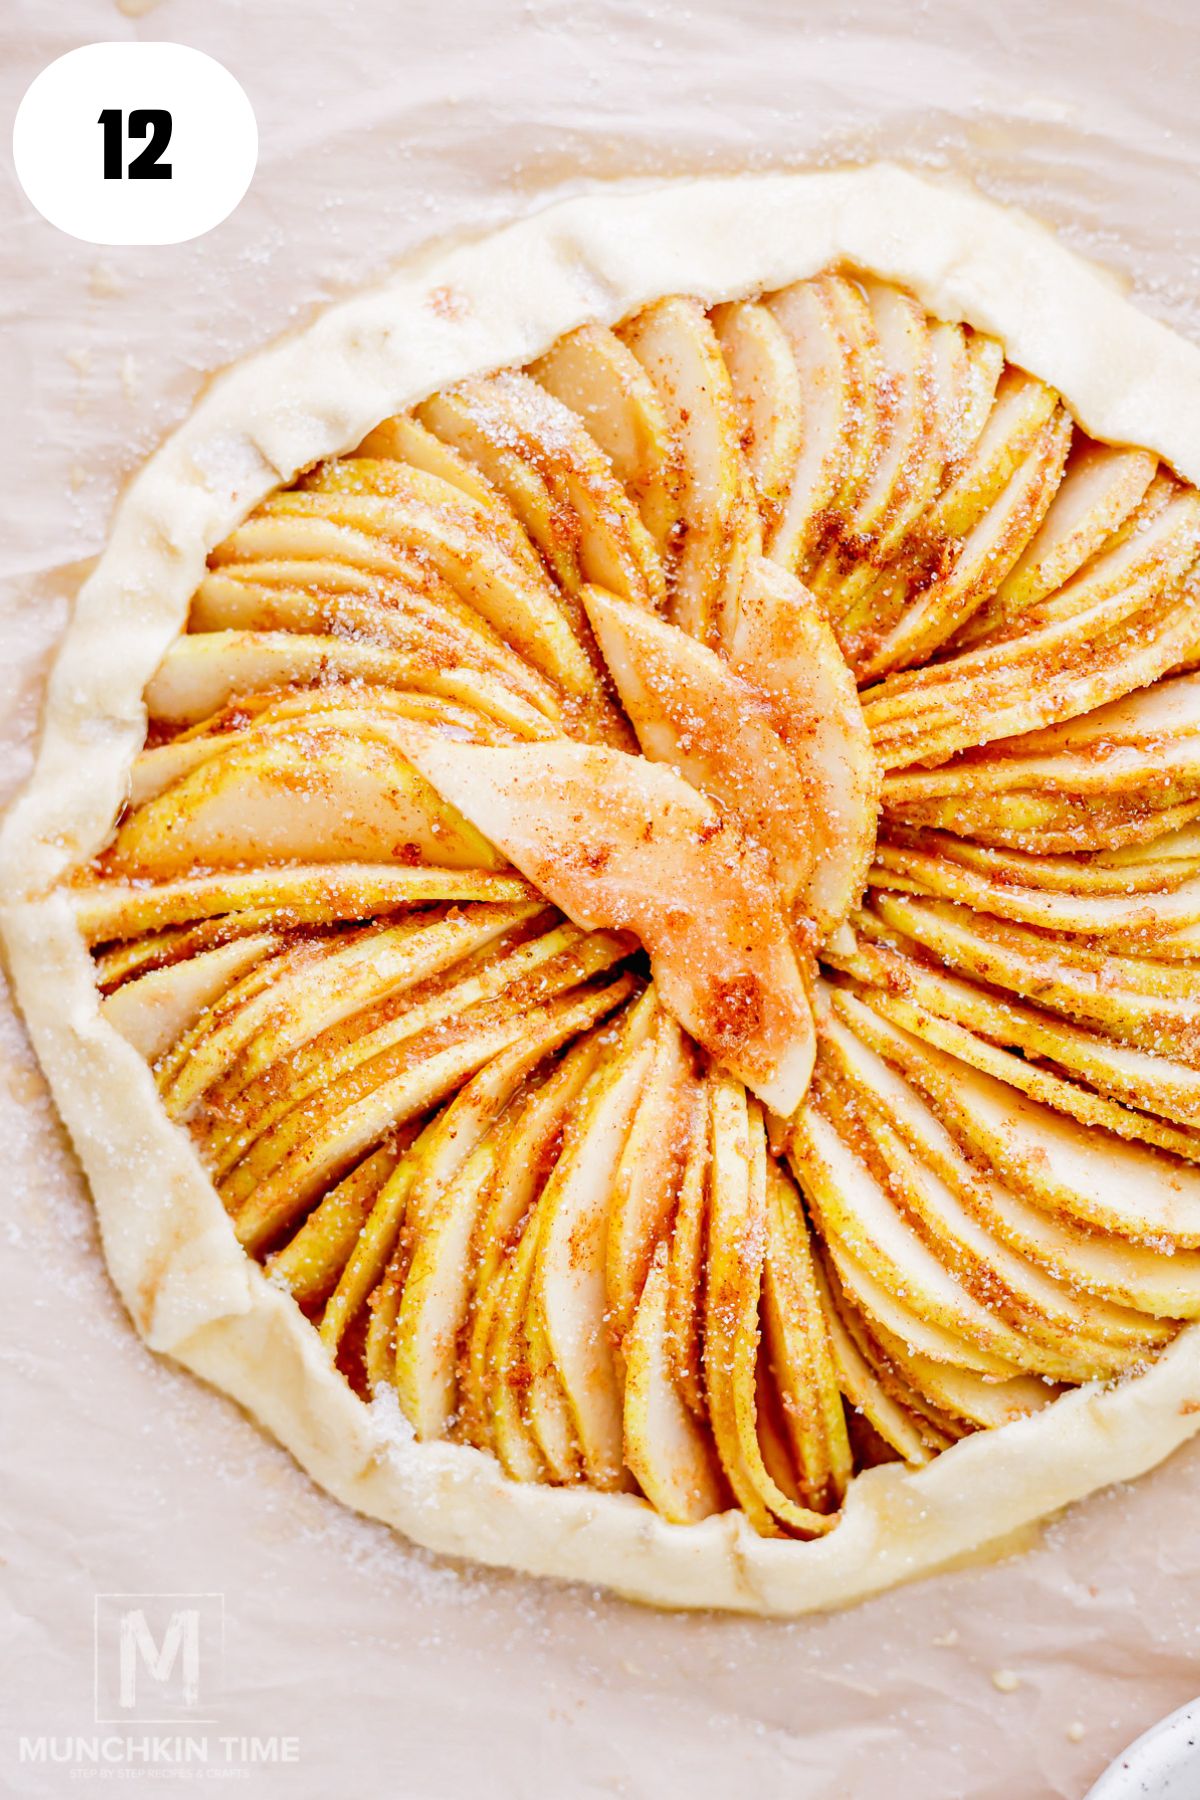
Brush the exposed edges of the pastry with the egg wash, then sprinkle with coarse sugar if you'd like.
That little sprinkle of sugar gives the crust such a delicious crunch!
Step 7: Bake Until Golden
Bake your pear galette at 400°F for 30–35 minutes, or until the pastry is deeply golden and flaky and the pears are tender.
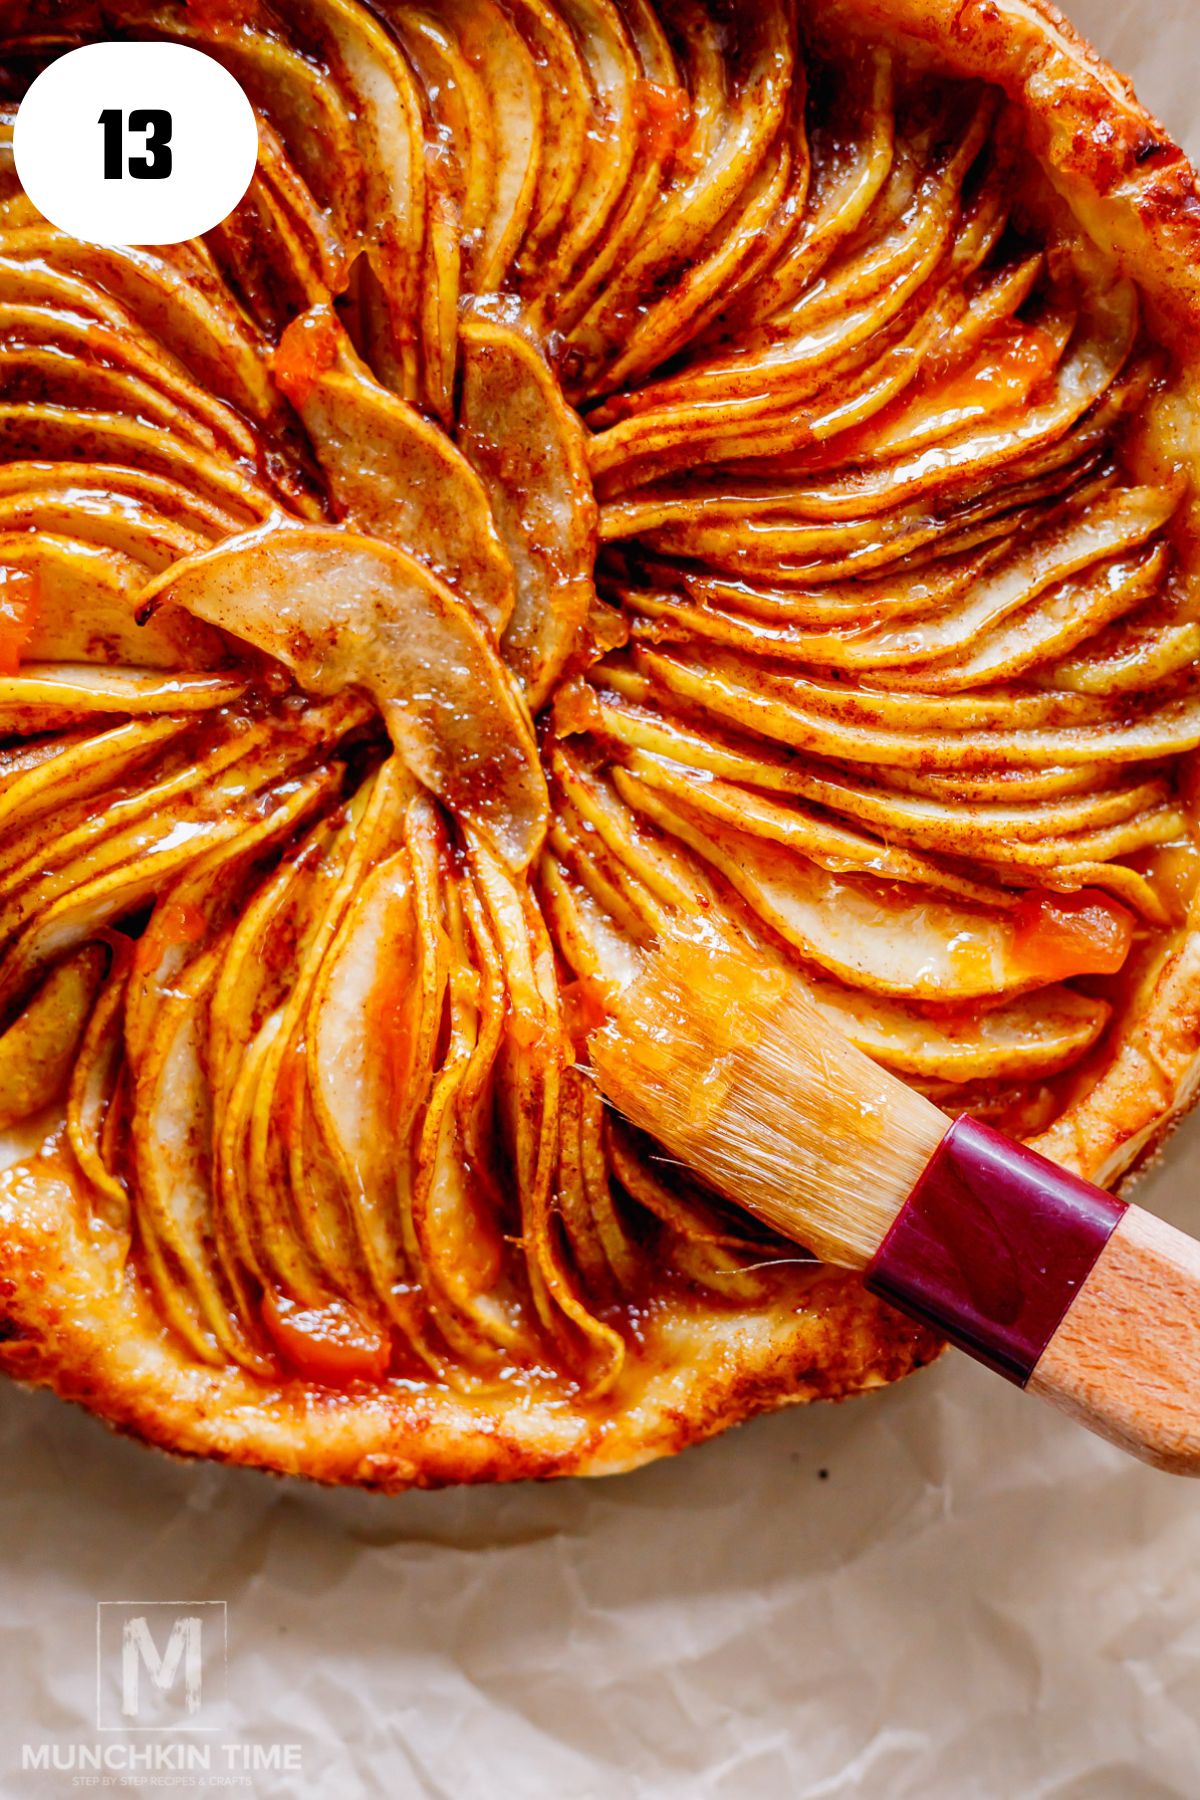
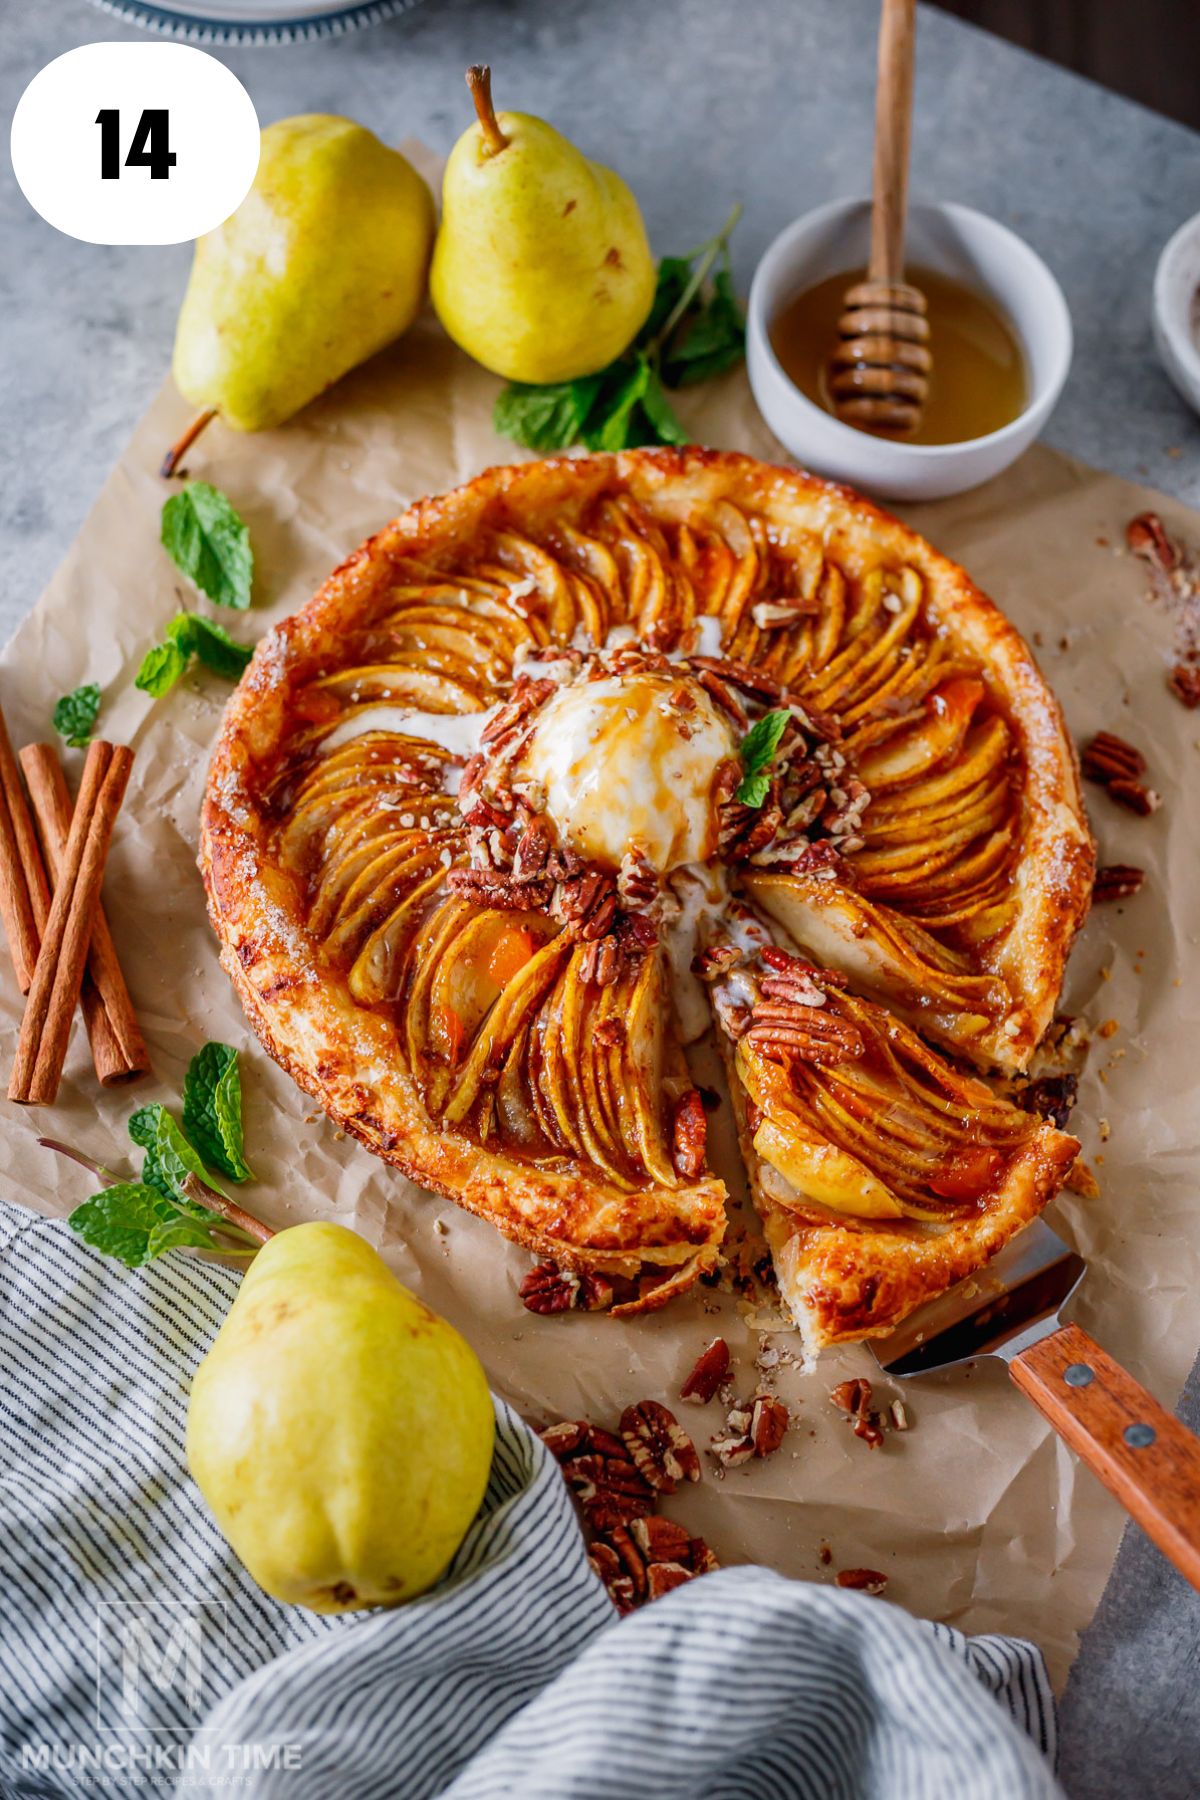
You'll know it's ready when the crust looks beautifully puffed and the pear filling is gently bubbling.
If the edges start getting too dark, loosely cover them with foil.
Step 8: Add the Finishing Touches
Let the galette cool for about 10–15 minutes before slicing.
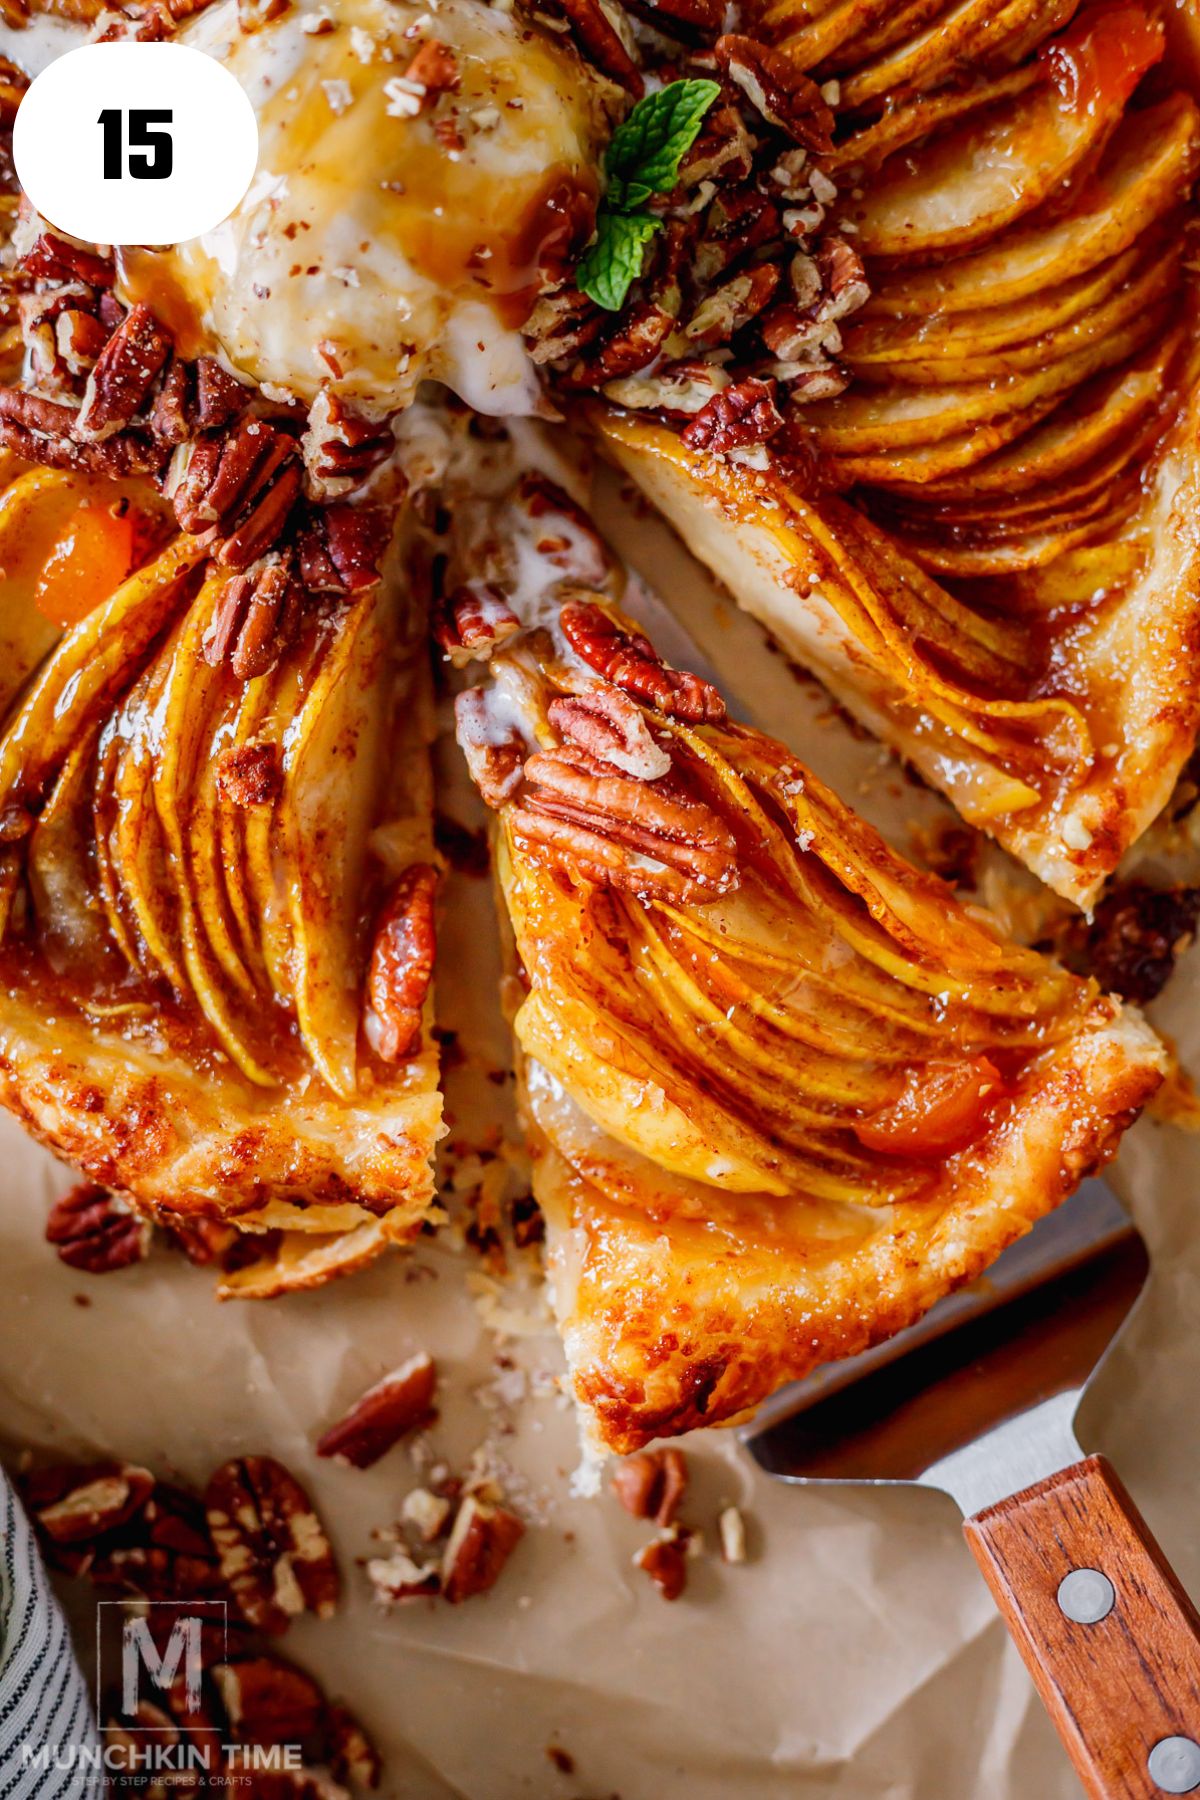
If you're using apricot preserves, warm them slightly in the microwave and gently brush them over the pears.
This gives them that beautiful glossy finish, just like the pastries you see at a bakery!
Now slice it while it's still a little warm and add a big scoop of vanilla ice cream.
The combination of warm cinnamon pears, flaky pastry, and melting vanilla bean ice cream is AMAZING!
Expert Tips for a Perfect Pear Galette
Here are a few things that make a big difference when baking with puff pastry and fresh pears.
- Keep the puff pastry cold. If it gets too warm while you're assembling the galette, refrigerate it for 10–15 minutes before baking. This helps the pastry puff up beautifully.
- Choose slightly firm Bartlett pears. Overripe pears can release too much juice and become mushy in the oven.
- Don't skip the cornstarch. It helps thicken the juices as the pears bake.
- Don't overcrowd the filling. Arrange the pears in an even layer so they cook evenly and the pastry underneath has a chance to bake.
- Bake until the crust is golden. If the pastry looks pale, give it a little more time. You want those edges beautifully crisp and flaky.
- Let it cool before slicing. Giving it a few minutes to rest helps the filling settle and makes it easier to serve.
Easy Variations
One of the things I love about this easy pear dessert is how simple it is to change up depending on what you have at home!
- Apple and pear galette: Replace one pear with a thinly sliced apple for a delicious combination of fall flavors.
- Pear and almond galette: Sprinkle a little finely ground almond over the pastry before adding the pears. It adds a lovely nutty flavor and helps absorb extra moisture.
- Maple cinnamon pears: Add a small drizzle of maple syrup and reduce the brown sugar slightly.
- Pear and cranberry galette: Add a handful of fresh cranberries for a beautiful holiday dessert with a little tartness.
- Cardamom pear galette: Add a pinch of ground cardamom for a warm, fragrant twist.
What to Serve with Pear Galette
My absolute favorite way to serve this pear galette is warm with a big scoop of vanilla ice cream. SO GOOD! But there are so many delicious ways to enjoy it!
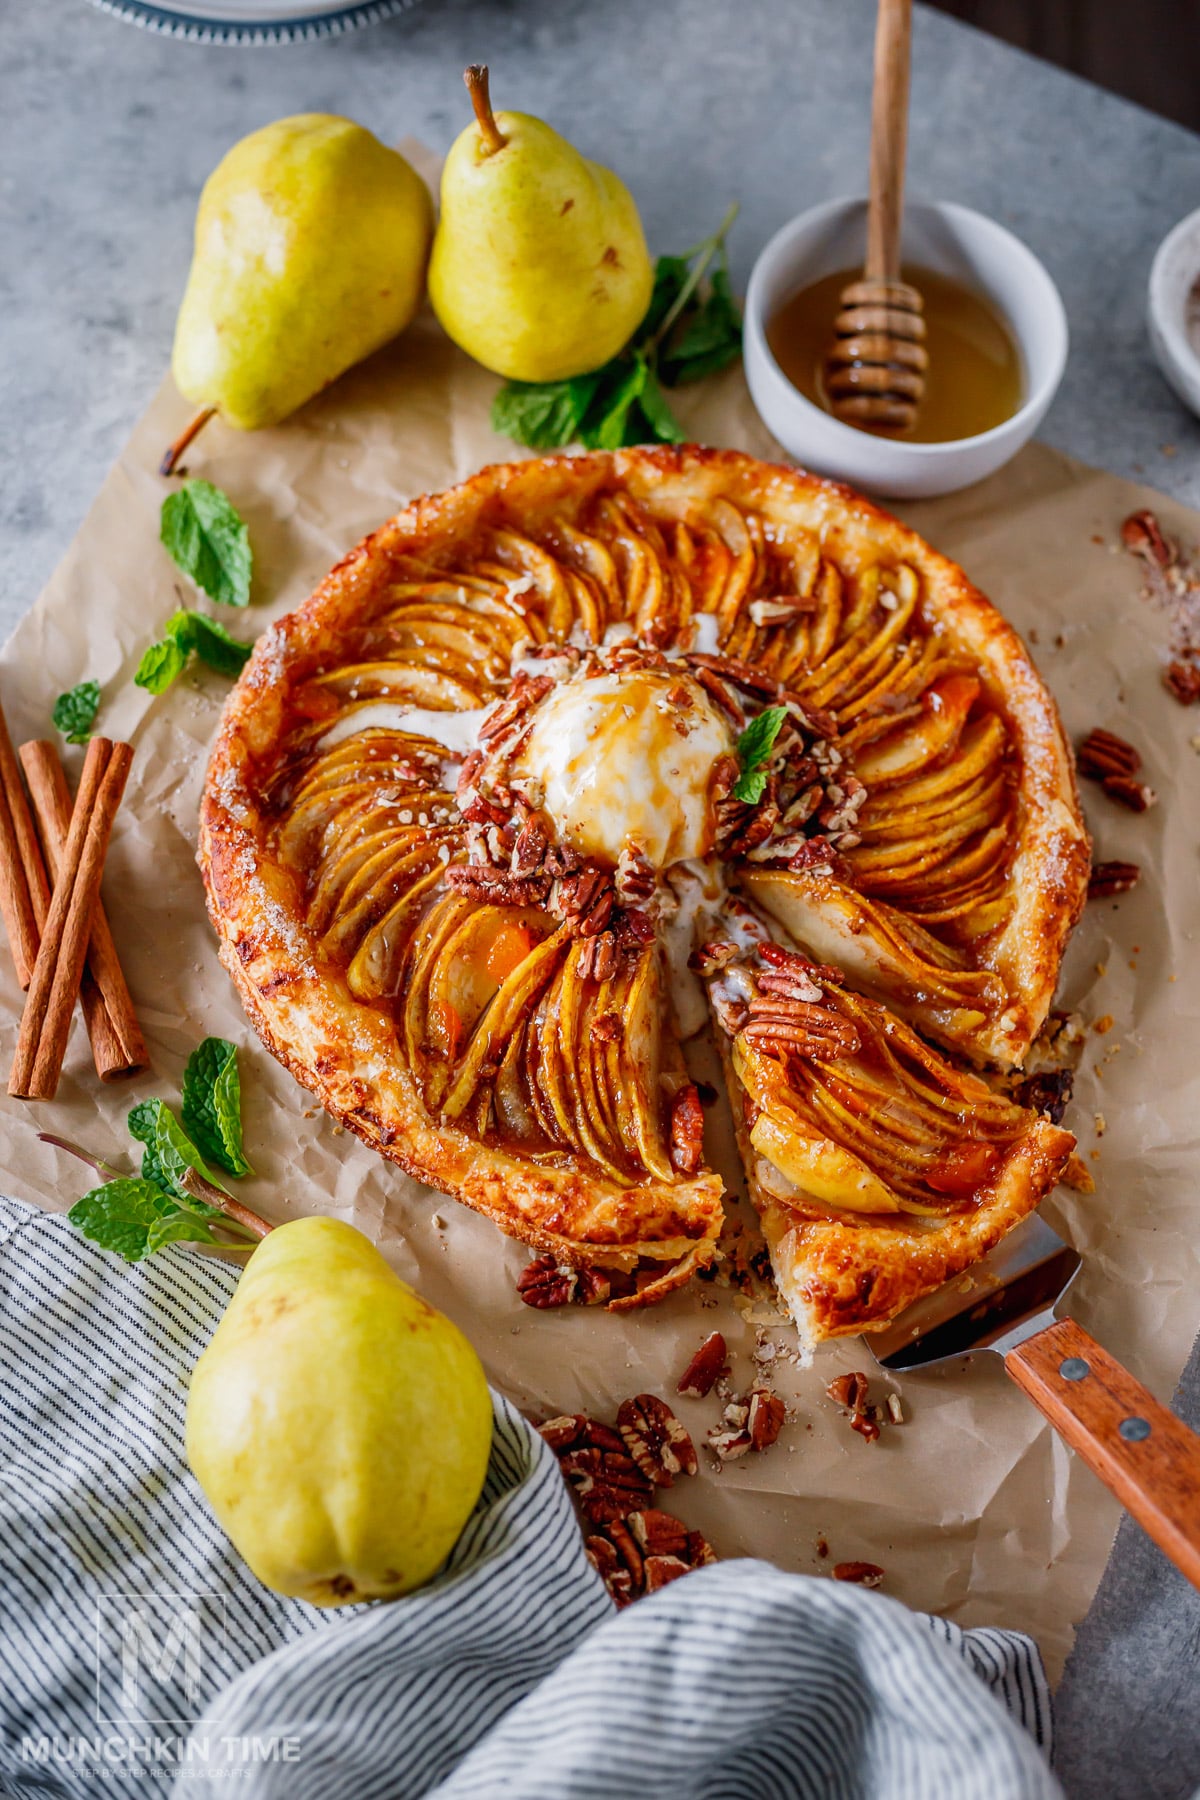
- Vanilla Bean Ice Cream: My favorite! There's just something about cold vanilla ice cream melting into those warm cinnamon pears and buttery, flaky pastry. Heavenly!
- Fresh Whipped Cream: A big dollop of fluffy homemade whipped cream makes this dessert feel extra special.
- Caramel Sauce: Drizzle a little warm caramel sauce over the pears for an extra sweet, buttery treat.
- Powdered Sugar: Keep it simple with a light dusting of powdered sugar. It looks so pretty, too!
- Greek Yogurt: If you have leftovers, try serving a slice with a spoonful of creamy Greek yogurt for a cozy breakfast treat.
Making this for Thanksgiving? This pear galette would look beautiful on your holiday dessert table next to my Best Homemade Pumpkin Pie. Two delicious fall desserts everyone can enjoy!
How to Store and Reheat Pear Galette
If you happen to have leftovers, here's how to keep them delicious!
- Refrigerator: Let the galette cool completely, then store it in an airtight container in the refrigerator for up to 3 days.
- Reheating: Place a slice in a 350°F oven for about 8–10 minutes, or until warmed through and the pastry is crispy again.
- Freezer: You can freeze the fully baked and cooled galette, tightly wrapped, for up to 2 months. Thaw in the refrigerator before reheating. Just keep in mind the pears may become a little softer after freezing.
I recommend using the oven instead of the microwave when reheating. The microwave tends to make puff pastry soft, and we want to keep those delicious flaky layers!
Frequently Asked Questions
Absolutely! That's what I use for this recipe. It makes everything so much easier and gives you a beautiful, flaky crust without making dough from scratch.
Nope! I like leaving the skins on because they add a little color and look beautiful once baked. But you can peel them if you prefer a softer texture.
Yes! You can bake it a few hours before serving and warm it gently in the oven.
For the best flaky texture, I recommend baking it the same day you plan to serve it.
The biggest things are using slightly firm pears, adding cornstarch to the filling, and leaving any extra pear juices in the bowl.
Also, make sure the pastry is fully baked and golden before removing it from the oven.
Yes! Just thaw it according to the package instructions before using it. You want the pastry flexible enough to unfold and roll out, but still cold.
Of course! You can use regular melted butter instead. But if you have a few extra minutes, I really recommend browning it. That nutty flavor is delicious with the sweet pears.
More Easy Dessert Recipes You'll Love
If you love easy homemade desserts as much as I do, here are a few more delicious recipes to try! Whether you're in the mood for something warm and cozy or a little sweet treat, there's something here for everyone!
- Sourdough Discard Strawberry Galette – If you love this pear galette, you HAVE to try this one next! A buttery sourdough crust filled with sweet strawberries and blueberries. SO GOOD!
- Easy Apple Cobbler – Warm, tender apples baked under a delicious golden topping. One of those cozy desserts that's even better with vanilla ice cream!
- Pumpkin Cheesecake Balls – Little bites of creamy pumpkin cheesecake with dulce de leche, walnuts, and chocolate. Perfect for fall gatherings!
- Sourdough Pumpkin Muffins – Soft, fluffy pumpkin muffins with warm cinnamon and an optional cream cheese center. Such a delicious fall treat!
- No Bake Mini Cheesecakes – Creamy little cheesecakes with a buttery graham cracker crust and fresh berries. So pretty for parties, and no oven needed!
If You Make This Pear Galette...
I would LOVE to hear how it turned out!
If you enjoyed this recipe, please come back and leave a 5-star rating and a comment below. Your reviews mean so much to me and help other readers find recipes they'll love, too!
And if you take a picture, tag me @munchkintimeblog on Instagram. I absolutely LOVE seeing what you're making in your kitchens!
Don't forget to SAVE this recipe for Thanksgiving, Christmas, or your next cozy baking day. And share it with a friend who loves easy homemade desserts!
📖 Recipe
Easy Pear Galette with Puff Pastry
Equipment
Ingredients
- 1 sheet puff pastry thawed but cold
- 2-3 medium Bartlett pears cored and thinly sliced
- 3 tablespoons butter unsalted
- ¼ cup brown sugar
- 1 tablespoon cornstarch
- ¾ teaspoon cinnamon
- 1 teaspoon vanilla extract
- 1 teaspoon lemon juice freshly squeezed
- Pinch of salt
- 1 large egg
- 1 tablespoon milk
- Coarse sugar optional
For Serving
- 2 tablespoons apricot preserves optional
- vanilla bean ice cream
- pecans toasted
Instructions
- Preheat the oven. Preheat your oven to 400°F. Line a large baking sheet with parchment paper.
- Brown the butter. Add the butter to a small saucepan over medium/low heat. Cook, stirring or swirling occasionally, until golden brown and nutty, about 3–5 minutes.
- Prepare the pears. In a large bowl, gently toss the sliced Bartlett pears with brown sugar, cornstarch, cinnamon, vanilla, lemon juice, salt, and 2 tablespoons of the brown butter.
- Roll out the pastry. On a parchment paper, roll the cold puff pastry into an approximately 11-inch circle. Transfer to the prepared baking sheet.
- Arrange the pears. Arrange the pears in the center of the pastry, overlapping the slices slightly and leaving a 1–2-inch border. Leave any extra juices in the mixing bowl.
- Fold the edges. Gently fold the pastry edges over the pears, overlapping the folds as you go. Drizzle the remaining brown butter over the pears.
- Add the egg wash. Whisk the egg and milk together. Brush over the exposed pastry edges and sprinkle with coarse sugar, if desired.
- Bake. Bake for 30–35 minutes, or until the pastry is deeply golden and flaky and the pears are tender.
- Cool and glaze. Let the galette cool for 10–15 minutes. Warm the apricot preserves and gently brush over the pears for a glossy finish.
- Serve. Slice and serve warm with vanilla ice cream, caramel drizzle and toasted pecans. Enjoy!
Notes
- Pears: I used Bartlett pears. Choose slightly firm pears so they hold their shape while baking.
- Puff pastry: Keep the pastry cold for the best flaky texture.
- Brown butter: Watch carefully so it doesn't burn. Those little golden-brown bits add the most delicious flavor!
- Make ahead: Bake a few hours before serving and reheat gently in the oven.
- Storage: Refrigerate leftovers in an airtight container for up to 3 days.
- Reheating: Warm in a 350°F oven until the pastry is crispy again.


Leave a Reply