
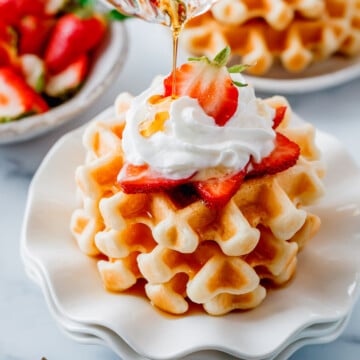
Sourdough Waffles Recipe - Crispy, fluffy sourdough discard waffles made with pantry staples is an easy, freezer-friendly breakfast recipe that's even better when the batter is prepped the night before!
Sourdough discard waffles are an easy and delicious way to use up sourdough discard! Just like sourdough discard pancakes, this recipe is the perfect way to reduce waste and create something irresistible at the same time.
Whether you’re new to sourdough or a longtime expert, everyone will love these fluffy, flavorful waffles. The sourdough discard adds a subtle tang, incredible texture, and is a breakfast or brunch dish you’ll want to make every morning!
Looking for more sourdough recipes? Try my sourdough bread recipe, chicken stew with sourdough dumplings, and soft and crispy sourdough focaccia.
Jump to:
Why You’ll Love This Recipe
- Meal prep friendly. Can be prepared the night before and cooked the next morning!
- Taste and texture. A slight tang, delicious flavor, and extra softness on the inside.
- Versatile. Breakfast, brunch, or dessert, they’re perfect anytime of the week!
- Dairy-free option. These can be made without dairy if preferred.
Ingredients for Fluffy Sourdough Waffles
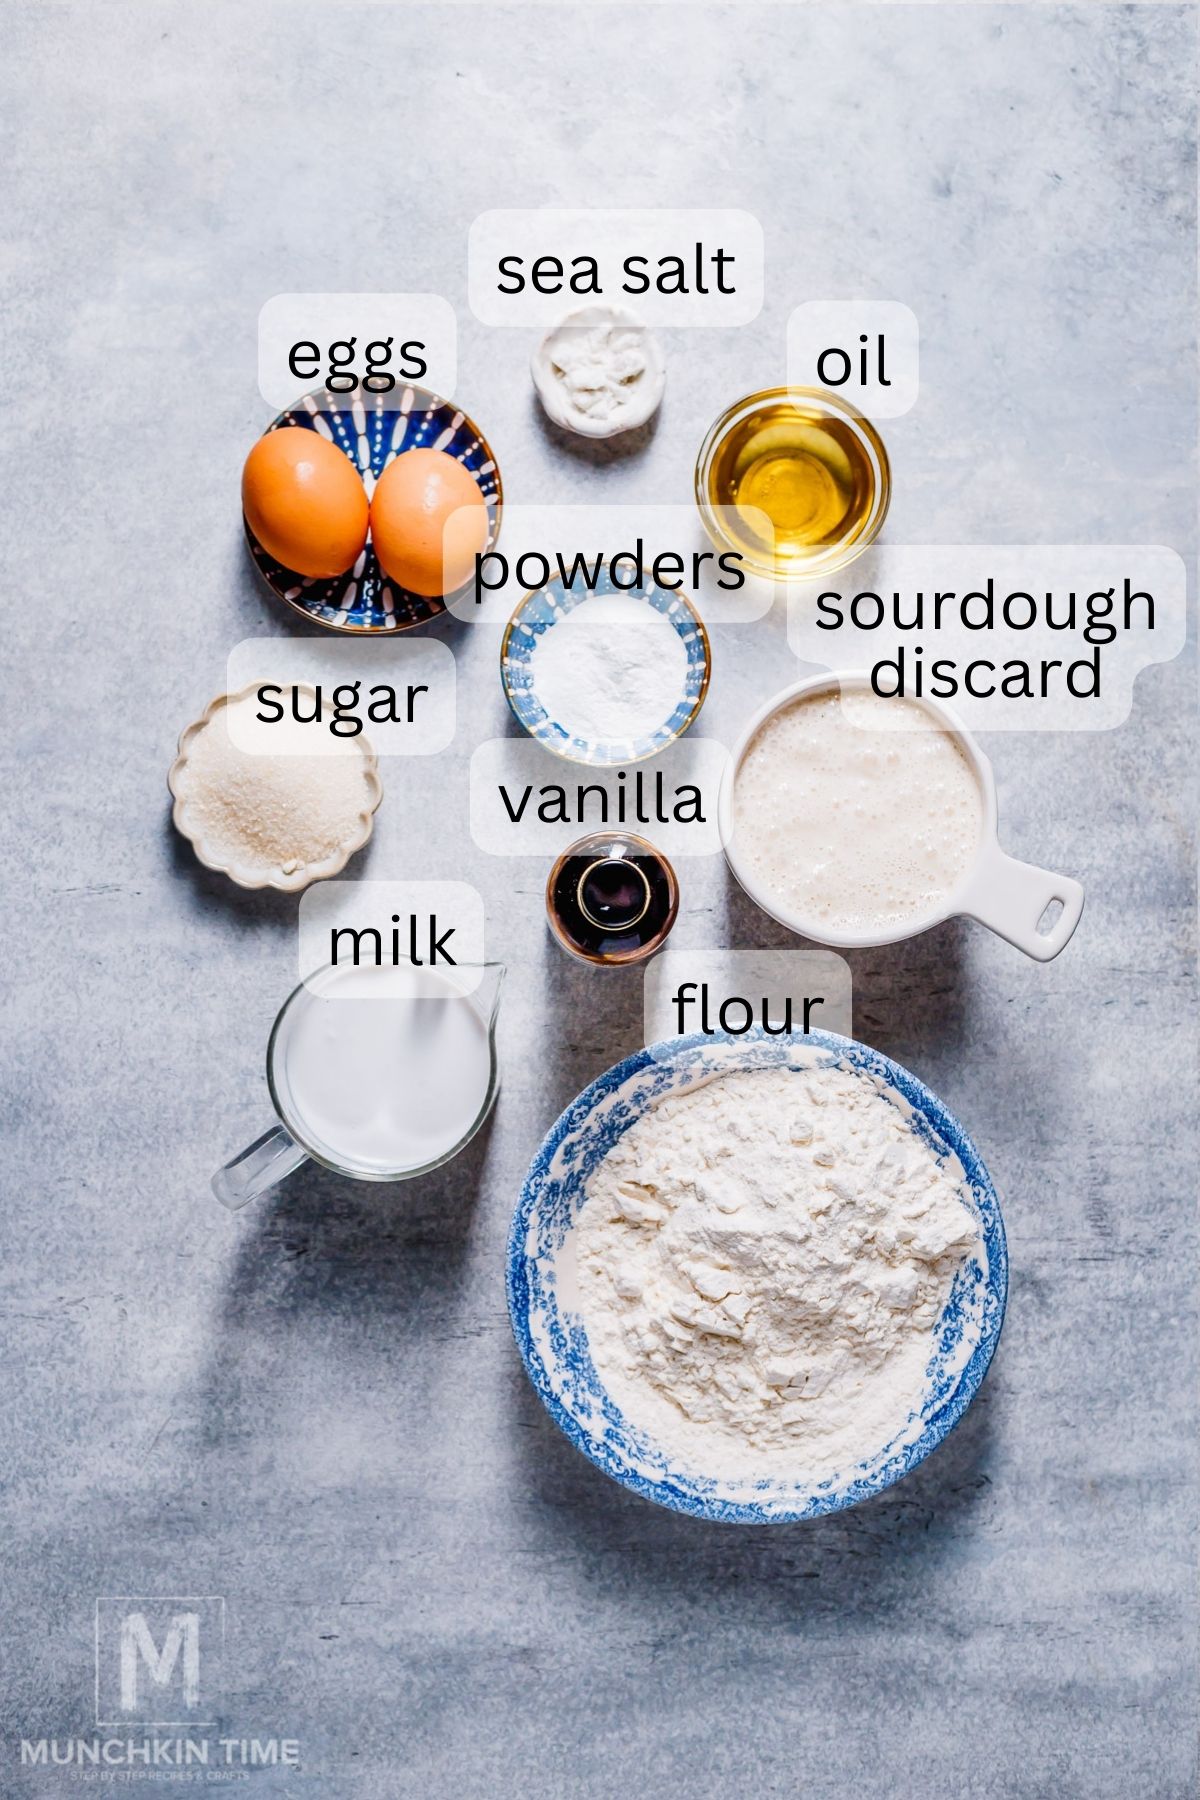
Dry Ingredients
- All-purpose flour: Measure your flour properly, using the spoon and level method. If there are lumps in your flour, sifting is a good idea.
- Sugar and salt: For balance of flavors.
- Baking powder and baking soda: Leavening agents that work with the sourdough discard to make them night and fluffy and soft on the inside.
Wet Ingredients
- Sourdough discard: You can also use an active sourdough starter.
- Large eggs: These help bind the waffles.
- Whole milk: If making them dairy free, use coconut milk or your favorite dairy-free milk.
- Vanilla extract: For extra flavor.
- Avocado oil: You’ll also need some to grease the waffle iron. If you prefer to use melted coconut oil or butter you can.
See the recipe card for the full information on recipe ingredients and quantities.
How to Make Sourdough Waffles
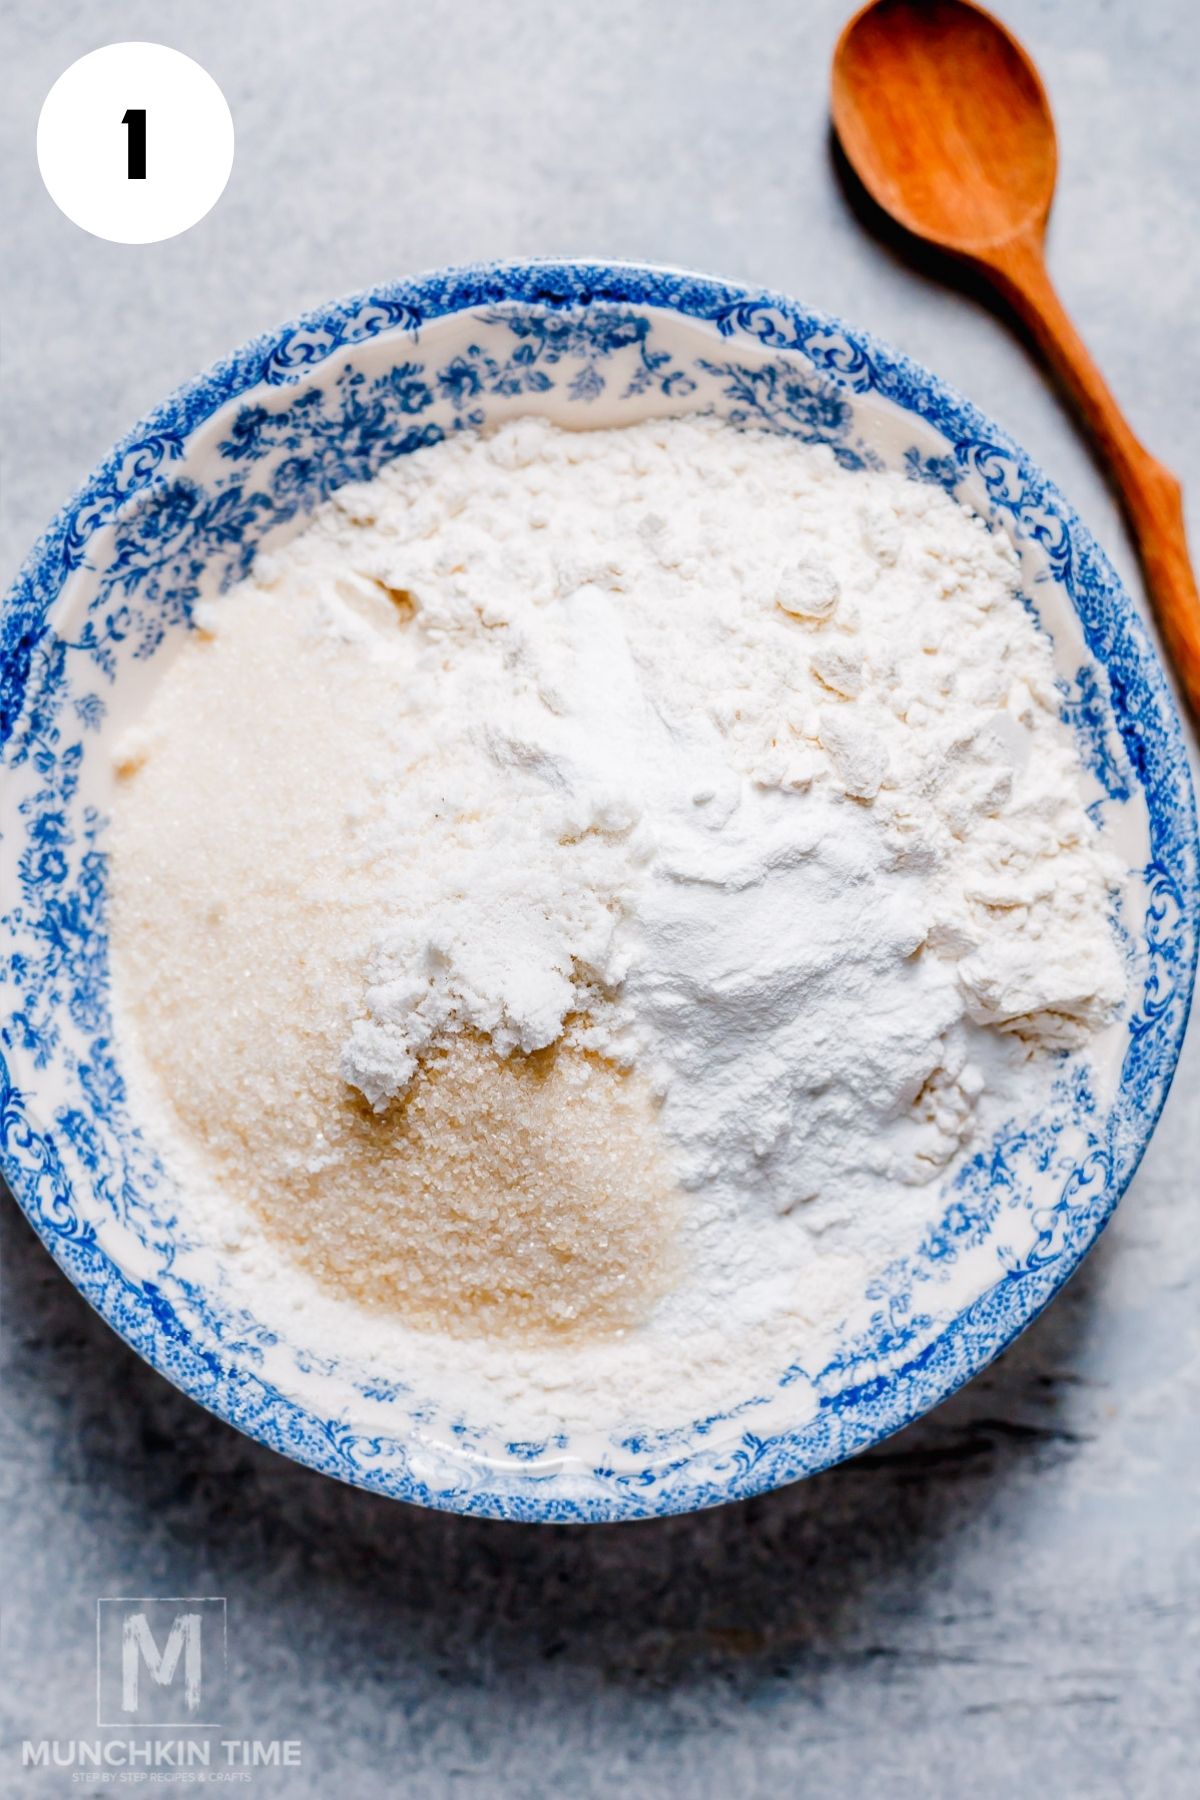
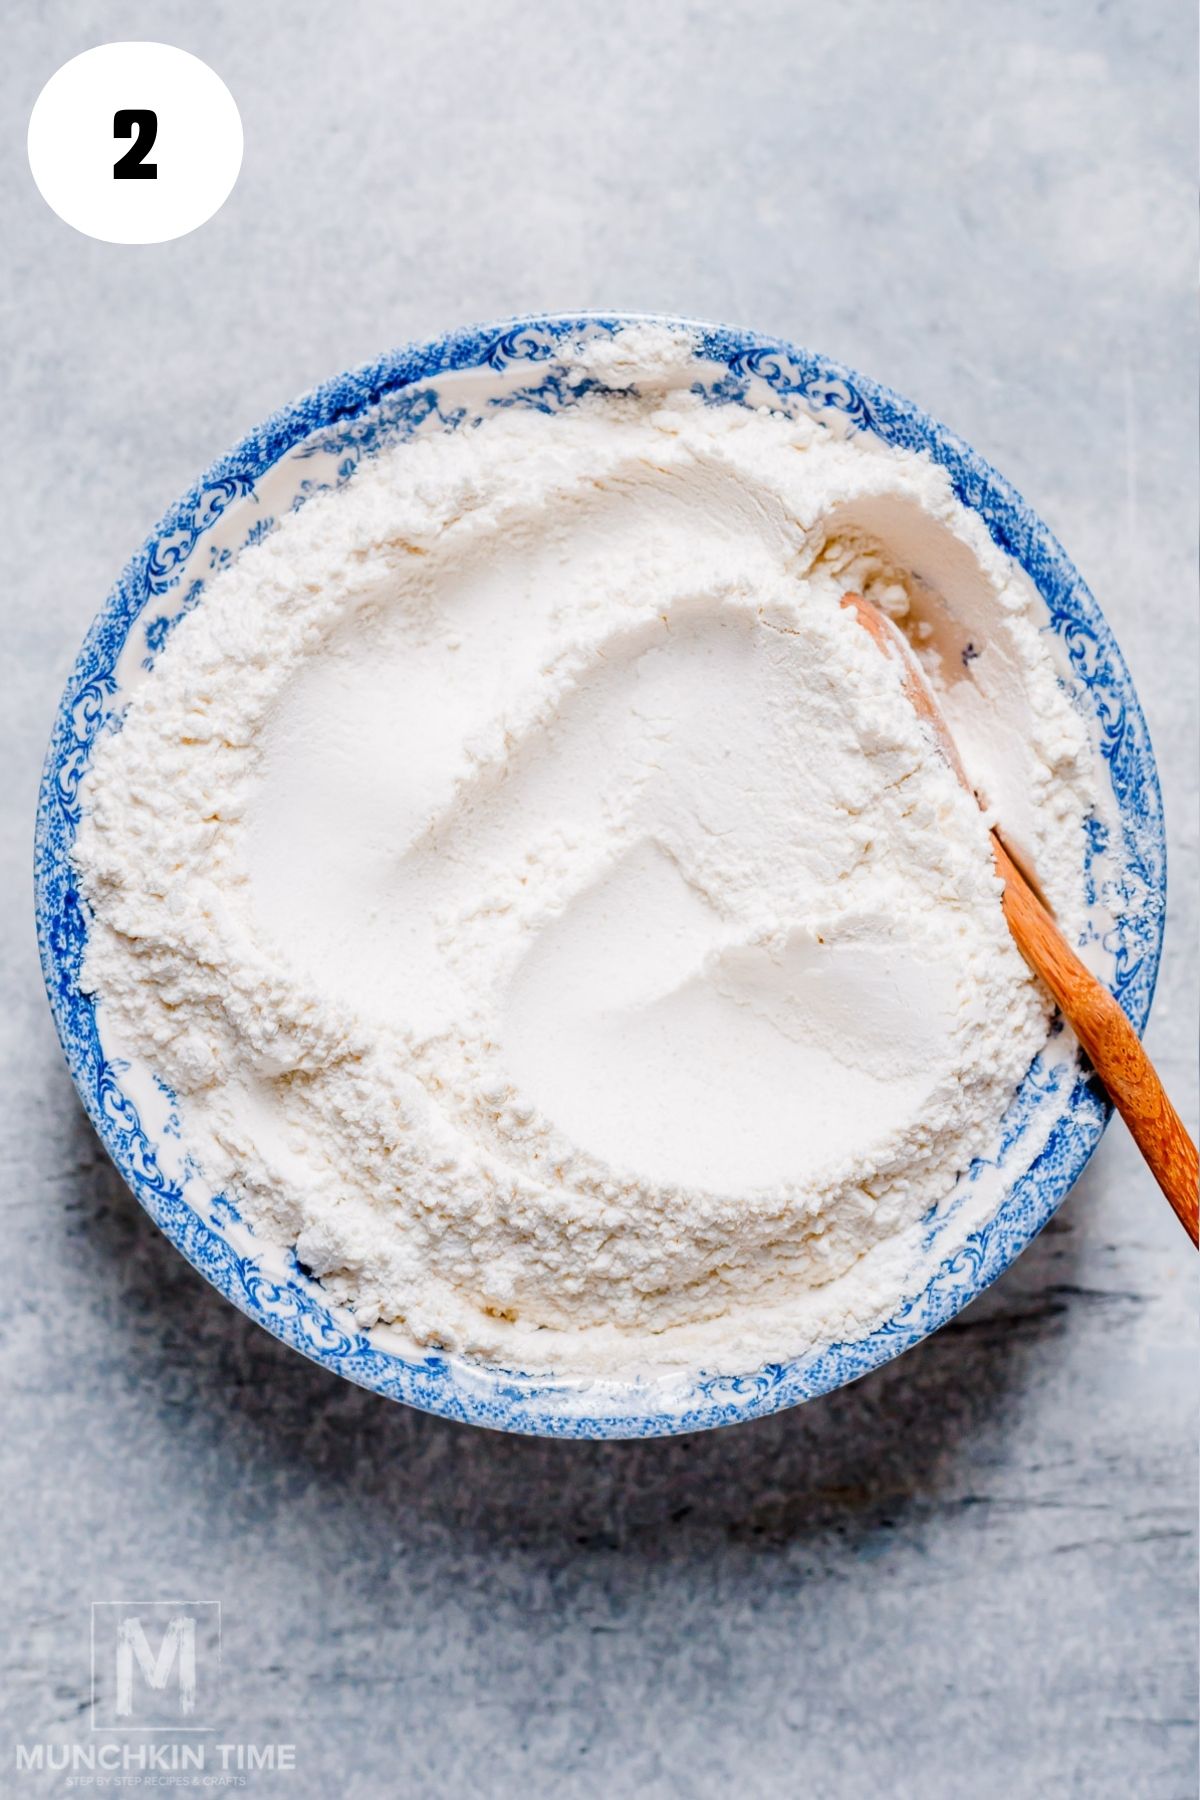
Step 1: In a large bowl, whisk the dry ingredients together.
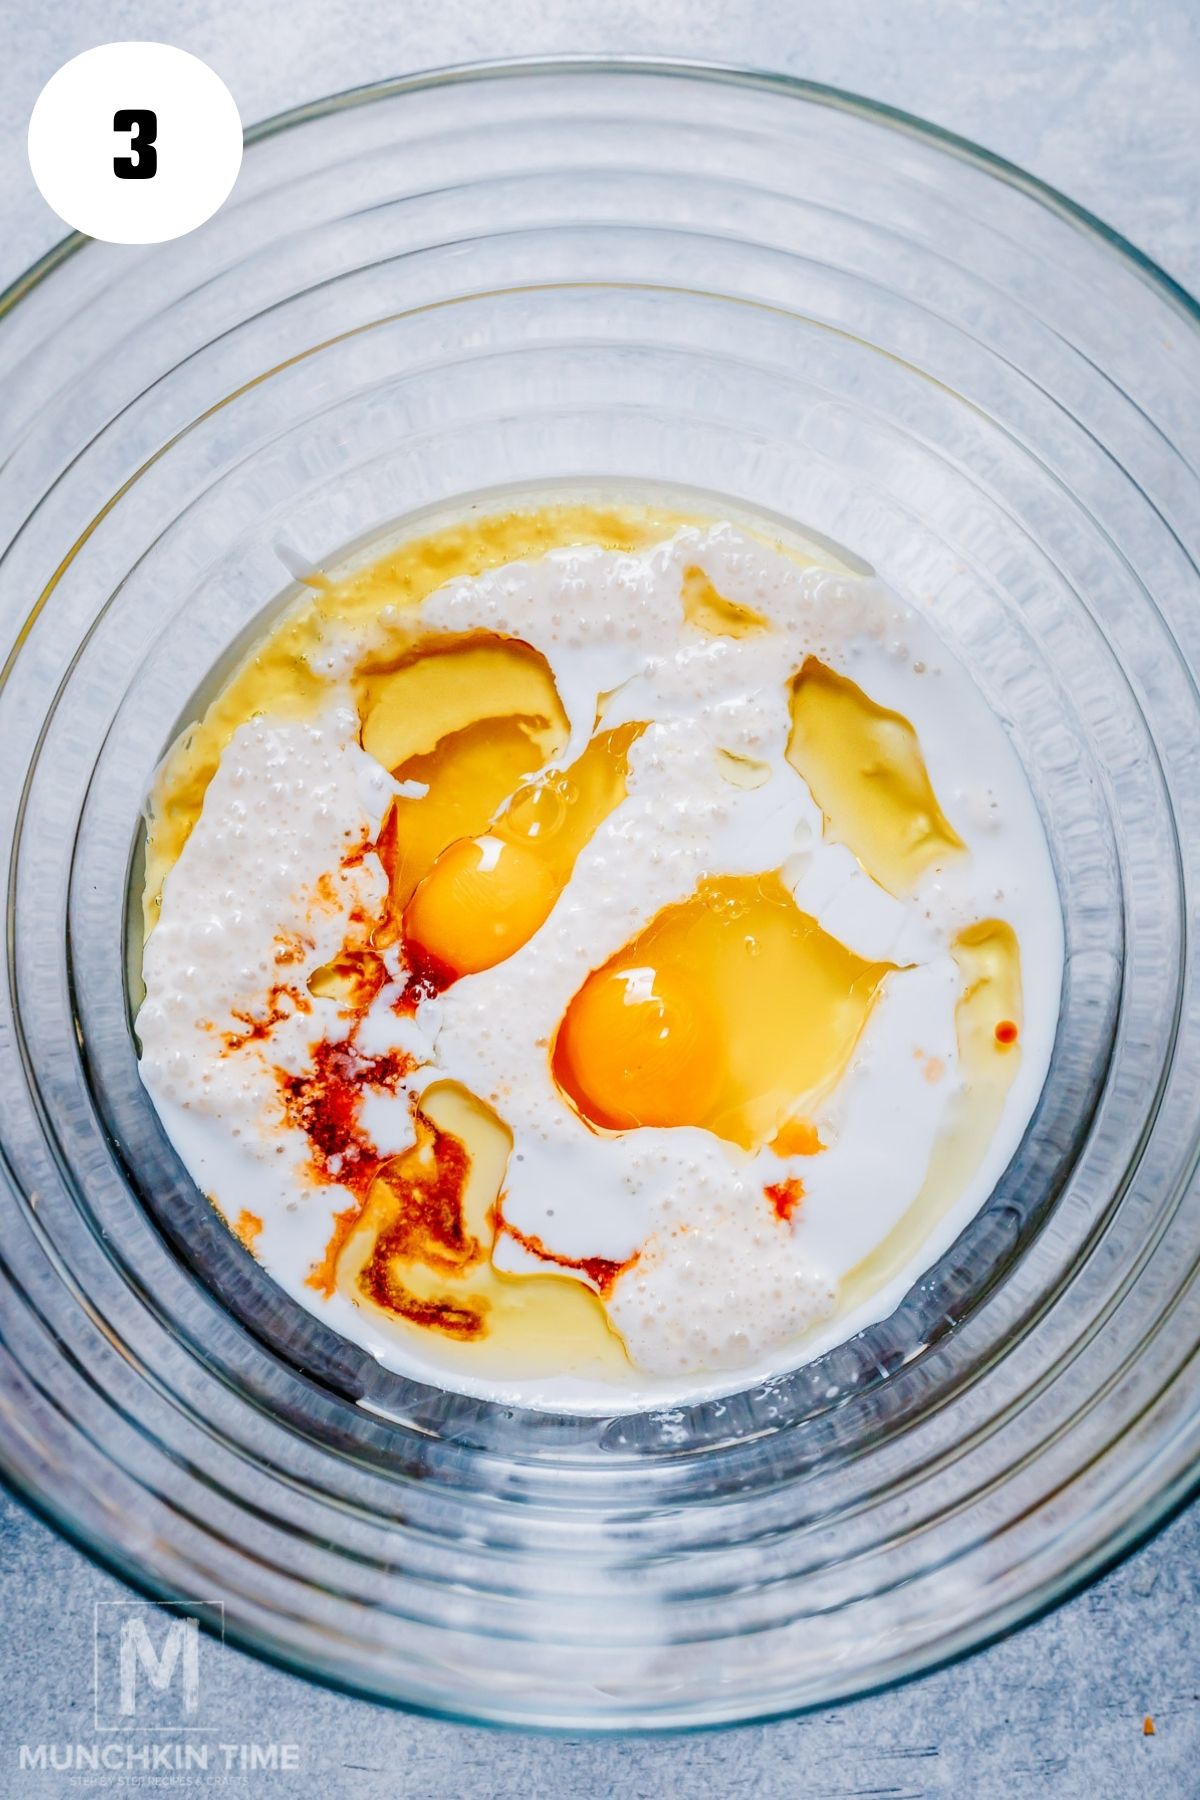

Step 2: Add all the wet ingredients to the different bowl and mix, then combine dry ingredients with wet ingredients and whisk until just combined.
Step 3: Let the batter rest for 5-10 minutes until bubbly.
Step 4: Preheat your waffle iron and lightly grease it with oil or butter.
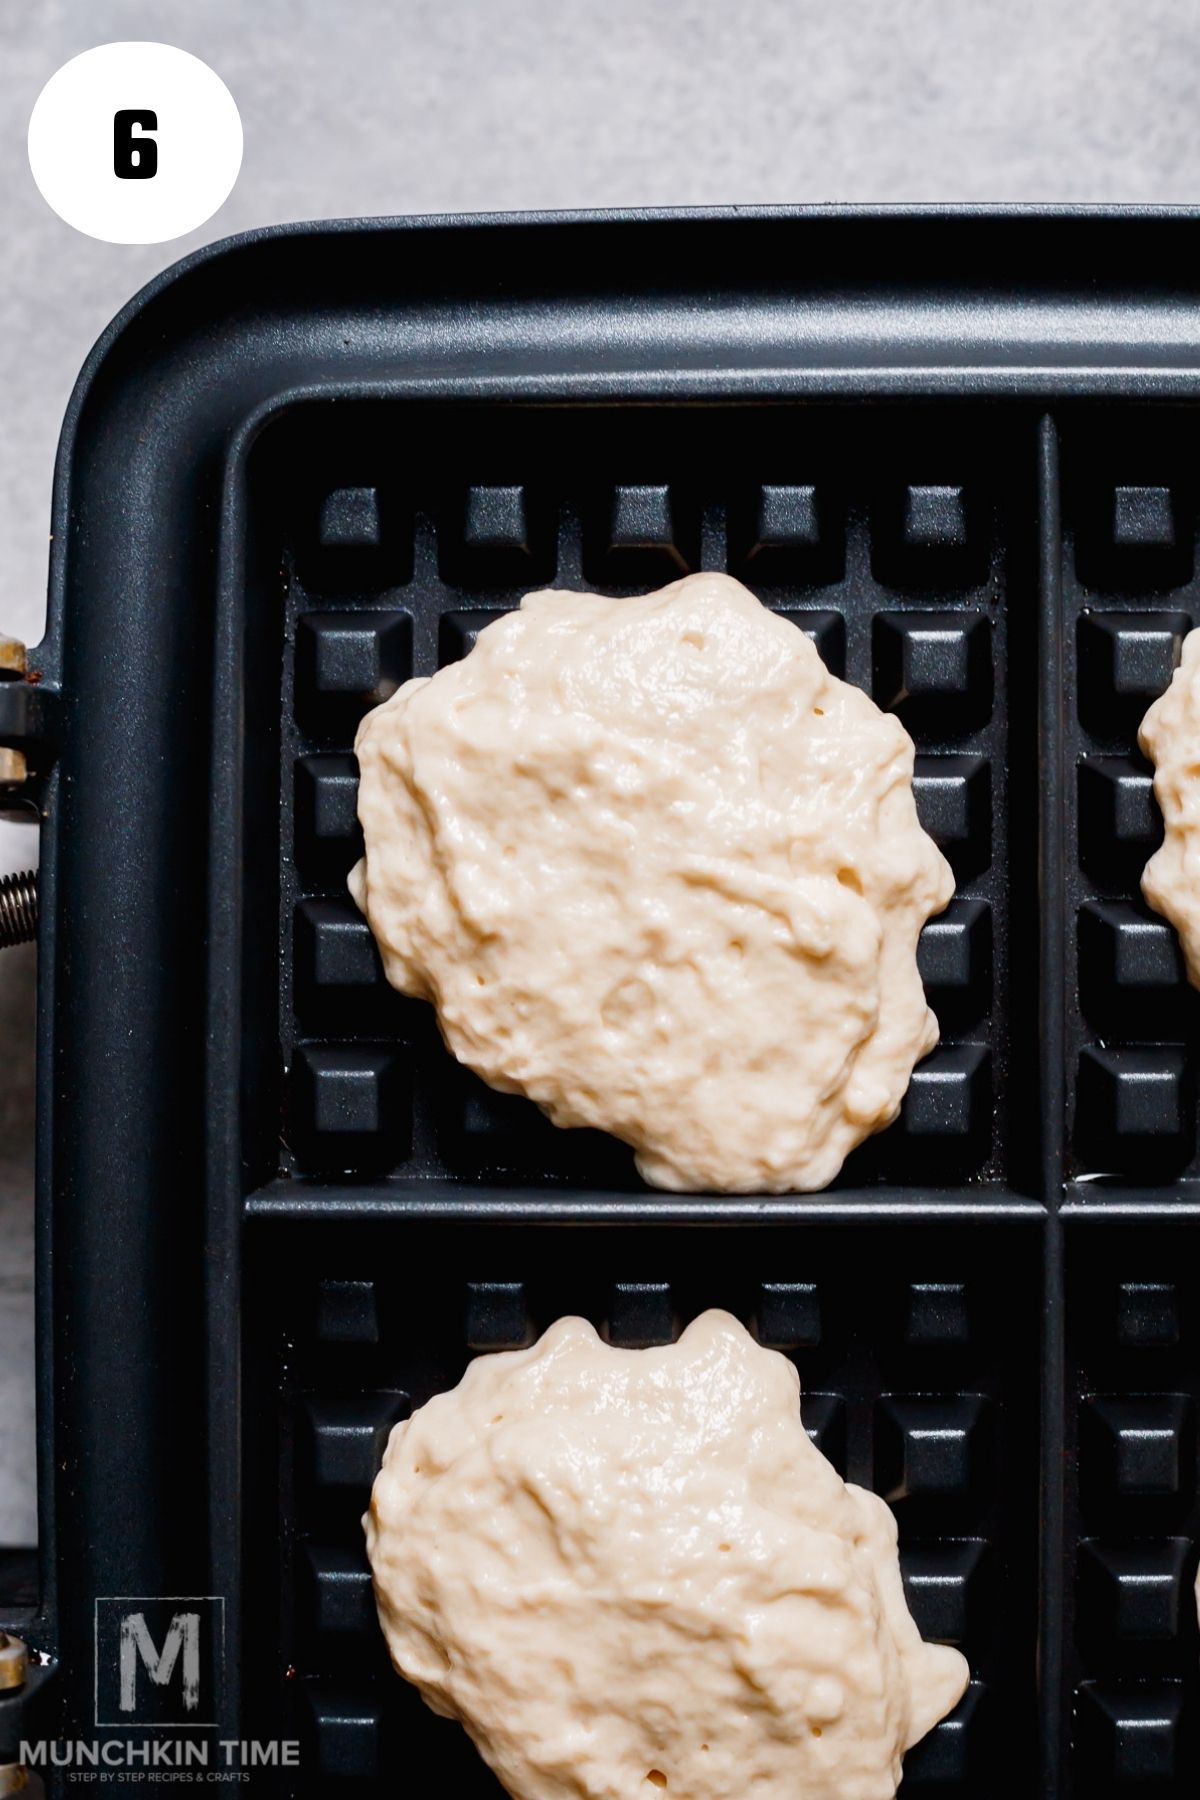
Step 5: Pour batter into the center of the waffle iron and fill it until it just reaches the edges.
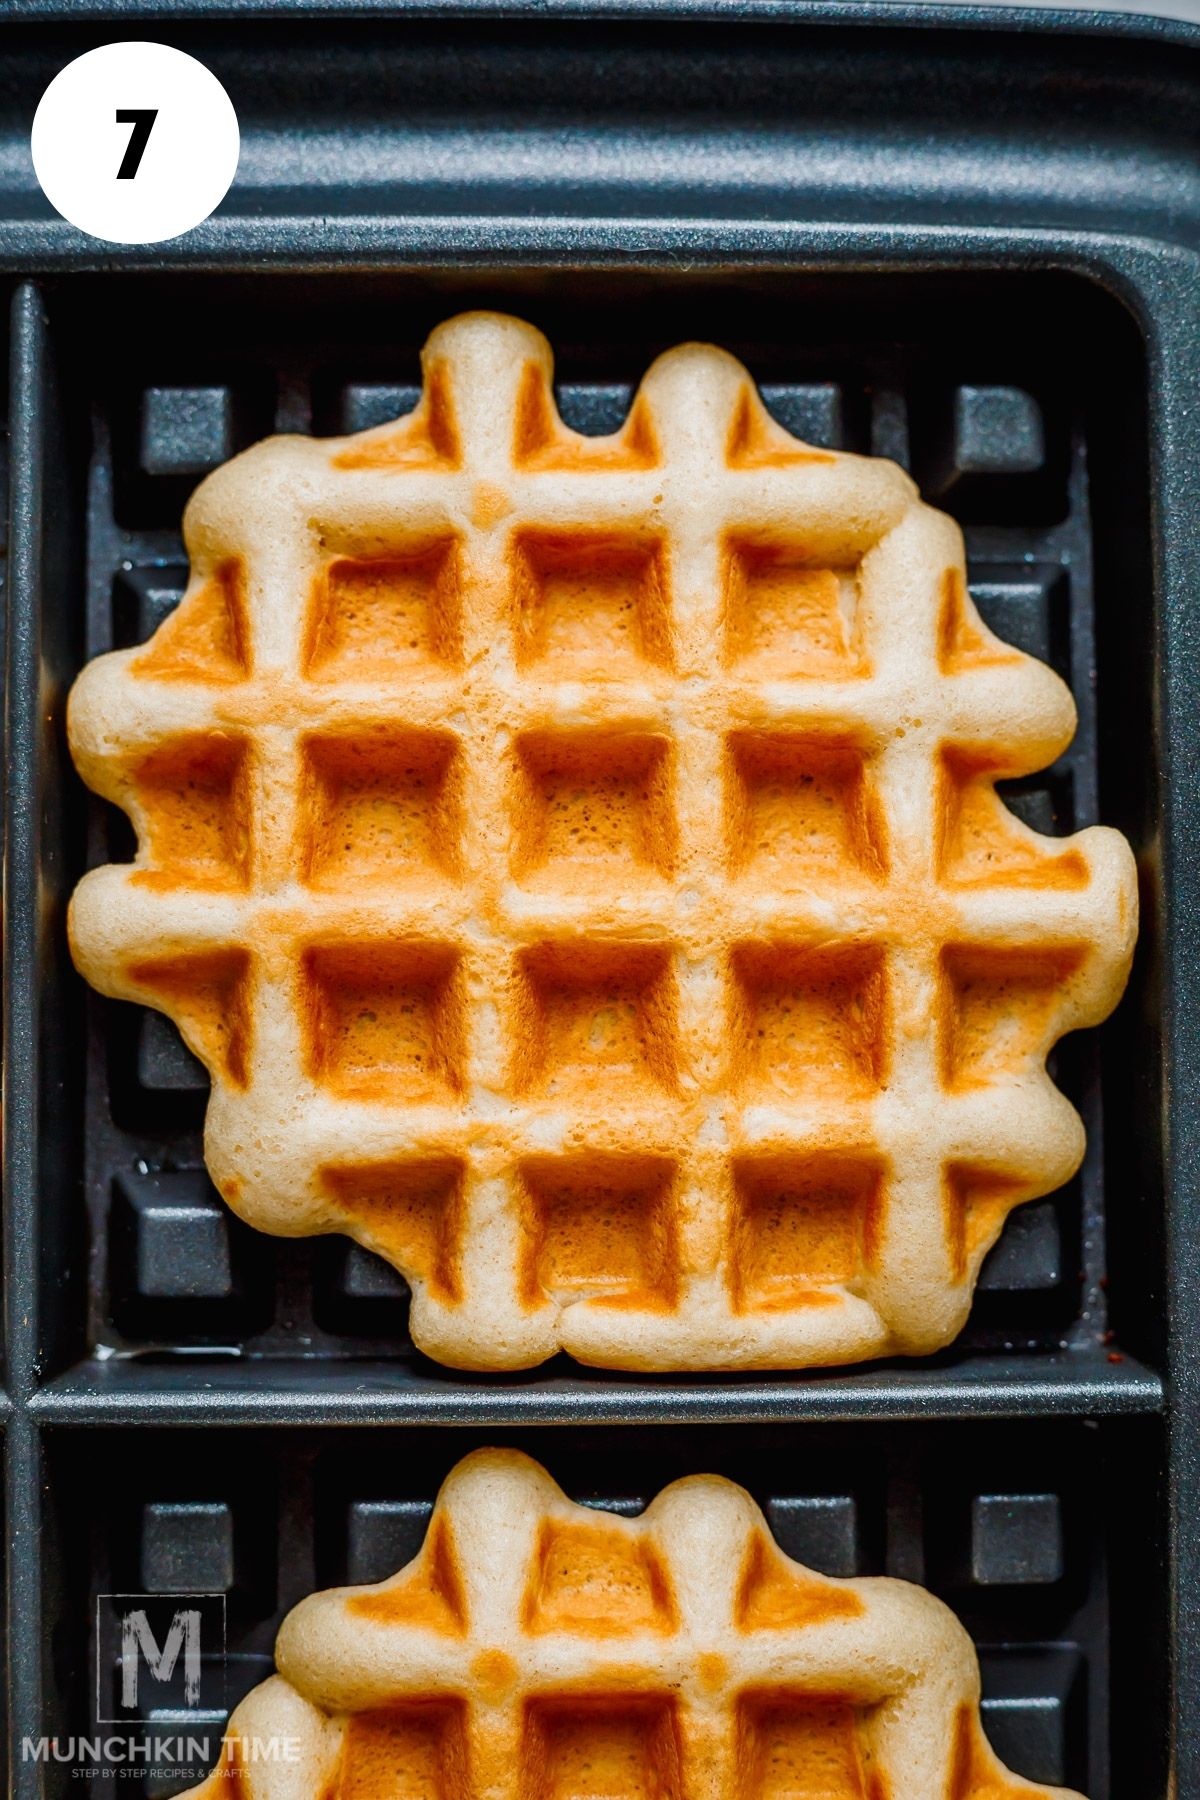

Step 6: Close the lid and cook until the outside of the waffles are golden brown and crispy (about 3-5 minutes).
Step 7: Carefully remove the waffles and set aside on a wire rack over a baking sheet. Keep warm in the oven while you repeat with the remaining batter. Grease the waffle iron as needed.
Overnight Sourdough Waffles (Best Flavor & Texture)
Step 1: In a large bowl, whisk together all ingredients EXCEPT baking powder and baking soda until fully combined.
Step 2: Cover the bowl and refrigerate overnight.
Step 3: When you’re ready to cook the next day, sift the baking powder and baking soda into the bowl.
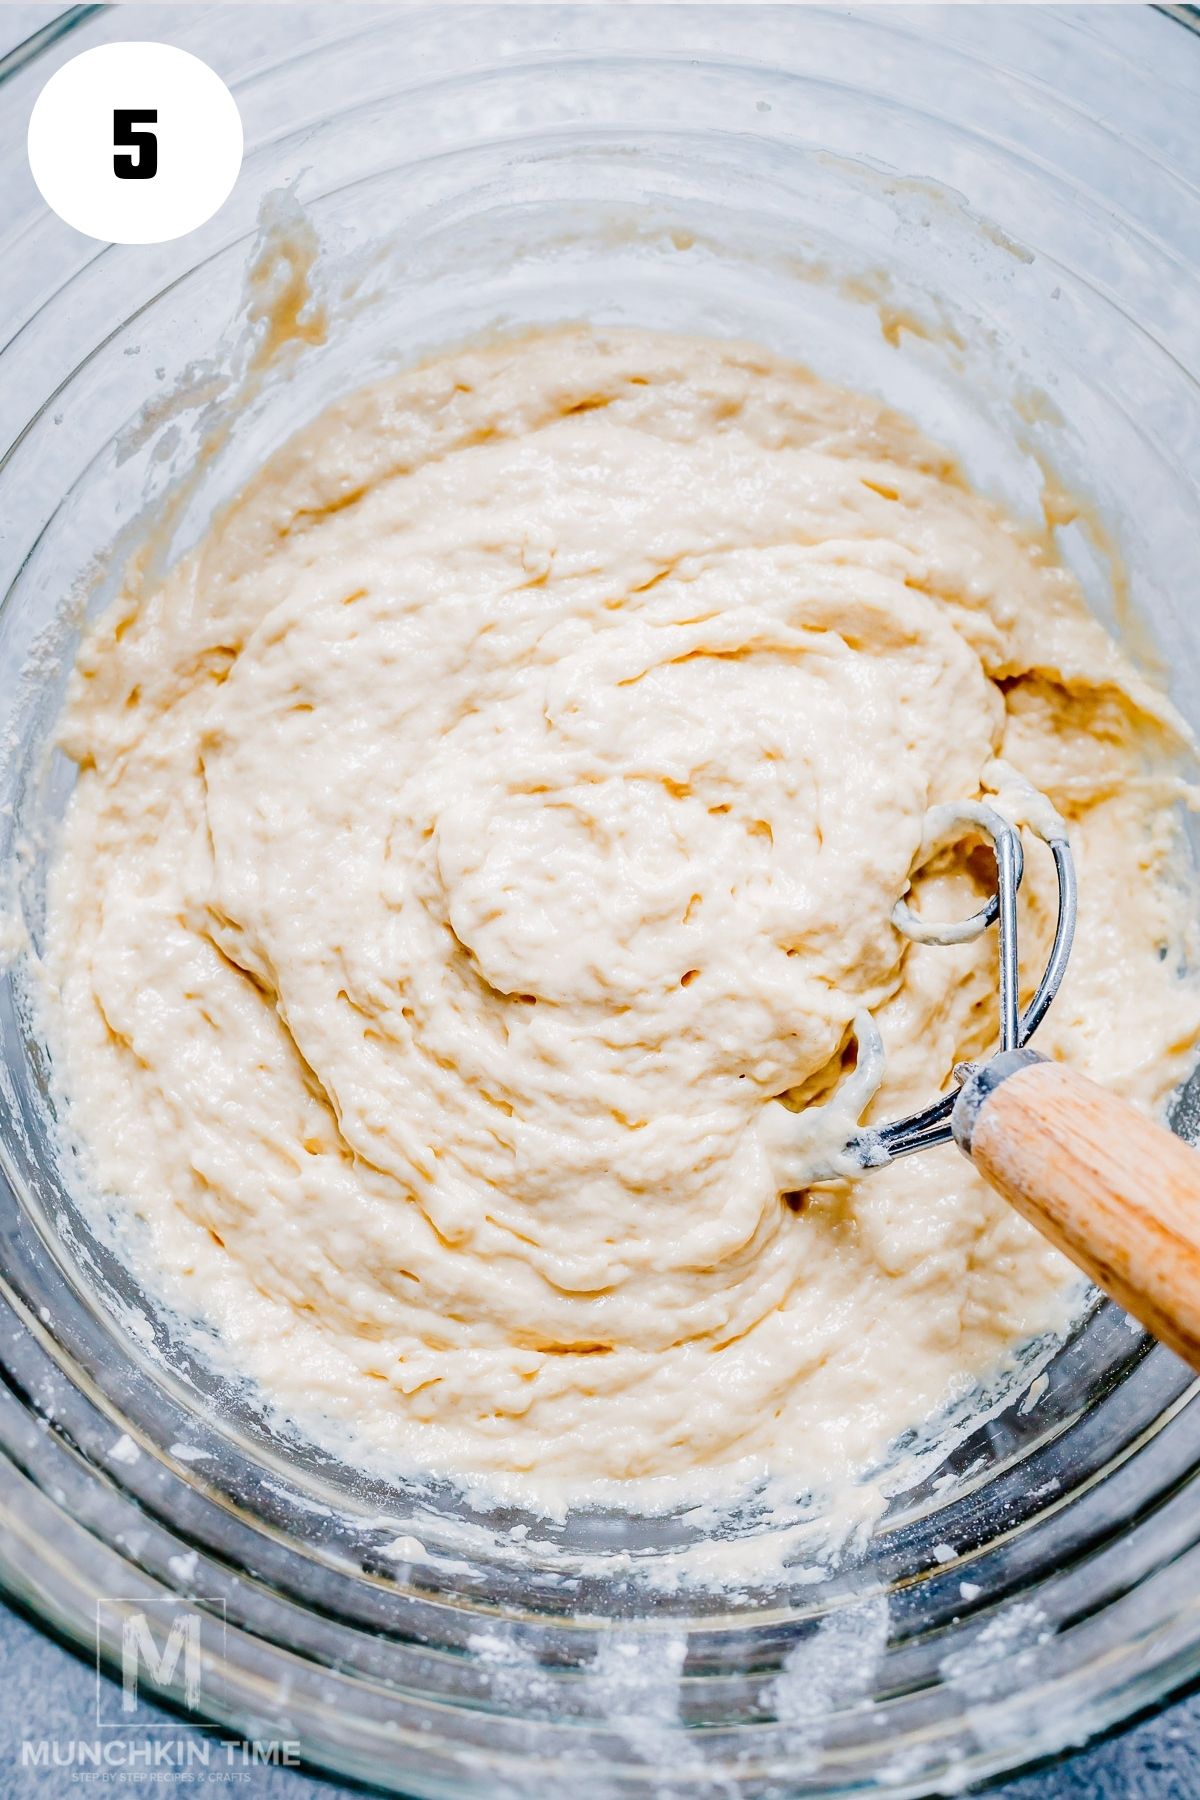
Step 4: Gently whisk everything until incorporated. The batter should look thick, bubbly, and airy. It should also be thick, yet still pourable.
Step 5: Let the batter rest for 10 minutes before making your waffles. Serve with your favorite toppings and enjoy!
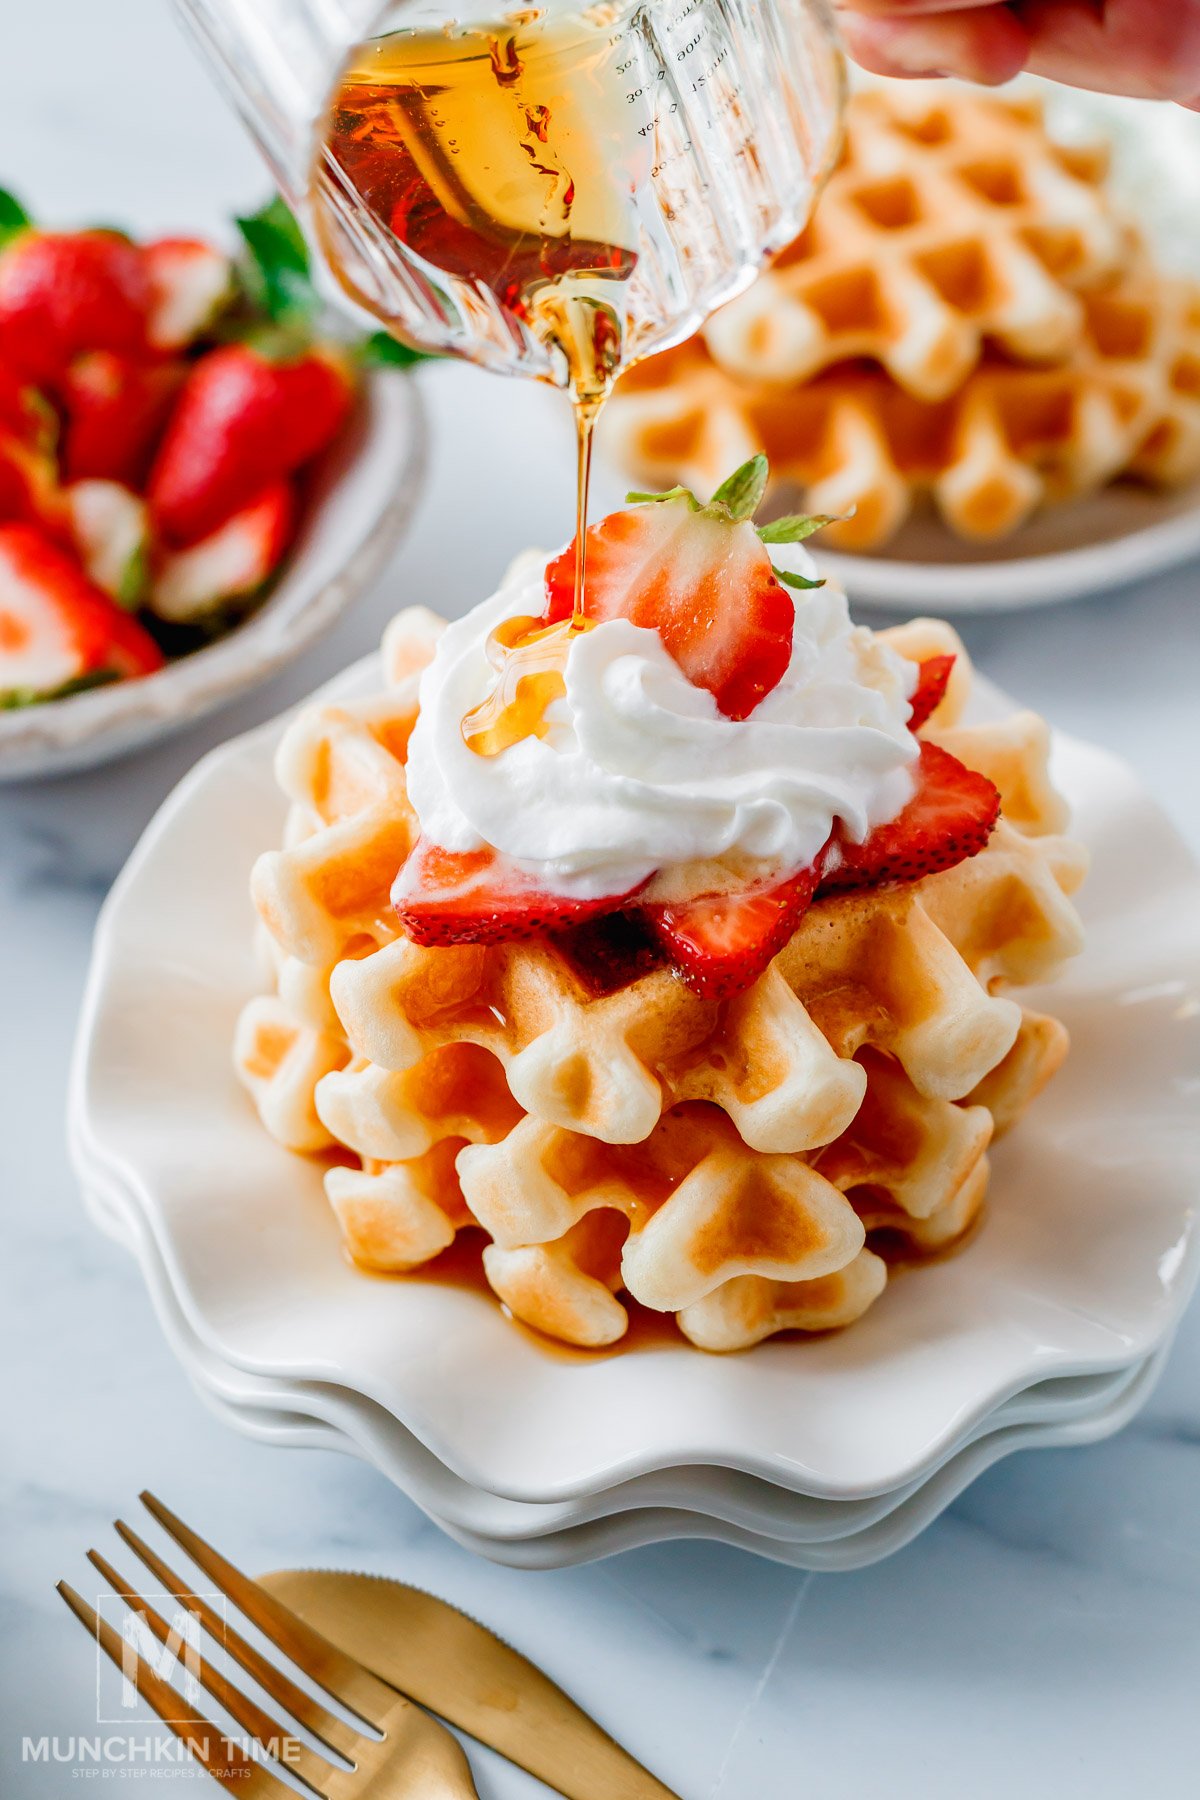
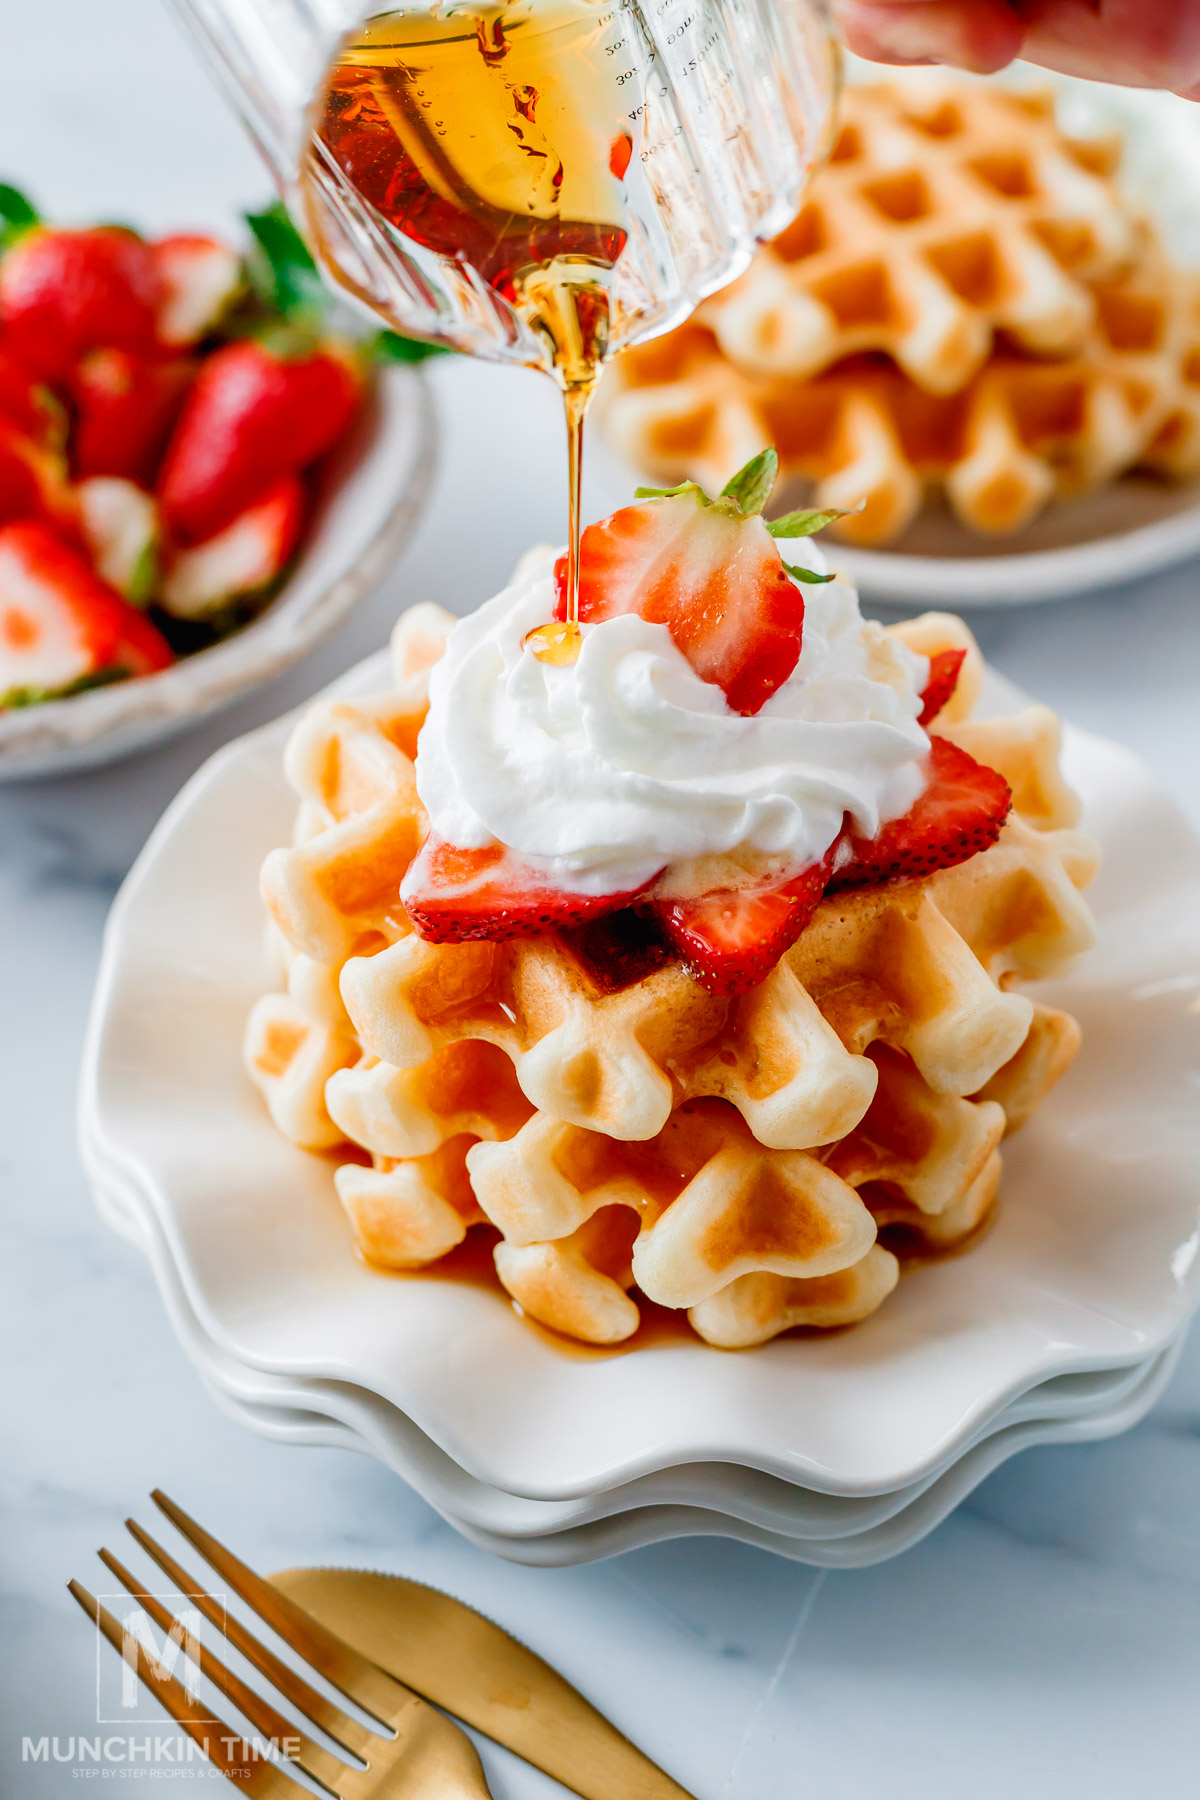
Topping Ideas
- Fresh berries
- Maple syrup (even better when it’s warm!)
- Strawberry sugar purée
- Whipped cream
- Chocolate syrup
- Nut butters
- Blueberry sauce
Expert Tips
- If the batter is too thick, add an extra 1 tablespoon of milk as needed to loosen it slightly.
- Do not overmix your batter. The key to light and fluffy waffles is the bubbly action in the batter!
- For the best texture, the flour needs to hydrate, which is why it’s important to let the batter rest after mixing.
- The amount of batter needed will depend on the size of your waffle iron. You can start with ¼ cup and add more if needed.
- Make sure the waffle iron is hot before adding the batter. That’s how you get the crispy edges.
- The taste of your waffles will be stronger if you use a discard that’s been in the fridge longer. Newer discards will have a milder flavor.
- The time it takes for your waffles to cook will also depend on your waffle maker.
- Dairy free tip: Swap the whole milk for full-fat coconut milk. It adds richness and keeps the waffles crispy on the outside and fluffy on the inside.
Recipe FAQs
No! You can use either one, but it’s not required to have an active discard (ie. bubbly).
Place them on a wire rack over a baking sheet. You want to elevate them to maintain their crispy exterior. Keep them warm in the oven at 200°F.
Once they’re completely cooled, transfer waffles to an airtight container or Zip top bag. Layer each one with parchment paper to keep them separated. Store
Yes! These freeze beautifully. Flash freeze them in a single layer on a baking tray. Then transfer them to a freezer bag. You can also just separate the layers with parchment paper to prevent sticking.
These reheat perfectly in the toaster!
Active starter has been fed. The discard has not been fed and is removed before feeding to prevent overgrowth of the starter.
You can also discard active starter and use it, however inactive discard will usually have a stronger flavor.
The possibilities are endless! Sourdough starter can be used to make delicious recipes like sourdough discard strawberry galette, sourdough pumpkin muffins, and sourdough hamburger buns to name a few!
More Waffle Recipes
Did you try this recipe? Please leave us a ⭐ review below!
Thank YOU for YOUR Comment, Share & Recipe Review!
When YOU make this Fluffy Sourdough Discard Waffles Recipe tag us @munchkintimeblog on Instagram, and follow along on Pinterest, Facebook, Tik Tok and YouTube! Thank you for visiting!!!
📖 Recipe
Quick & Easy Sourdough Waffles (Using Discard or Active Starter)
Equipment
Ingredients
Dry Ingredients
- 1 ½ cups all-purpose flour
- 3 tablespoons sugar I use cane sugar
- 1 teaspoon sea salt
- 2 ½ teaspoons baking powder
- ½ teaspoon baking soda
Wet Ingredients
- 1 cup sourdough discard or active sourdough starter
- 2 large eggs
- 1 cup whole milk or full fat coconut milk for dairy-free option
- 2 teaspoons vanilla extract
- 3 tablespoons avocado oil plus more for greasing the waffle maker
Instructions
Same-Day Preparation
- In a large bowl, whisk together all dry ingredients. In a different bowl combine all of the wet ingredients.
- Combine dry ingredients with wet ingredients and whisk gently until just combined, don't over-mix.
- Let the batter rest for 5–10 minutes until bubbly.
Overnight Preparation (Best Flavor & Texture)
- In a large bowl, combine all wet ingredients with all dry ingredients EXCEPT baking powder and baking soda.
- Whisk until fully combined, cover, and refrigerate overnight.
- The next day, sift the baking powder and baking soda directly into the bowl with the batter.
- Whisk gently until incorporated. The batter should look thick, bubbly, and airy (If needed, add extra milk 1 tablespoon at a time to loosen the batter slightly).
- Let the batter rest for 10 minutes before cooking. Preheat the waffle maker.
Cooking the Waffles
- Preheat your waffle maker according to manufacturer instructions. Lightly grease the waffle maker with avocado oil spray or melted coconut oil.
- Pour batter into the center of the waffle iron (amount will depend on your waffle maker—fill just until it spreads close to the edges).
- Close the lid and cook until the waffle is deep golden and crisp, about 3–5 minutes, depending on your waffle maker.
- Carefully remove and repeat with remaining batter, greasing the iron as needed.
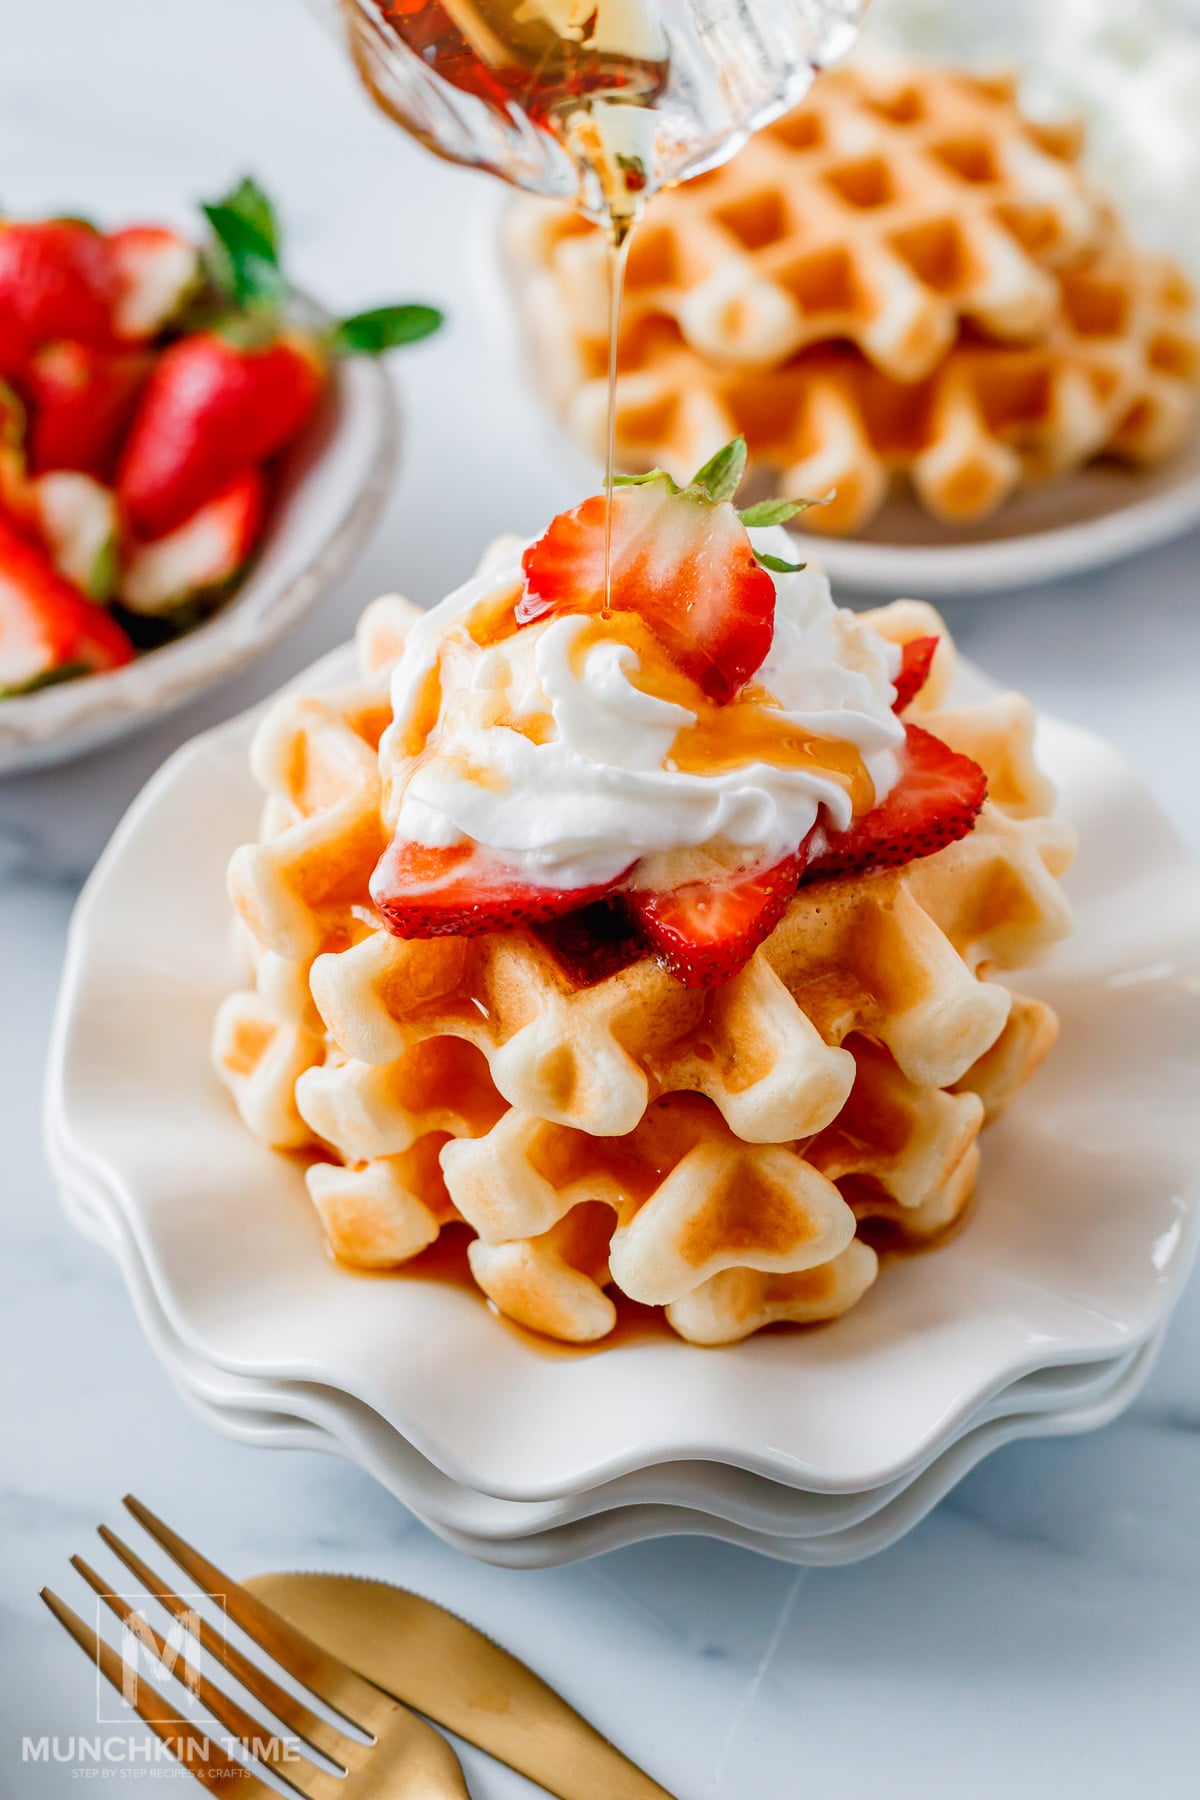
Serving Ideas
- Serve warm with:Fresh berriesMaple syrupStrawberry sugar purée
Video
Notes
- Keep Waffles Warm & Crispy: Preheat oven to 200°F (95°C). Place cooked waffles in a single layer on a wire rack set over a baking sheet. Do not stack or cover—this prevents steam and keeps waffles crisp. Serve all at once when finished.
- Freezing: Let waffles cool completely, then freeze in a single layer before transferring to a freezer bag.
- Reheating: Pop frozen waffles straight into the toaster or toaster oven. They reheat crispy on the outside and fluffy inside—just like fresh.
- Dairy-Free Tip: To make these sourdough waffles dairy-free, swap the whole milk for full-fat coconut milk (canned or carton). Coconut milk adds richness and helps the waffles crisp beautifully on the outside while staying fluffy inside. No other changes needed.
Nutrition
Happy Cooking!


Leave a Reply