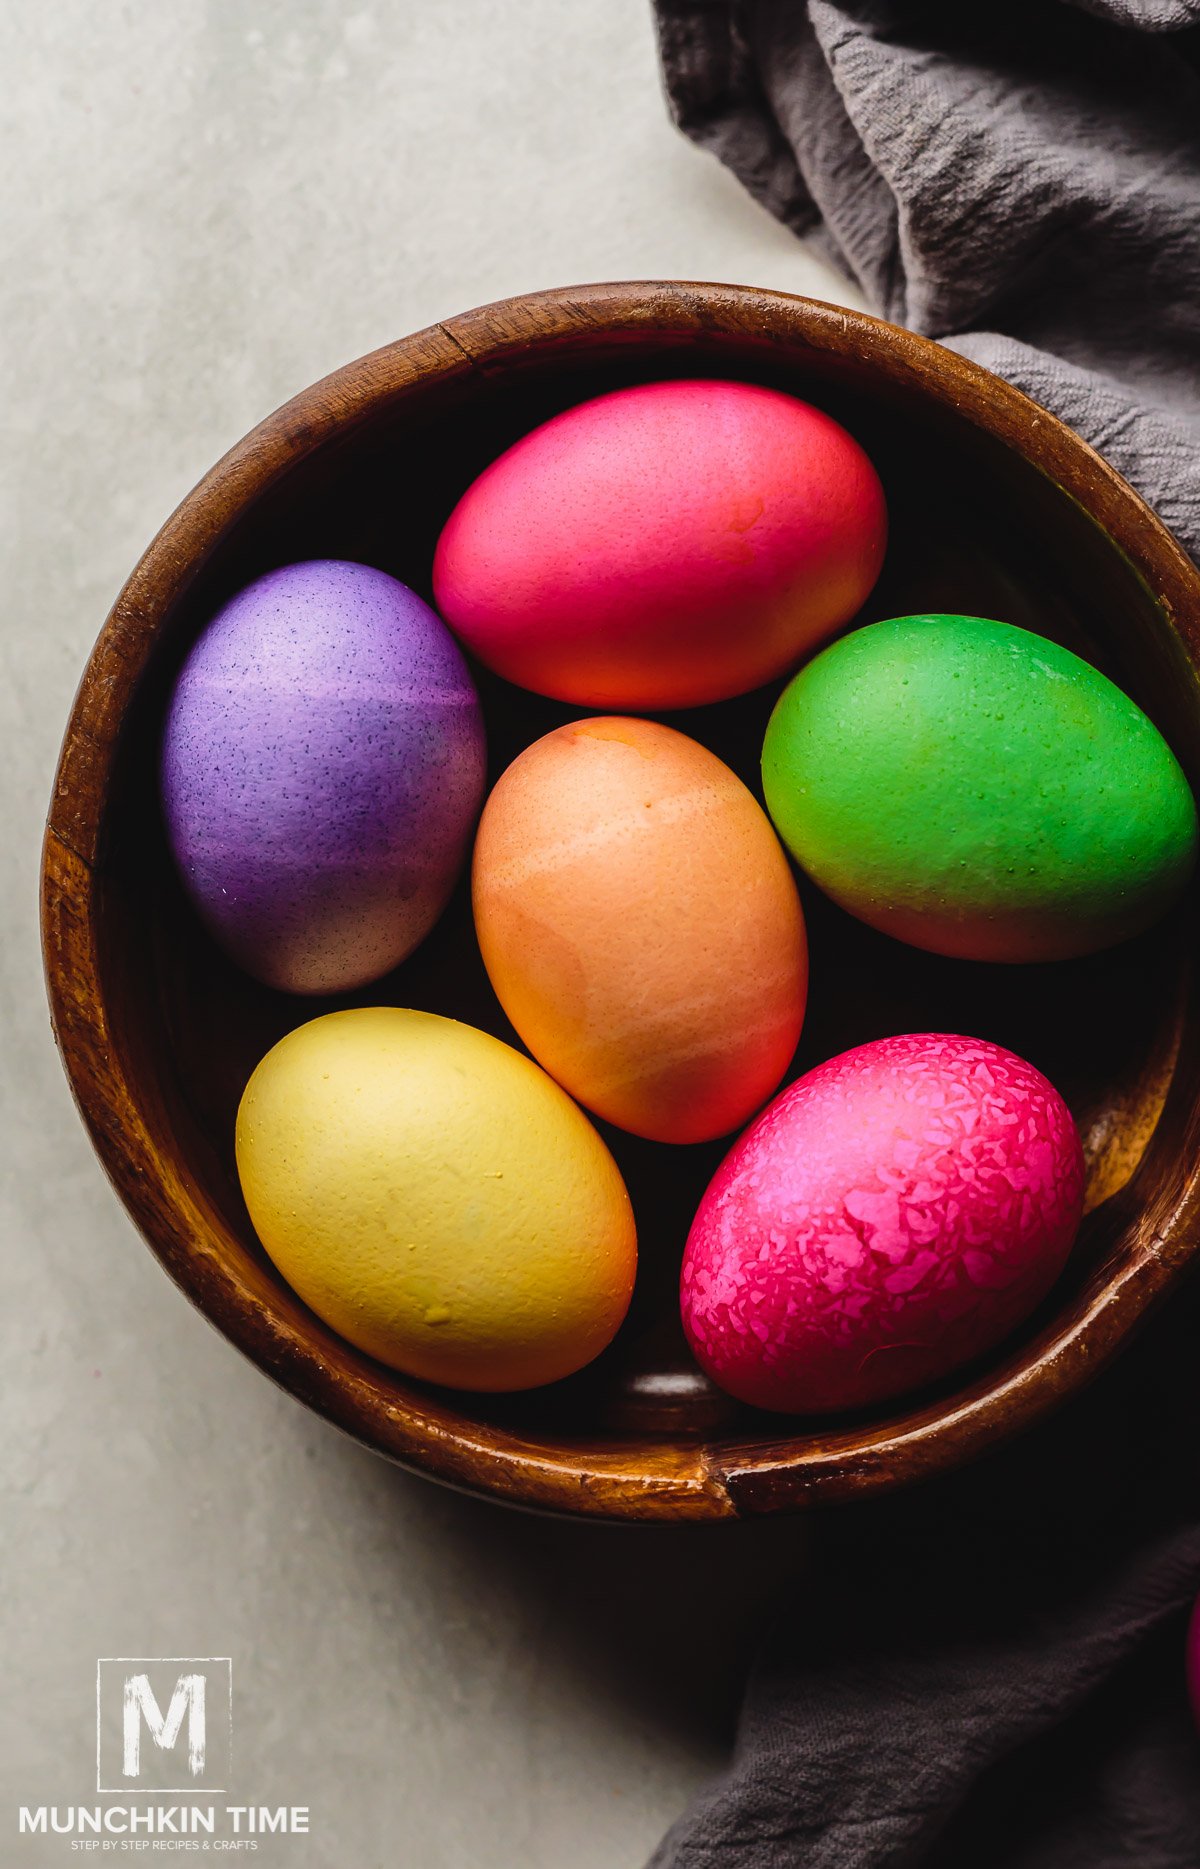
Instant Pot Easter Eggs - Learning how to dye boiled eggs with food coloring is easy with an Instant Pot that colors and cooks the eggs at the same time!

Dyeing Easter eggs for upcoming Easter celebrations has never been easier! With this simple tutorial, I show you how to cook and color your eggs at the same time using the Instant Pot and your favorite food coloring!
All you need is water, vinegar, and food coloring, and the Instant Pot does the rest. The resulting color is revealed once the cooking process is done, so it’s always a fun surprise. One thing that is always consistent is you also end up with perfectly cooked eggs every time, so after Easter you can peel them and make deviled eggs with bacon or air fryer deviled eggs!
Jump to:
Why You’ll Love This Recipe
- It’s an easy way to have some Easter fun!
You can pick and choose the colors you want. - No need to worry about overcooking or undercooking your eggs. It takes the guess work out of all of it!
- They’re beautifully colored and safe to eat!
- Ready in under 30 minutes.
Cooking Tips
- Learning how to dye eggs with gel food coloring and liquid food coloring is one and the same. You decide which type of coloring you’d like to use.
- Gel food coloring is a bit pricier; however, you’ll need fewer drops to get the same results. It’s also comes in more vibrant colors.
- Do not replace white vinegar with a different kind of vinegar. It’s what’s going to get you the brightest color.
- Once your eggs are done cooking, you can place them in an ice bath if you prefer. This can help with easy peeling later on.
- Set them on the table as a centerpiece alongside other Easter treats like hot cross buns and sweet braided Easter bread.
What You Need for Instant Pot Easter Eggs
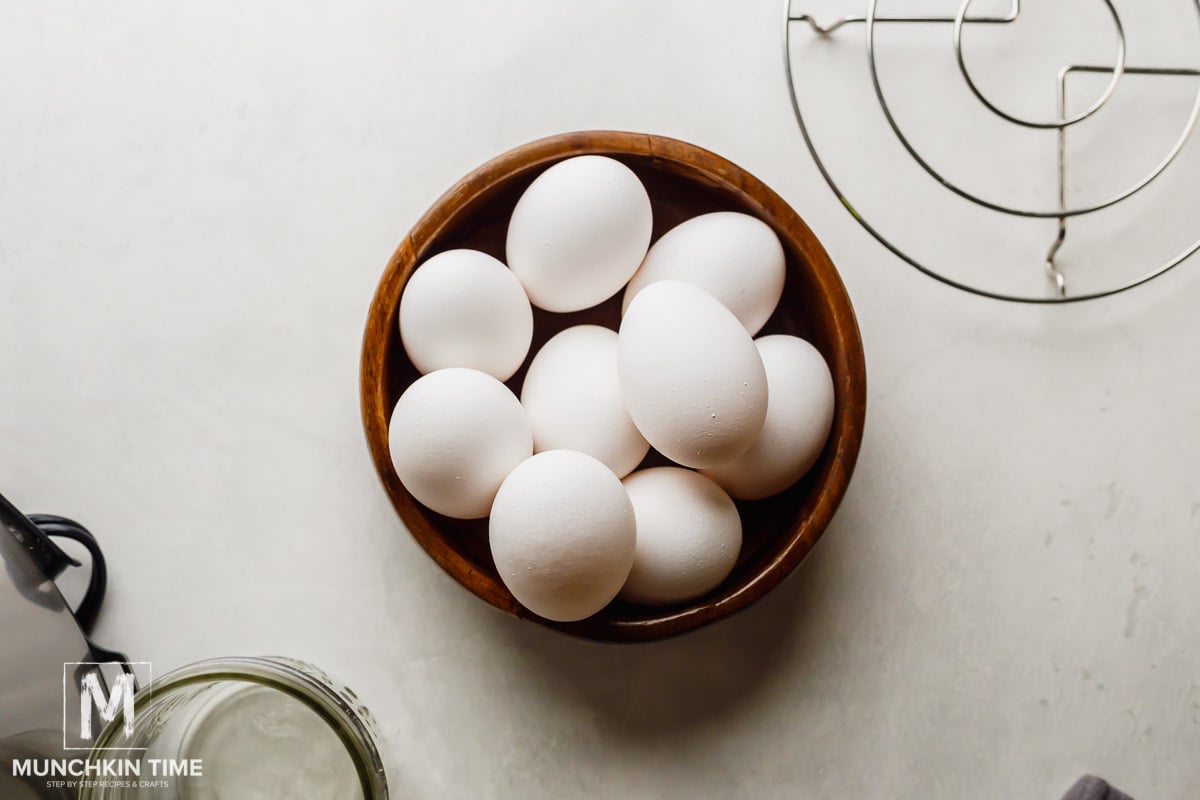
- Eggs: You’ll need as many white eggs as you want to dye. The white shell will result in the most vibrant color.
- Food coloring: You’ll need 4 different colors of liquid food coloring. You pick which colors you prefer. Common ones for Easter are purple, pink, blue, yellow, and green.
- Water: Regular tap water will do. You’ll use it in the bottom of the Instant Pot as well as the mason jars.
- White vinegar: This helps the color adhere to the eggshell, giving the best chance to get the most vibrant color!
- Mason jars: You’ll need 4 jars, as long as they can all fit in the Instant Pot without overcrowding.
How to Dye Easter Eggs With Vinegar and Food Coloring
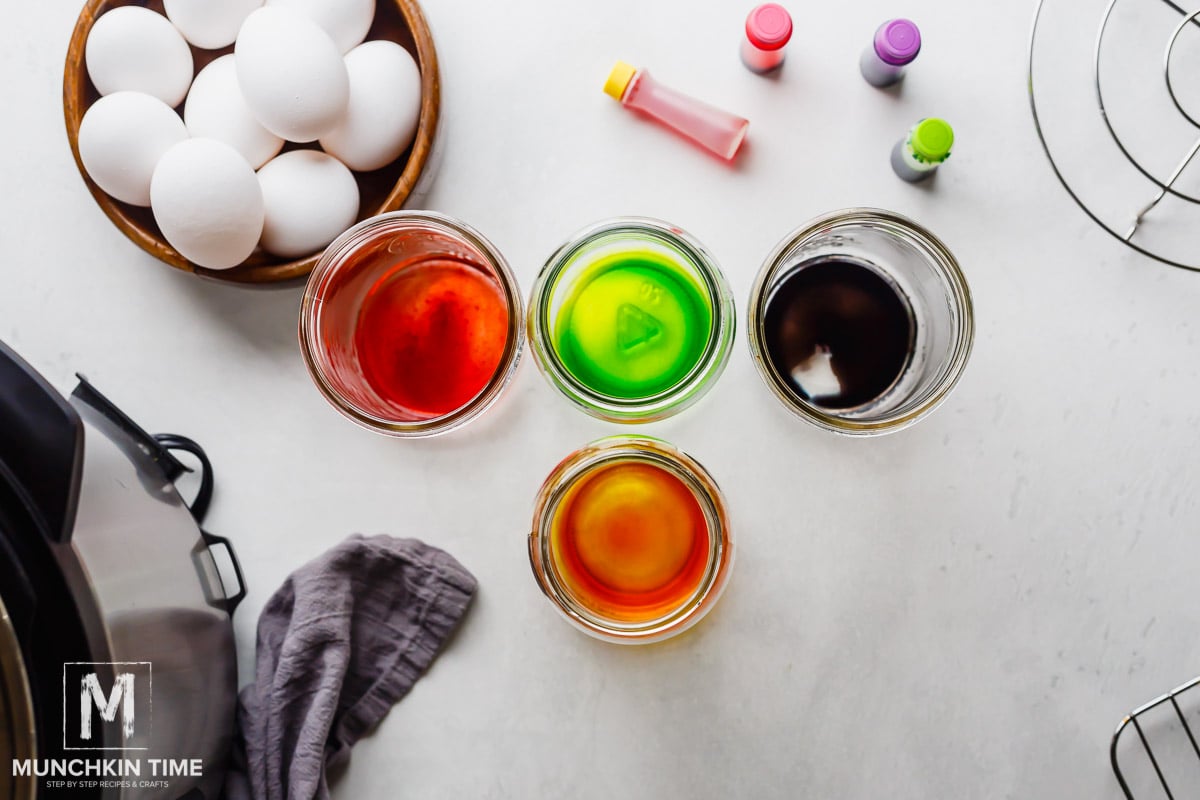
Step 1: Gather your mason jars and your food coloring. Add 10-12 drops of whatever color you want into each jar. Then, add the vinegar and stir.
Step 2: Add 1-2 eggs into each jar and fill them up with water, making sure the water level isn’t overflowing.
Step 3: Pour more water into the Instant Pot, then place the trivet into the bottom of the pot. Rest the mason jars on top of the rack and cover the Instant Pot.
Step 4: Set the valve to sealing and cook on high pressure for 7 minutes, followed by a quick release of the pressure. This means, once the cooking time is up, you move the valve to venting immediately.
Step 5: Carefully open the lid, and use oven mitts or canning tongs to remove the jars. Use spoons to remove the eggs from the jar and place them onto a cooling rack. Repeat the process until all the eggs are colored.
How to Color Eggs Without An Instant Pot
Step 1: Place all your eggs into a large pot and fill it with water so that all the eggs are covered.
Step 2: Bring it to a boil and cook for about 10 minutes.
Step 3: As the eggs are cooking, add white vinegar and food coloring to the mason jars.
Step 4: Once the eggs are done cooking, carefully remove them from the water, place them into the mason jars, and use the boiling water to fill each jar.
Step 5: Let the eggs soak for as long as it takes to reach your desired color. The longer they sit, the more vibrant the color will be. Use a spoon to transfer the eggs to a cooling rack to dry.
Recipe FAQs
Everyone has their tricks to boiling the perfect eggs. I prefer to boil mine for 8-10 minutes.
You can also bring the eggs to a boil, cover and remove the pot from the heat, and let them sit for 11 minutes. You can also air fry eggs for 15 minutes!
Absolutely, as long as you’re using food-grade/food-safe coloring, they’re safe to consume once peeled.
Keep them stored in an airtight container for up to 1 week.
Keep the pretty shells on as long as you need, but if you do peel them, you can store them in a container of cold water in the fridge until you’re ready to eat them.
Check Out More Easy Easter Recipes
- Hot Cross Buns
- Sweet Braided Easter Bread
- Dulce de Leche Easter Cake Pops Recipe
- Easter Deviled Eggs
- Carrot Cake Recipe From Scratch
- Air Fryer Crispy Deviled Eggs (Video)
When YOU make this dying Easter eggs recipe please tag us @munchkintimeblog on Instagram, we would LOVE to see your creation!
If you tried this Instant Pot Easter eggs recipe or any other recipe on my website, please leave a * star rating and let me know how it went in the comments below. Thanks for visiting!
Thank YOU for YOUR Comment, Share & Recipe Review!
📖 Recipe
How to Dye Eggs with Food Coloring (Instant Pot)
Equipment
Ingredients
- 12 eggs white
- water
- food coloring
- white vinegar
Instructions
- Into each small mason jars add 10-12 drops of 4 food coloring of your choice. Then add 2 tablespoons of white vinegar. Stir.
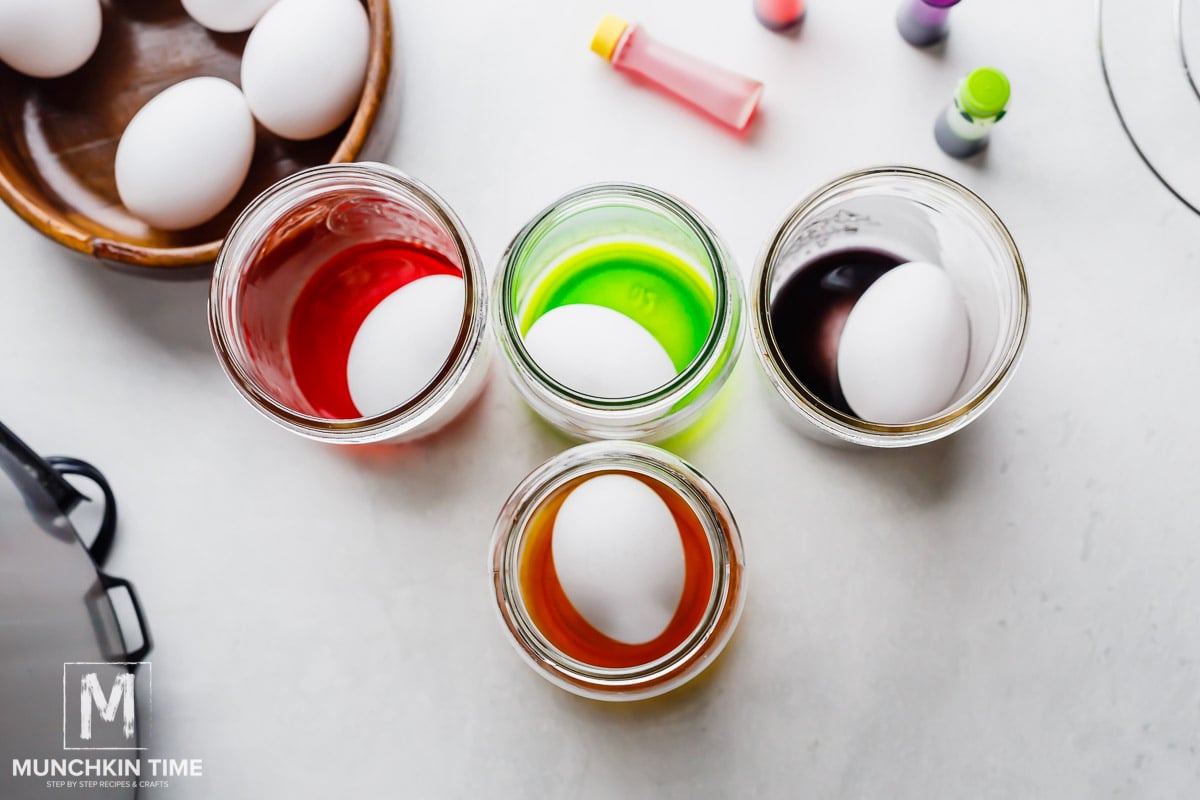
- Add 1-2 eggs into each jar and fill it up with water.
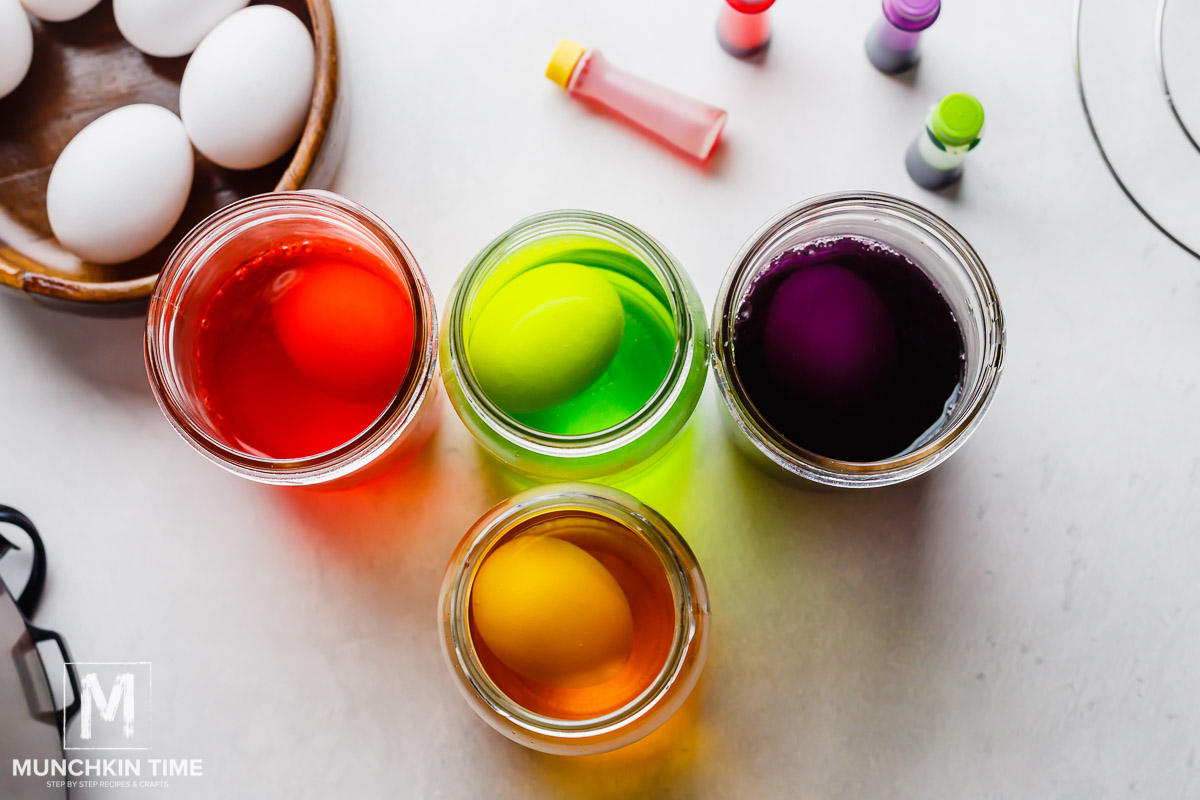
- Add 1 cup of water into the Instant Pot, then add short rack on the bottom of the Instant Pot. Place 4 jars uncovered with food coloring, water & eggs onto the rack.
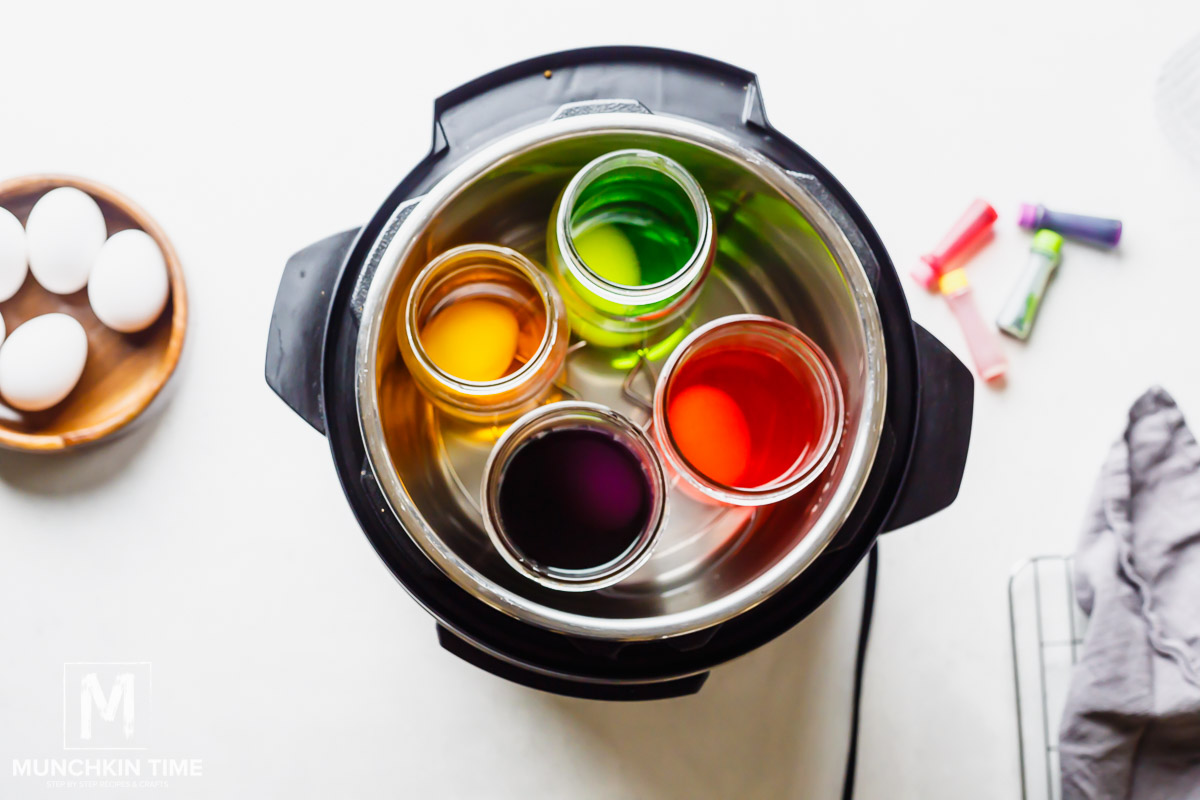
- Cover instant pot and cook on high pressure for 7 minutes. Quick release the pressure.
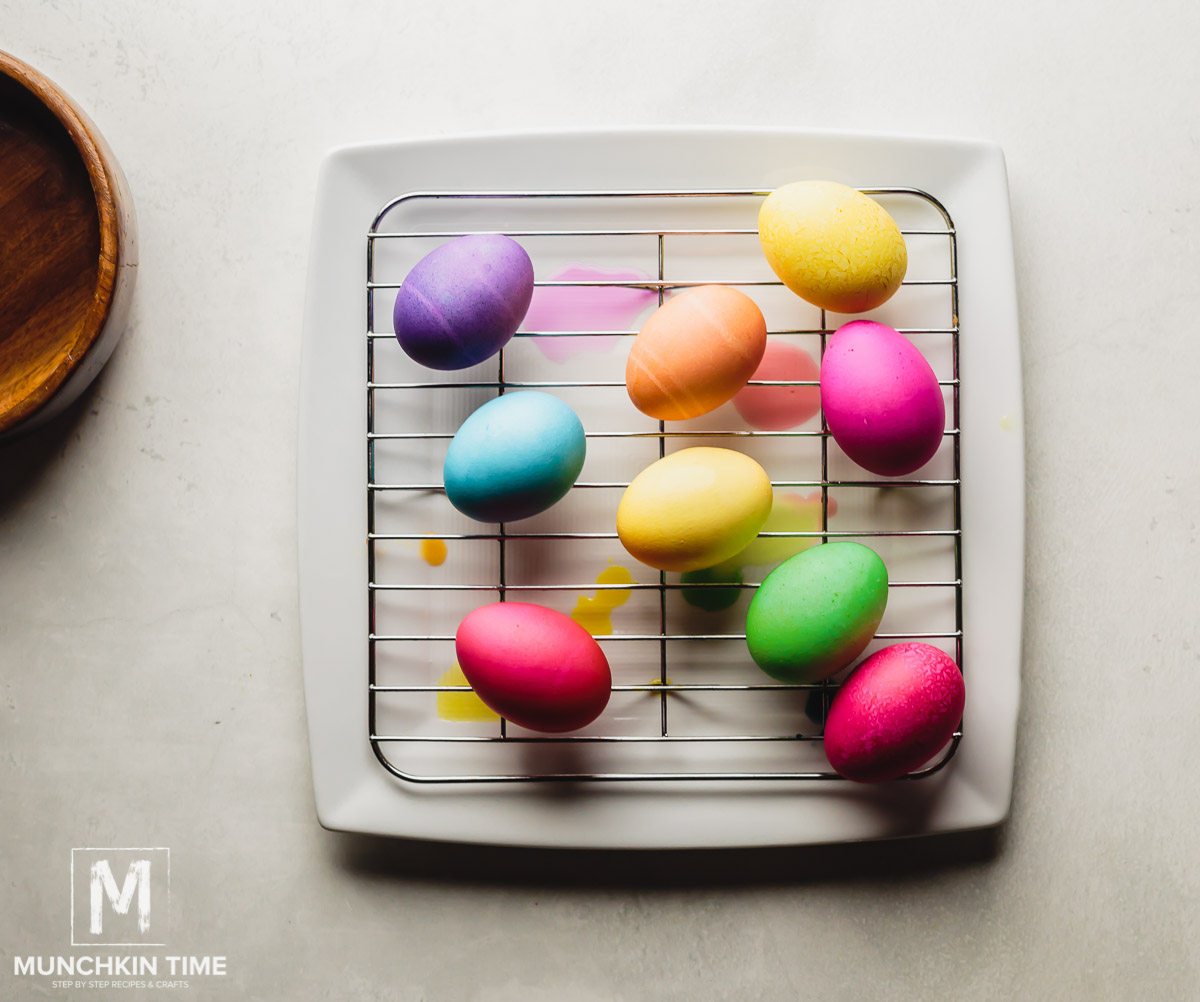
- Carefully remove the jars from the Instant Pot, using a spoon pull eggs out of the jar onto a cooling rack. Let colored eggs cool. Repeat until all eggs are colored.
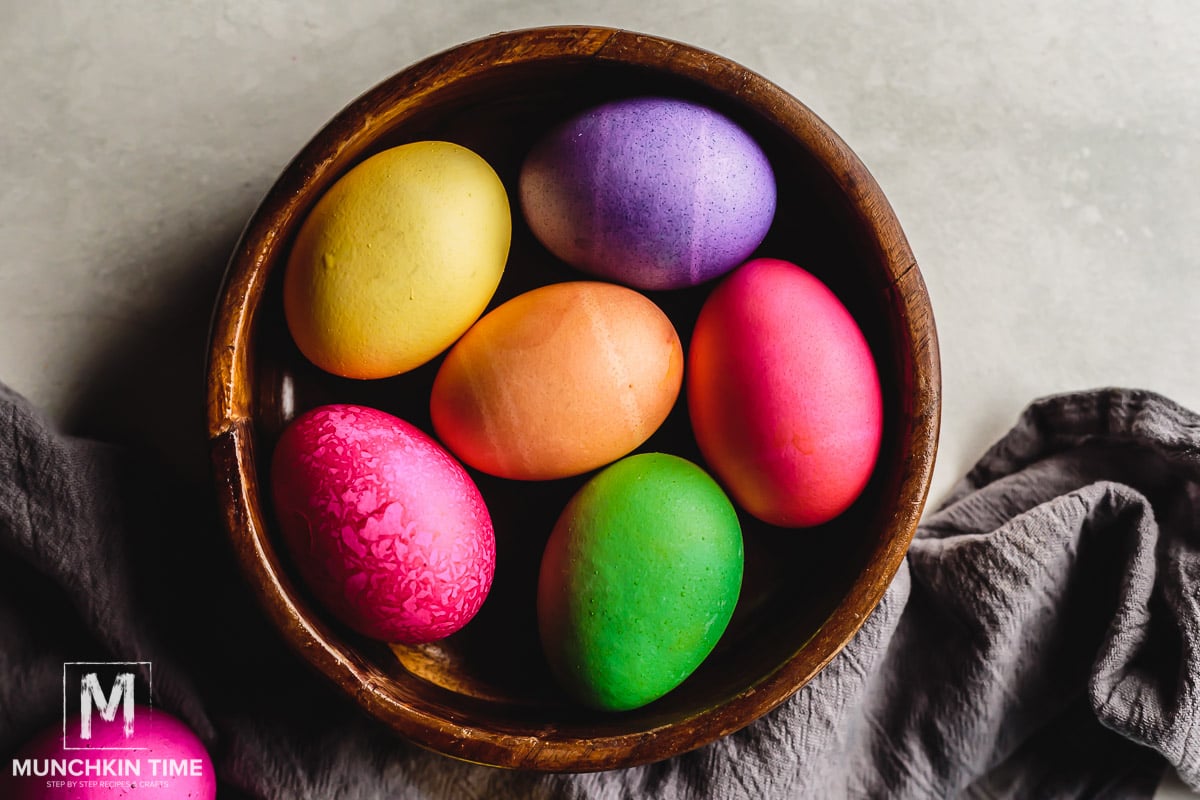
Easter Egg Coloring without Instant Pot
- Place eggs into a pot and fill it with the water, bring it to a boil and cook for about 10 minutes. Save the hot water for the dye.
- Into small mason jars add 2 tablespoons of white vinegar & 10-20 drops of food coloring. Adjust the food coloring for more vibrant colors.
- After egg done cooking, carefully remove them from the water into the mason jars, use the water you used to boil the eggs, fill each jar with this hot water.
- Time for dyeing depends on the color you desire. If you want vibrant color, dye them longer, check every minute or so until it reaches your desired color shade.
- Using a spoon transfer eggs onto a cooling rack to dry.
Notes
- Consider wearing disposable gloves to avoid staining your hands while handling the dye and eggs.
- Create patterns by drawing with wax crayons on the eggs before dyeing. The wax will resist the dye, resulting in fun designs.
- To enhance shine and protect the color, lightly rub the dried eggs with vegetable oil.
- Plan to eat the colored eggs, store them in the refrigerator and consume them within 5 days to ensure freshness.
Nutrition
Happy Coloring!
Nicole
Love this! This was so nice and easy to do with my 3 little boys under 5. They enjoyed counting the drops of food coloring and having their own colors of eggs at the end of it all. Much better than having to boil eggs and deal with dipping them in dye. Thank you so much!!
Munchkin Time
Thank you so much for your lovely comment, Nicole! I'm happy to hear that you and your boys had a fun time with the egg dyeing activity. It sounds like a wonderful way to bond and create some colorful memories together! I totally agree—this method is so much easier than the traditional boiling and dipping. I hope you all enjoy your beautifully decorated eggs! 🐣💖