
Pita Bread Recipe - Learn how to make pita bread right in your own kitchen! Using just 6 ingredients, this delicious flatbread can be made in minutes. Once the dough rises, all you need to do is divide it, roll it, and cook it! I know you’re going to love this soft, puffy pita bread as much as my family does!
We love pita bread in our home! If we were to buy it as often as we eat it, we’d be broke! So we make it easily from scratch with simple ingredients most of us always keep on hand. We said goodbye to store-bought pita bread and have never looked back.
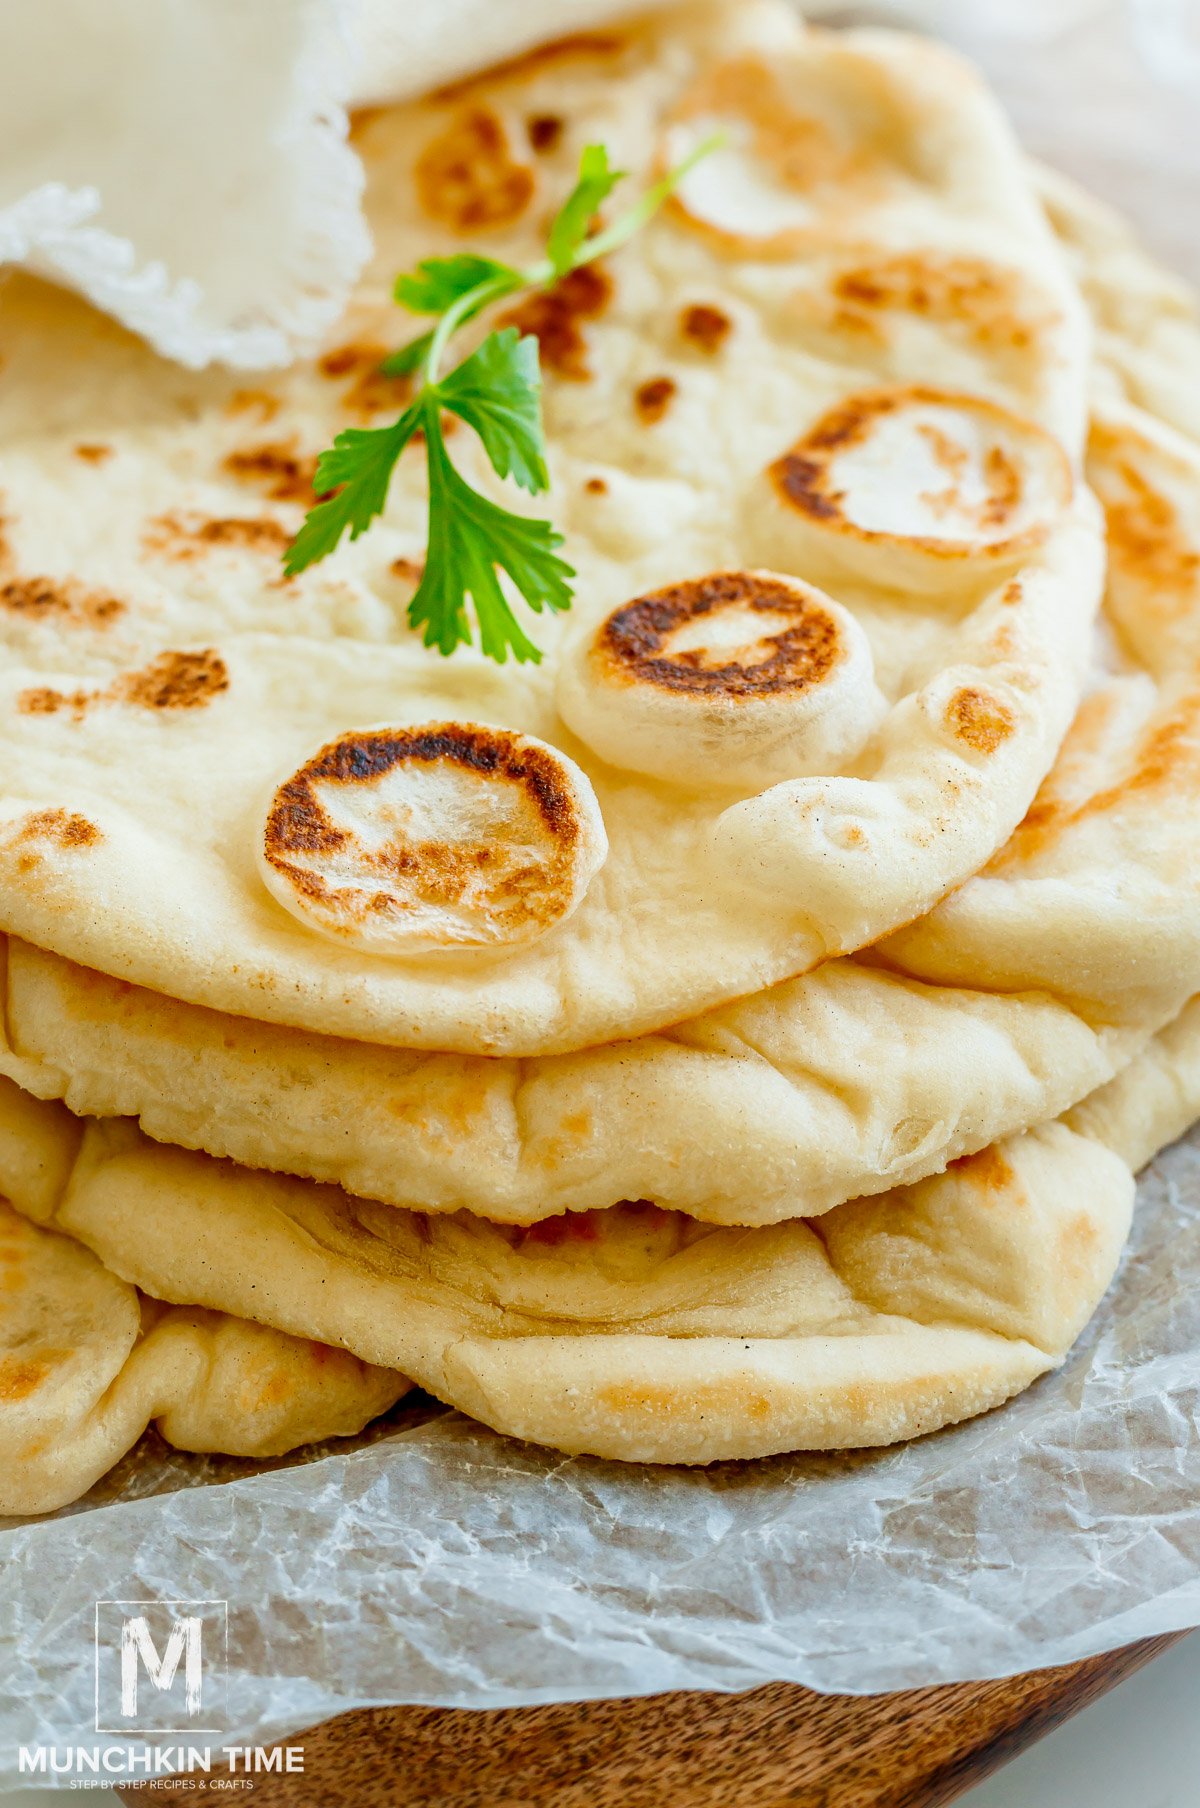
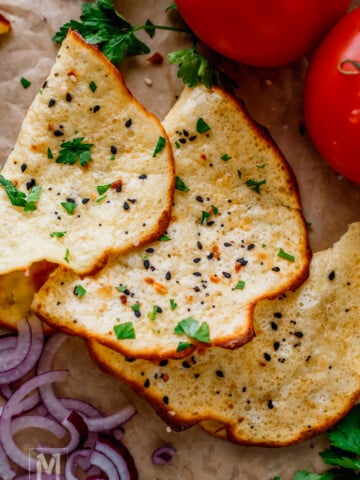
There is nothing better than freshly made pita bread from scratch!
All you need is bread flour and yeast, then salt, sugar, water, and oil make up the rest. Make the dough, let it rest, roll it out then pan-fry it in a skillet until warm and puffy!
Use it on the side of soups and stews or stuff it with grilled pork kabobs, use it to wrap your Mediterranean meat kabobs or chicken gyros, and dip it alongside chicken shashlik and creamy garlic yogurt sauce. Sometimes we’ll even use it as a pizza crust when we make homemade pizzas!
It always tastes amazing no matter how it is used and when it’s on the table, everyone tries to grab the last one!
What is Pita Bread?
Pita bread is a Mediterranean flat bread made with yeast (ironic, I know!). It’s widely known for the fact that once it puffs up it creates a hollow pocket on the inside which can be stuffed with all kinds of things!
Ingredients Needed for Skillet Pita Bread
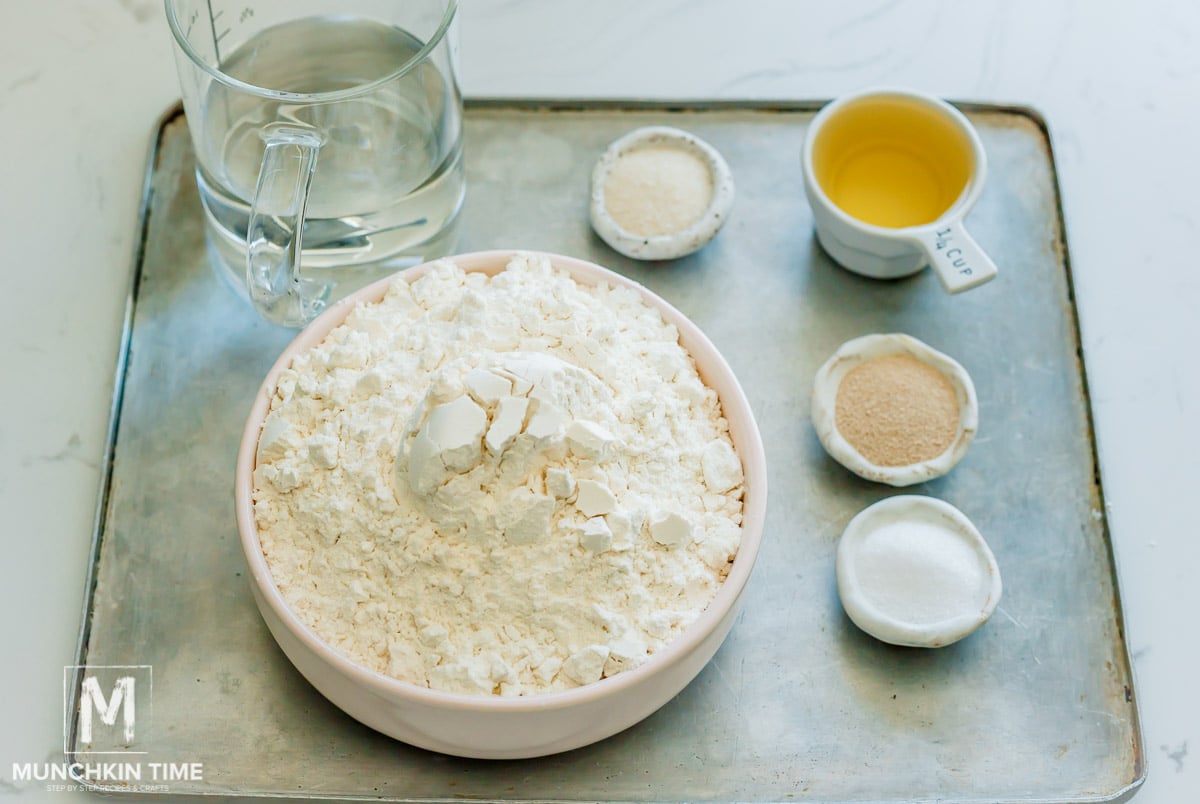
- Bread Flour: I love using bread flour for pita bread as I find it produces the softest results. Some people prefer to use wheat flour (which is the traditional way) or all-purpose flour or a combination of different types of flour.
- Rapid Rise Yeast: We’re not proofing the yeast ahead of time, so we need the type of yeast that will activate while it’s mixing with the other dough ingredients. Make sure it’s fresh, otherwise, it won’t work and you’ll have to start over!
- Salt: This helps to add a little flavor to the dough.
- Lukewarm Water: Warm water helps the yeast to thrive. If it’s too hot it will kill the yeast. If it’s too cold it won’t puff up your pita bread!
- Avocado Oil: For frying the skillet pita.
- Sugar: Yeast feeds on sugar so it is needed to help activate it. The sugar also adds a bit of extra flavor to the bread.
See the recipe card for the full information on recipe ingredients and quantities.
How to Make Pita Bread from Scratch
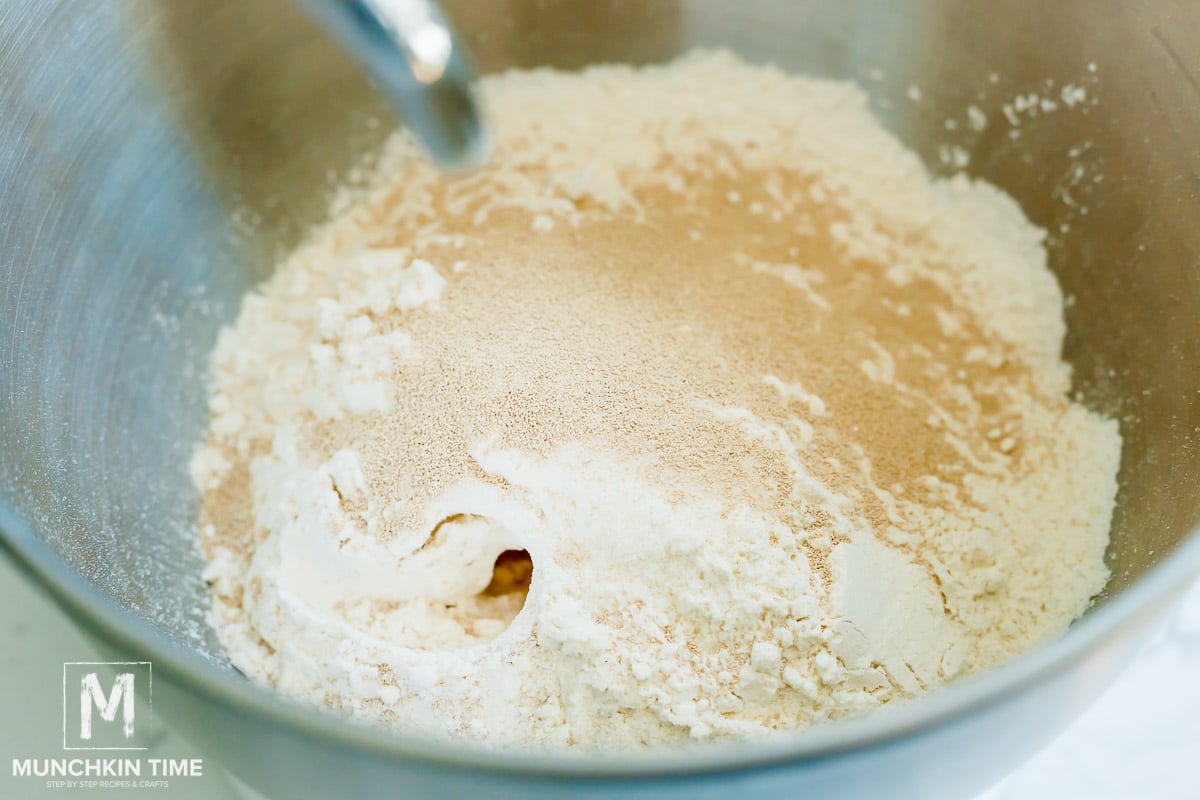
Step 1: In the bowl of a stand mixer, add the flour, yeast, and salt. Use the whisk attachment to quickly mix and combine. Turn off the mixer.
Step 2: In a separate bowl, whisk the water, oil, and sugar together until the sugar dissolves.
Step 3: Replace the whisk attachment with the dough attachment on the stand mixer and turn the speed on low. Slowly pour in the water mixture until it forms a dough. Continue mixing on low speed until everything is incorporated, scraping down the sides of the bowl as needed.
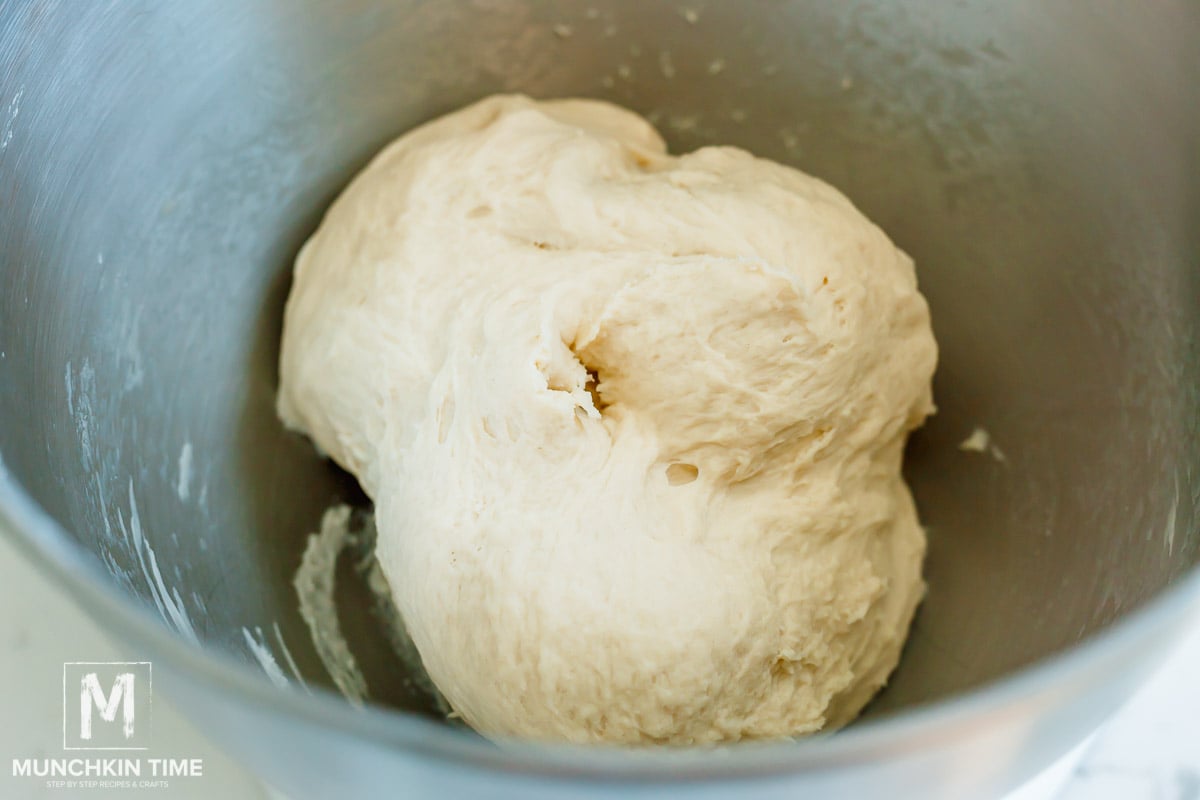
Step 4: Turn the speed to medium-low and continue kneading for 8 minutes until the dough is fully formed and starts pulling away from the sides of the bowl.

Step 5: Transfer the dough to a lightly greased bowl. Cover it and let it rise for 1-2 hours in a warm draft-free area until it doubles in size.
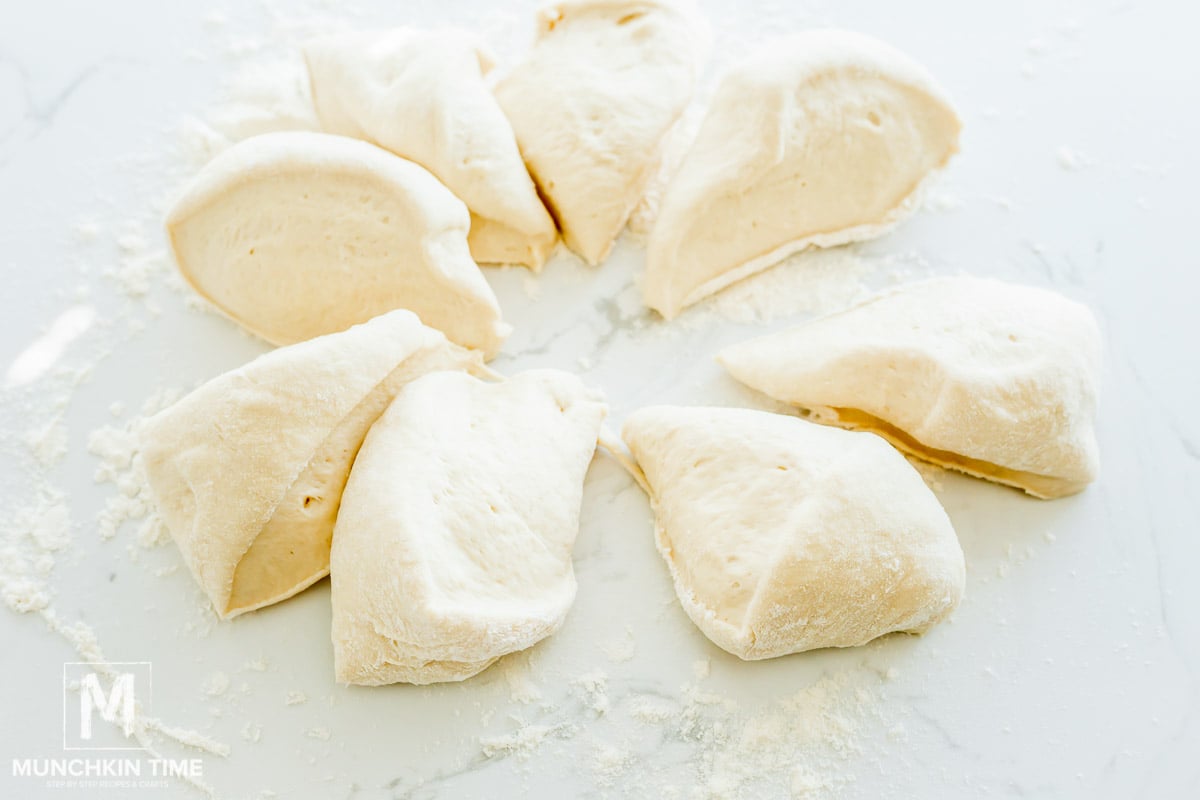
Step 6: Place the dough onto a floured surface and use a flour scraper, pizza cutter, or knife to divide the dough into 8 equal pieces.
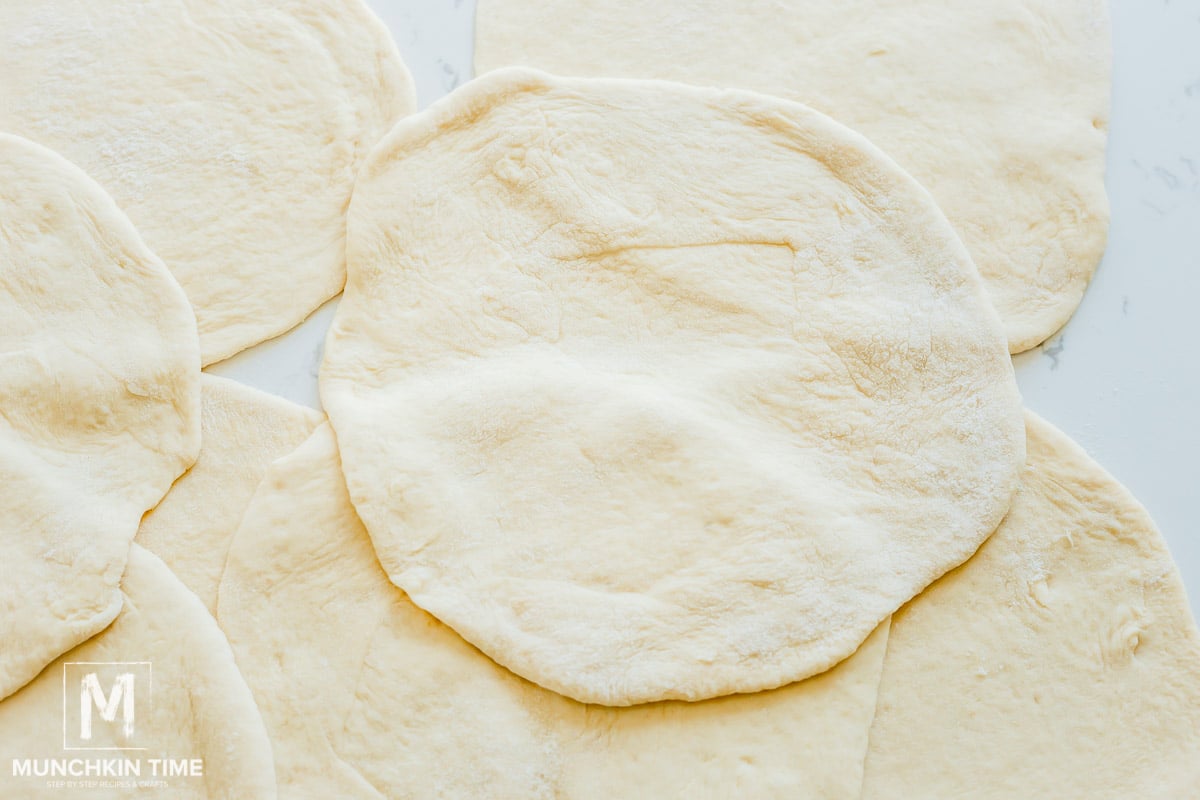
Step 7: Roll each piece into a circle and cover it once again to let it rest for 20 minutes.
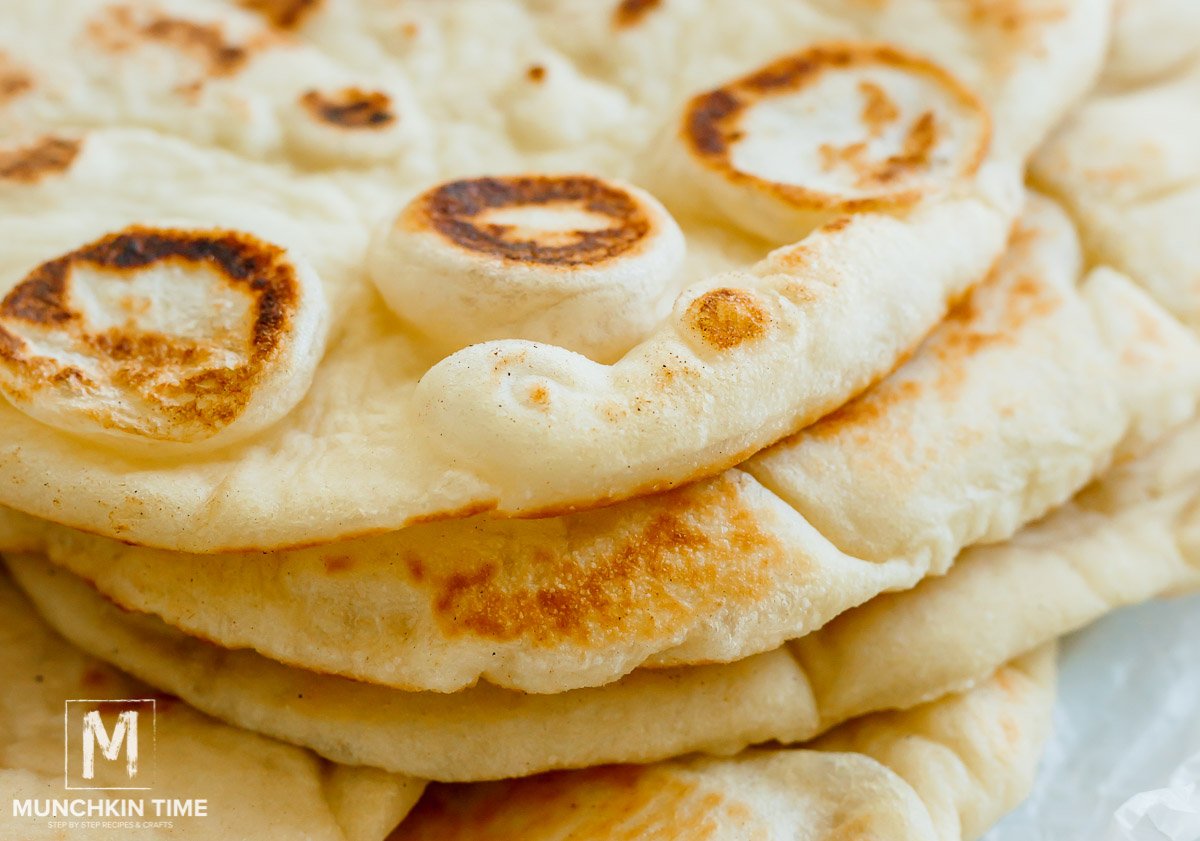
Step 8: Preheat the nonstick skillet (preferably cast-iron skillet) over medium heat. Brush it with avocado oil. Once it is hot enough, add one round of dough to cook until golden brown on one side. Flip and cook the other side for a few more minutes.
Step 9: Set it aside on a plate underneath a towel to keep it from drying out and continue with the remaining dough.
Cooking Tips
- To make this a gluten-free pita bread recipe, swap the bread flour for gluten-free all-purpose flour. It will yield a different texture but it will still be great.
- Make sure the oil and skillet are hot enough before adding the dough. This is how to get your bread to puff up! If it’s not hot enough it will stay flat.
- Make the dough up to 1 week ahead of time. Get a head start and make it, keep it in the fridge, and then cook it when you’re ready to enjoy it fresh.
- Once baked, you can also freeze them! Thaw them on the counter and warm them up on the stove or in the microwave.
Recipe FAQs
Homemade pita bread can last at room temperature for up to 3 days. Keep it stored in an airtight container or zip-top bag so that it doesn’t dry out.
It is vegan! There are no animal products in this recipe. No dairy, or eggs to be found!
Sure it is! Unlike store-bought versions, you won’t find any additives or preservatives in this recipe. Just simple, wholesome ingredients.
You can also increase the nutritional value based on what you put in it! Hummus, leafy greens, loads of veggies, you name it!
Truthfully, the stove top skillet method won’t result in as big of a puff as other ways of making pita. You may only notice a small puff and that’s ok! It’s a flatbread that will taste great.
Other Bread Recipes
- Sourdough Bread Recipe with Starter
- Best No Knead Bread
- Best Banana Bread
- Soft Dinner Rolls
- Sweet Braided Easter Bread
When YOU make these Homemade Pitas please tag us @munchkintimeblog on Instagram, we would LOVE to see your creation!
If you tried this Pita Bread Recipe or any other recipe on my website, please leave a * star rating and let me know how it went in the comments below. Thanks for visiting!
📖 Recipe

Pita Bread Recipe
Equipment
Ingredients
- 3 ⅔ cups bread flour
- 2 ½ teaspoons rapid rise yeast
- 2 teaspoons sea salt
- 1 ⅓ cups water luke warm
- ¼ cup avocado oil plus 1 tablespoon for cooking
- 2 ½ teaspoons sugar
Instructions
- Into the stand mixer bowl add flour, yeast and salt, mix until combined. Into a separated boil add water, oil and sugar, whisk until sugar dissolves.
- Turn stand mixer on low speed and slowly pour in water mixture. Mix on low until flour is mixed into the dough, scrap down the bowl if needed. After turn up the speed to medium-low and mix for 8 minutes.
- Place the dough into a lightly greased bowl, cover and let rise for 1-2 hours, or until doubles in size (placing the bowl in a warm place helps).
- Flour the surface with flour and divide the dough into 8 equal pieces. Roll each piece into a circle about 8 inches. Cover and let rest for 20 minutes.
- Preheat the non stick or cast iron skillet over medium heat, brush the skillet with avocado oil (or add a little splash of oil). Once the oil is hot add dough and cook until golden brown color. Flip to the other side and cook for few more minutes. Transfer onto a plate lined paper towel and enjoy with creamy tomato bisque!
Notes
- To get your bread to puff up perfectly, make sure the oil and skillet are hot enough before adding the dough. If the skillet is not hot enough, the bread will stay flat. So, always remember to check the temperature before adding dough.
- Also, if you want to save some time and plan ahead, you can make the dough up to 3-5 days ahead of time and store it in the fridge. This way, you can enjoy fresh bread whenever you want without having to go through the whole process again.
- And, once the bread is baked, you can freeze it for later! Simply thaw it on the counter and warm it up on the stove or in the microwave. It's that easy!


Melissa
These were perfectly fluffy and delicious. Only change for me is the second rising time took 1 hour instead of 20 minutes.
Love Keil
So glad they turned out fluffy and delicious for you! Rising time can definitely vary depending on your kitchen’s temperature. Thanks for sharing your experience, Melissa!🤗
Diane M
OMG I followed pretty much exactly except I proofed the dough in my instant pot on the yogurt setting for an hour then I flattened the dough using an electric tortilla press and let rest 20 minutes then flattened again on my hot electric tortilla press and cooked as you described....THEY TURNED OUT PERFECT!! I halfed the recipe to begin with to see how it would work....next time I will make all 8 for sure! gyro's are calling my name for dinner
Munchkin Time
Wow, Diane that sounds amazing! I love how you used the instant pot for proofing—what a clever idea! It's great to hear that the tortilla press worked out so well for you, too. I can only imagine how delicious those turned out!