
How To Make Olaf Pinata Easy DIY Tutorial - It was my daughter's birthday few weeks ago, as you can see we had Frozen Theme for her birthday party.
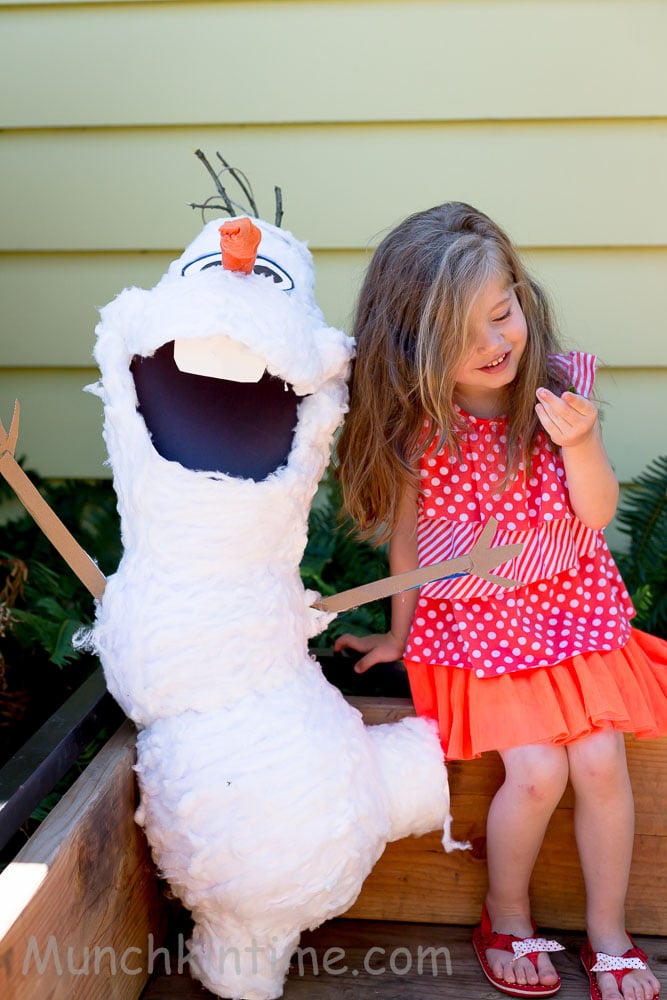
I absolutely enjoyed crafting handmade decor for her party like burlap and lace birthday banner, white snowy backdrop, Frozen blue tutu skirt, but my favorite crafty project was this Olaf Pinata.
I was so proud of myself since I have never made pinatas before and when I made Olaf Pinata it made me smile to see how happy my daughter Ani was.
It is not hard to make as it seems and it cost me around $5.00 not bad compare to buying it online for $60.00.
To make Frozen Olaf Pinata you will need:
- one white poster paper
- 3 balloons
- scissors
- homemade mod podge
- old newspaper
- white paper
- foil
- tape
- orange felt or paper
- recycled cardboard
- hot glue gun
- string
- cotton balls
- tree branches
How to make Olaf Pinata:
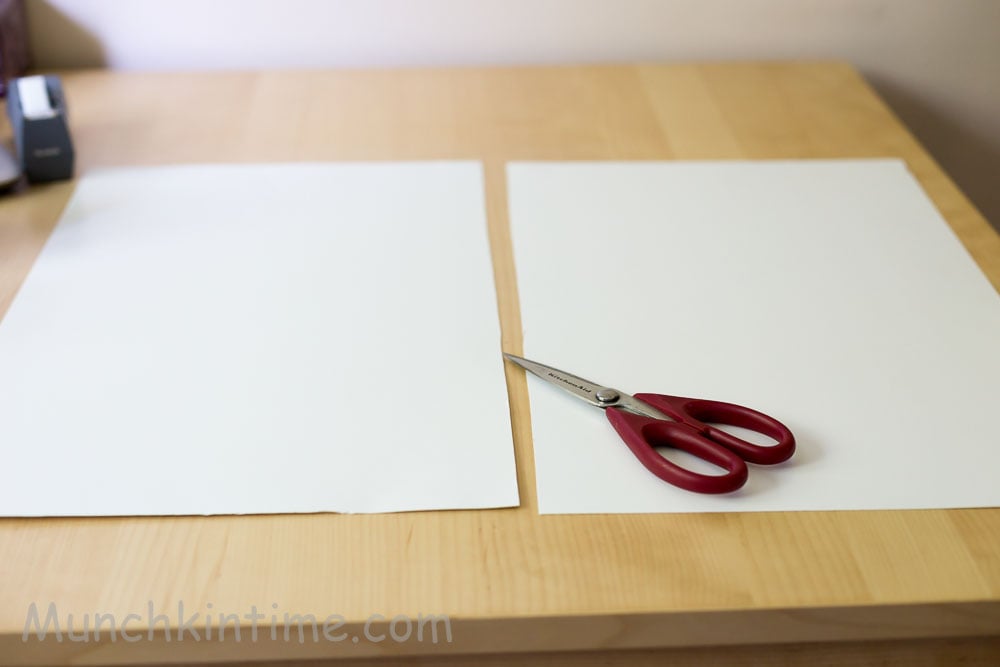
1. Cut white poster in half.
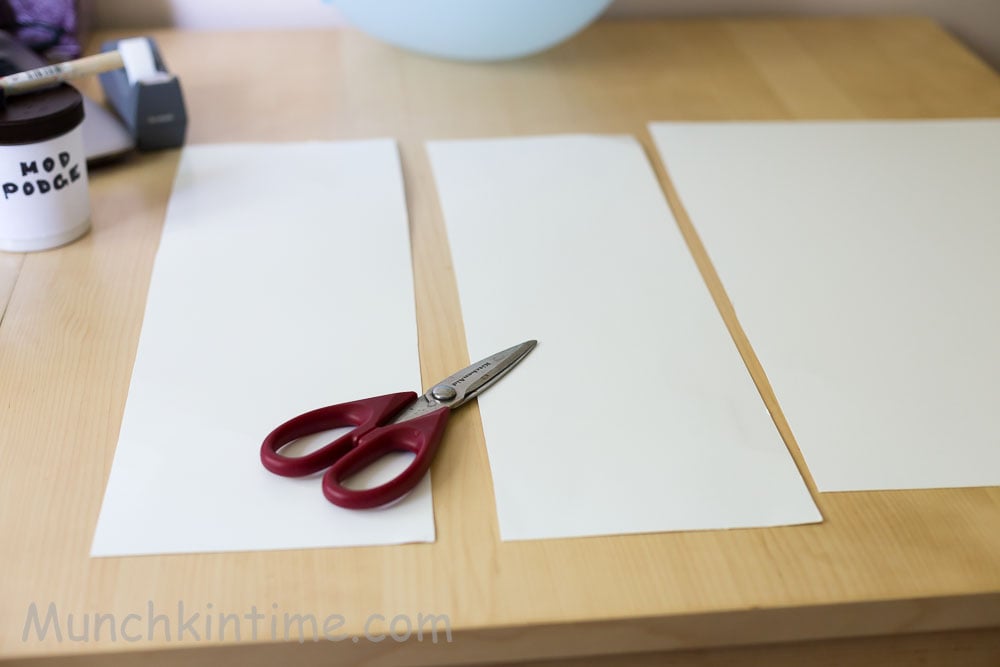
2. Then cut one half in half again.
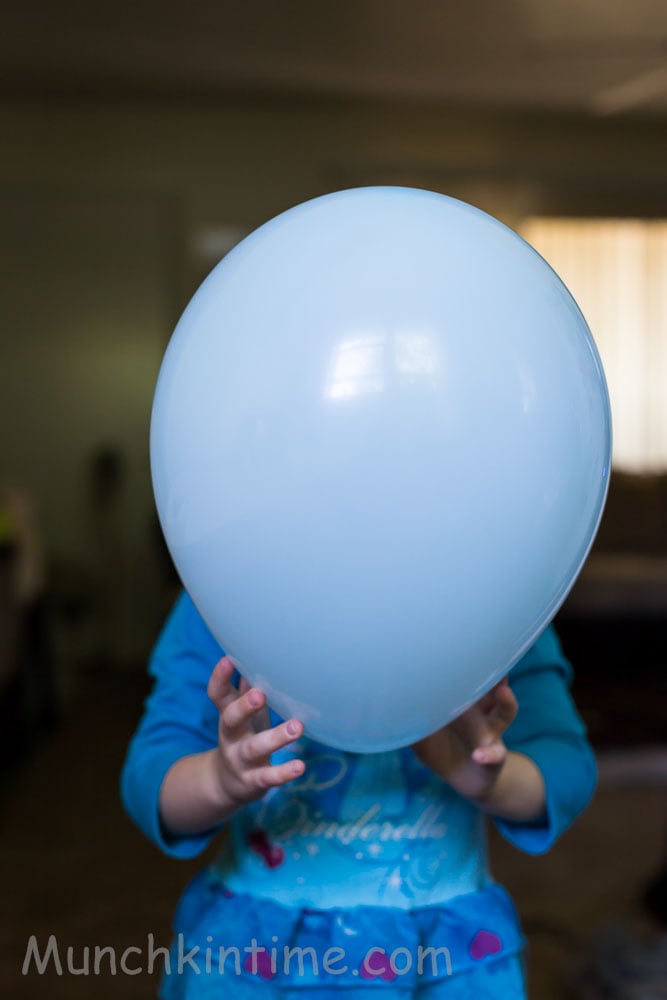
3. Blow a big size balloon.
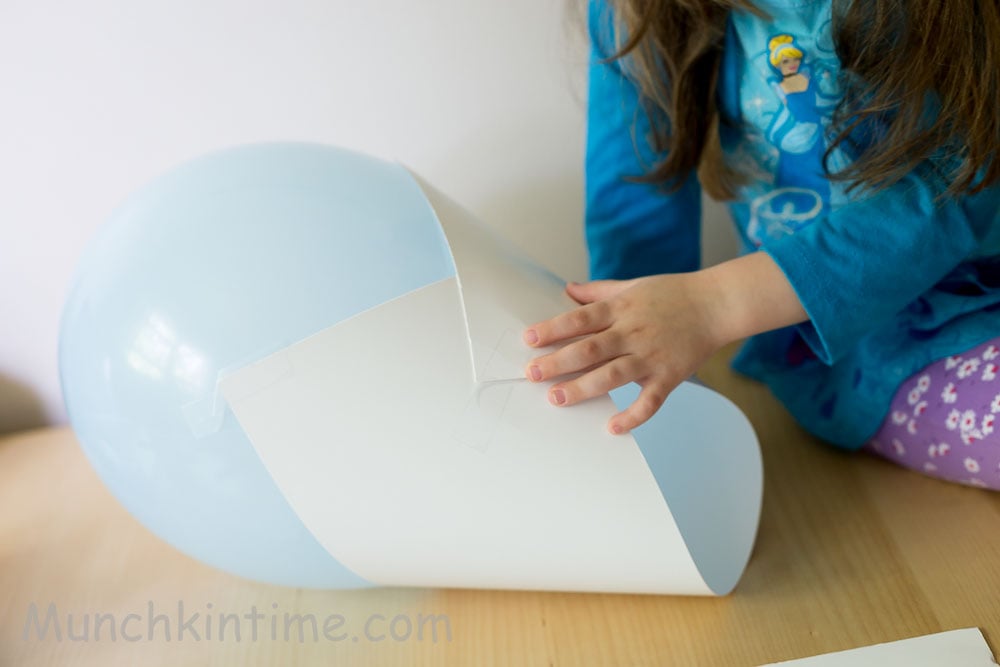
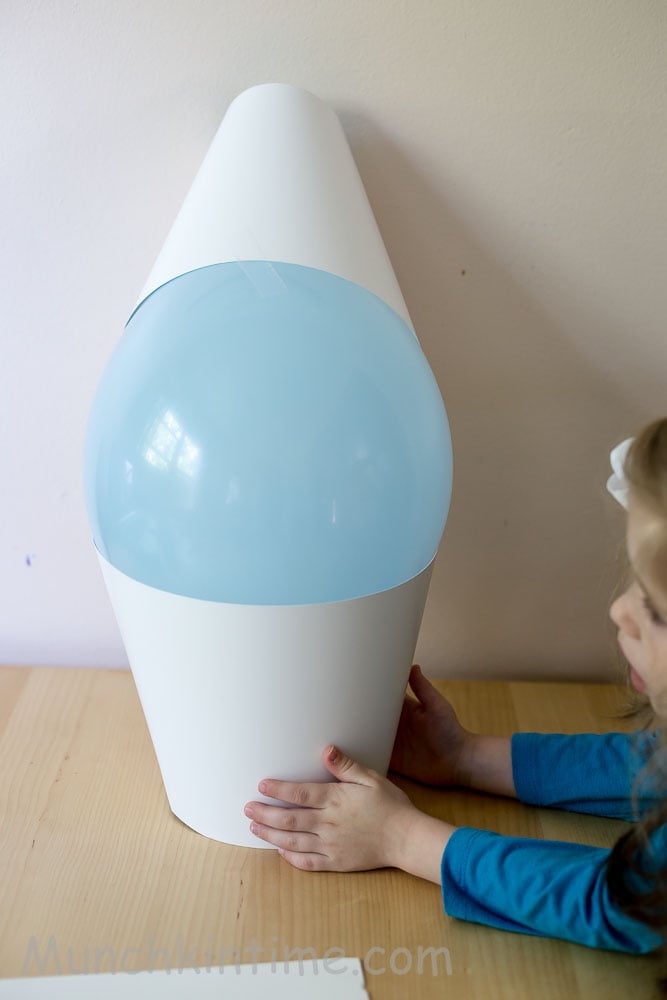
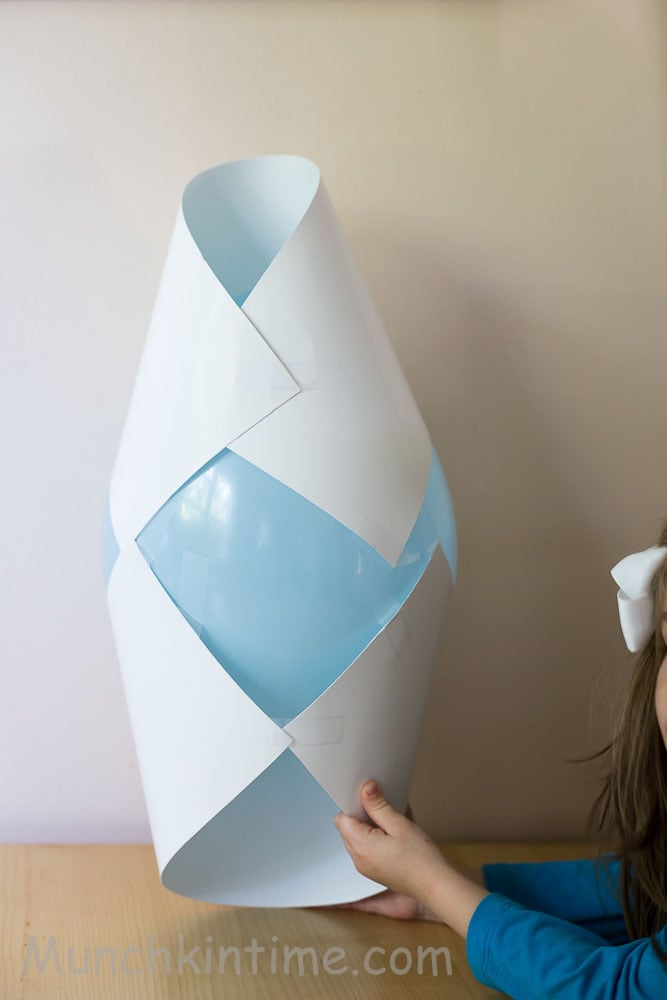
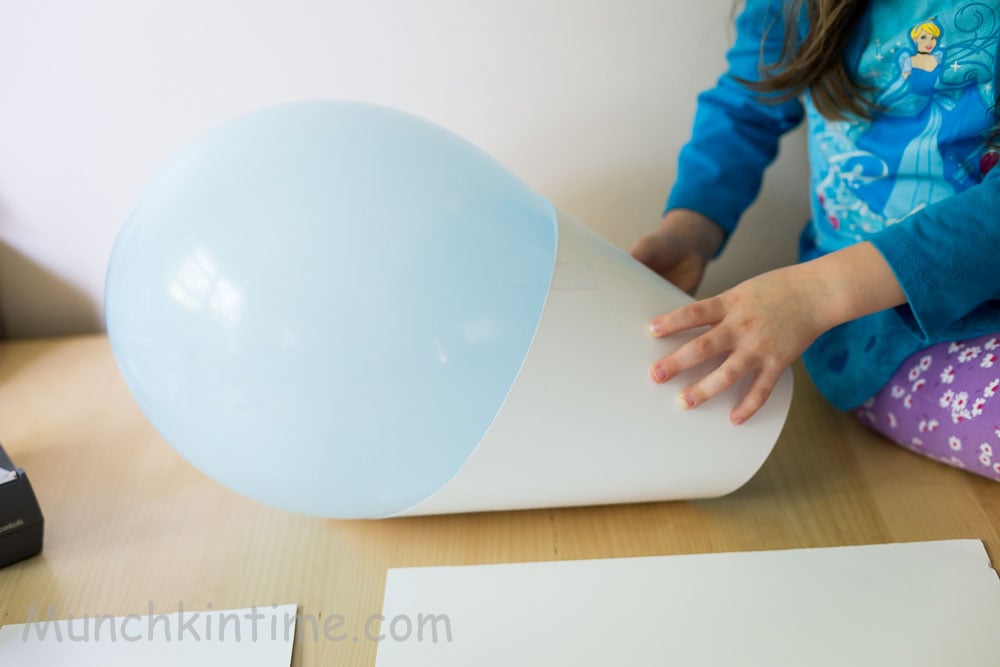
4. Cover with 2 ¼ of the poster sheets on top and the bottom of the balloon, secure it with tape.It should look like this.
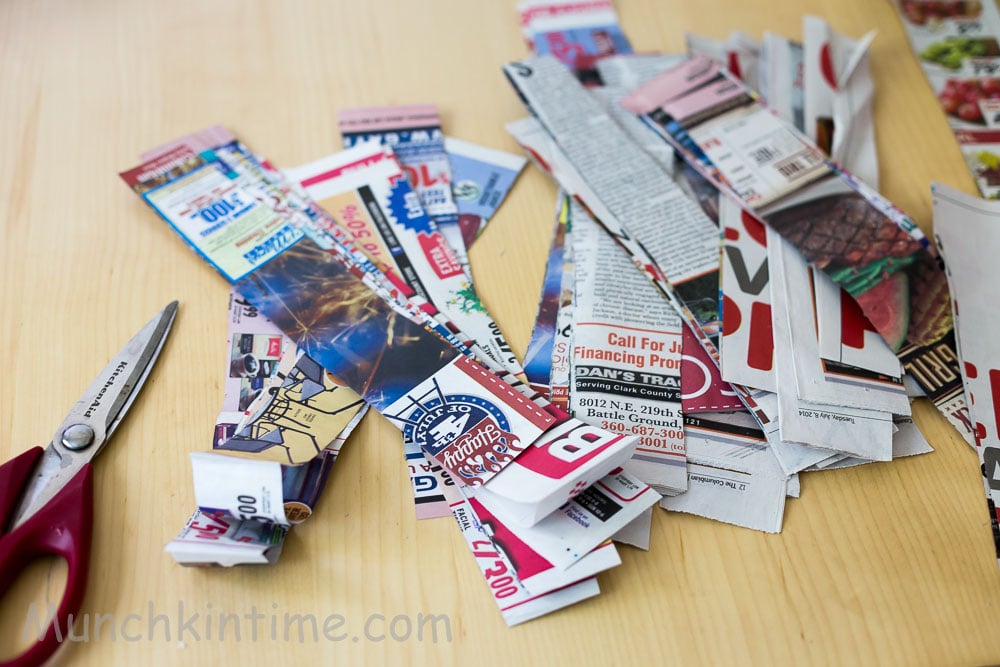
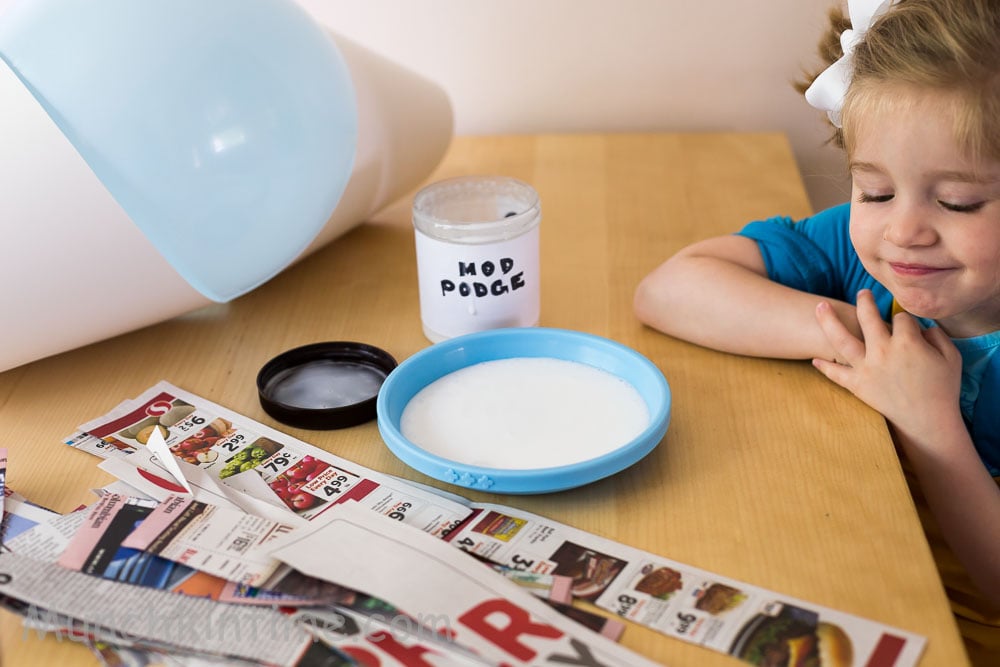
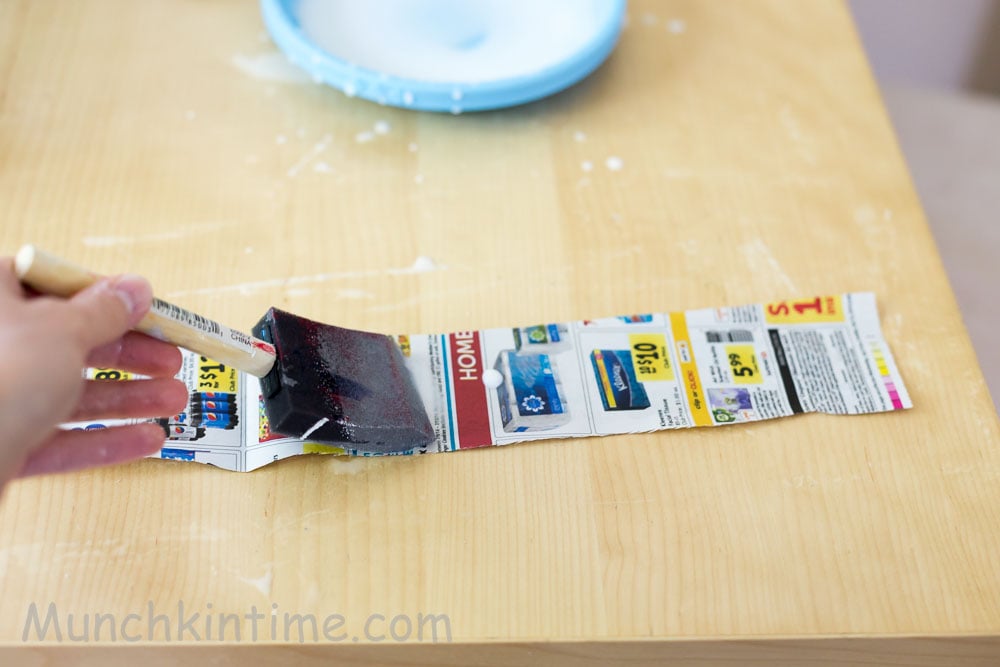
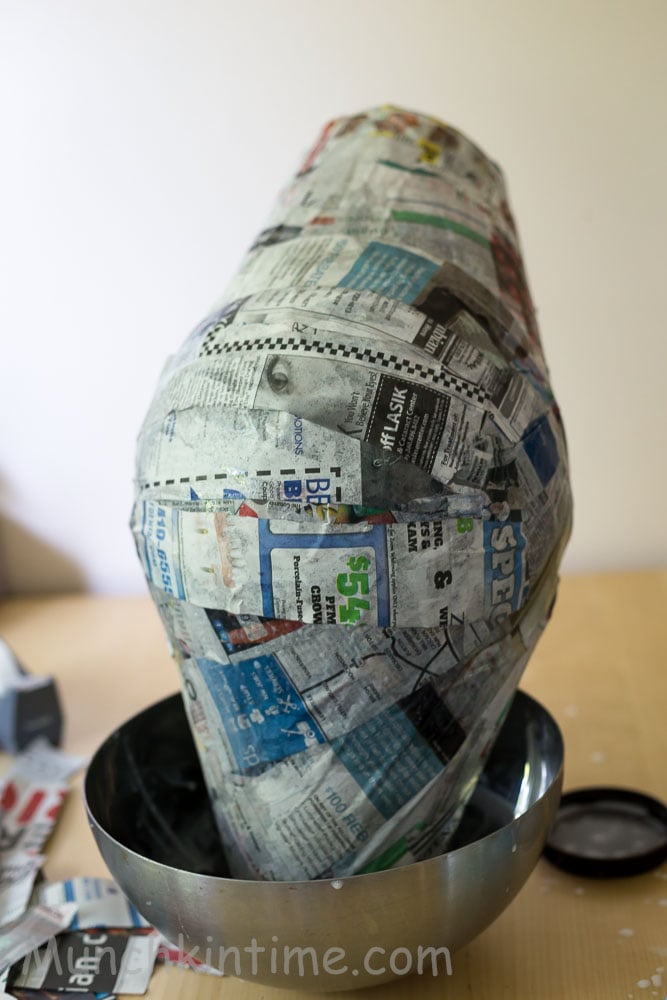
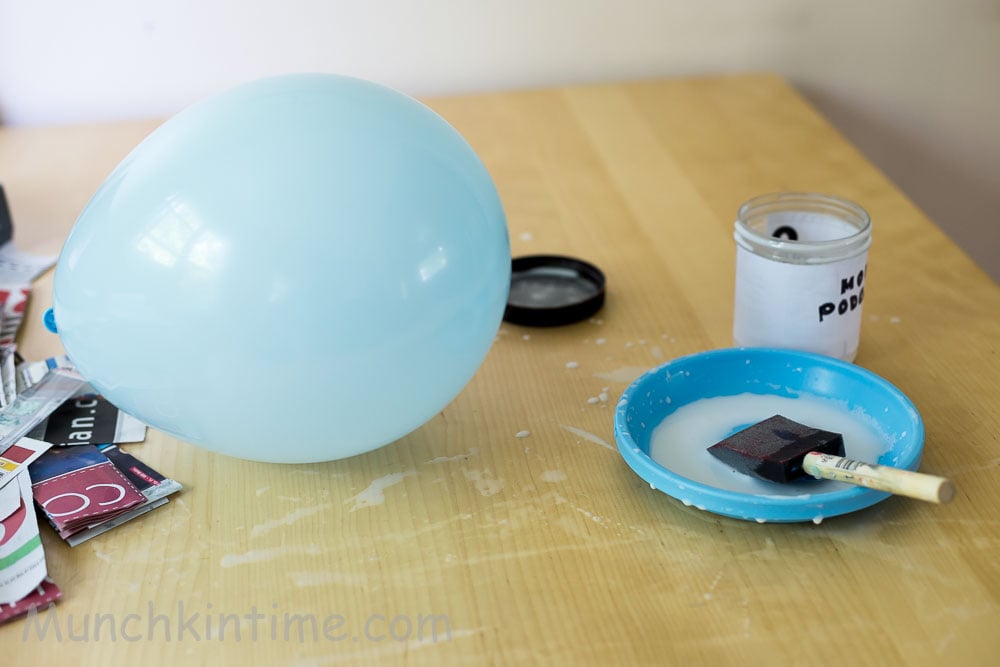
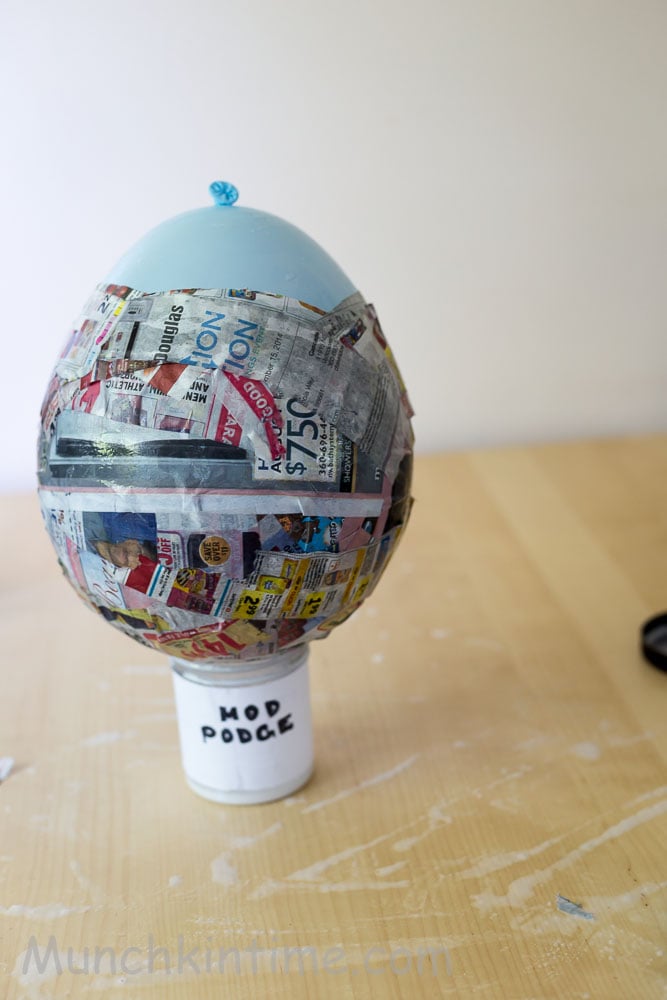
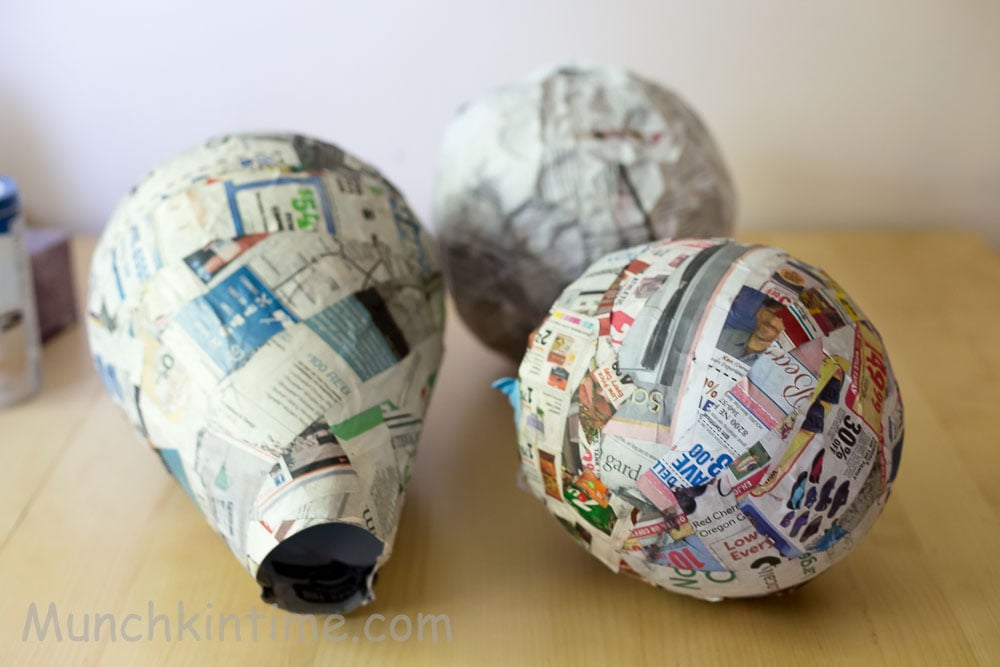
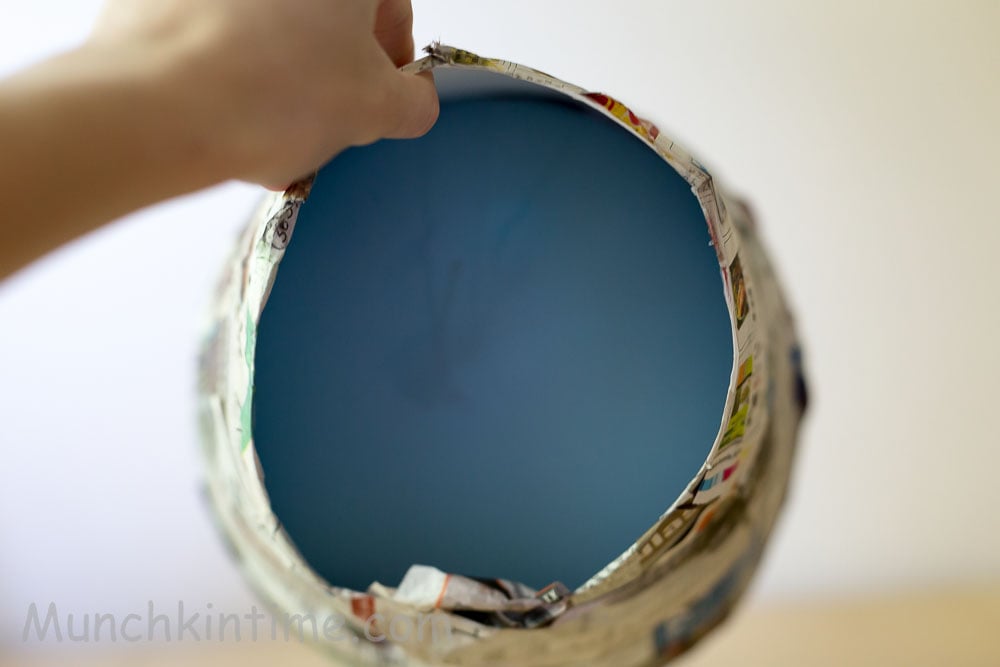
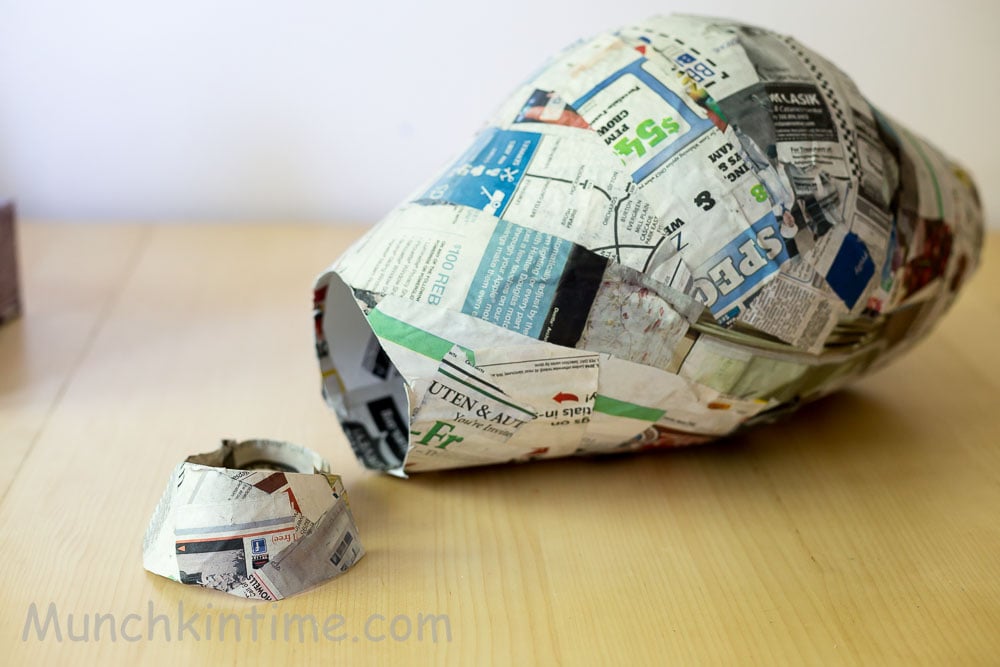
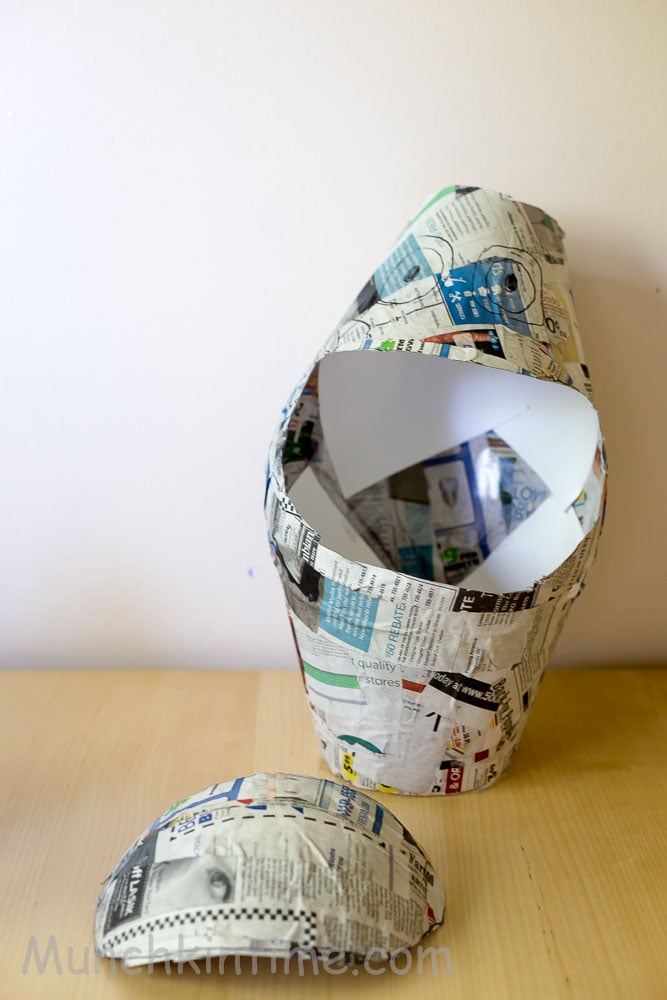
5. Cut an old newspaper into 1-2 inch strips.6. Mod podge it and cover your balloon.7. Let it dry.8. Make 2 more balloons but one smaller size than other then mod podge them and let them dry.9. Pop the balloons inside.10. Cut 2-3 inches off the top, that is going to be our head.11. Cut out Olaf's nose just like in this pic.
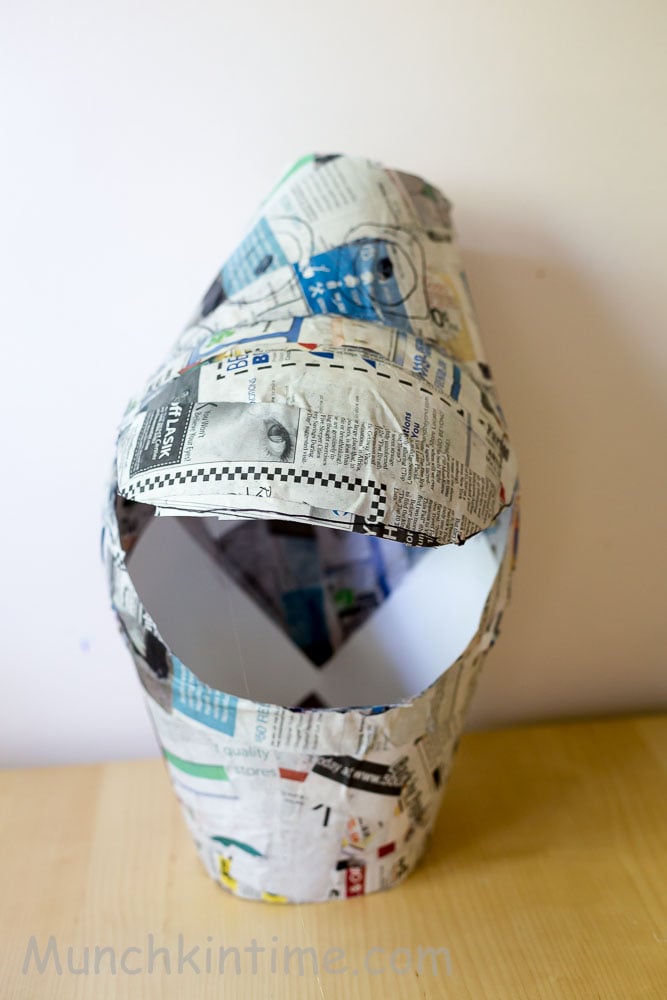
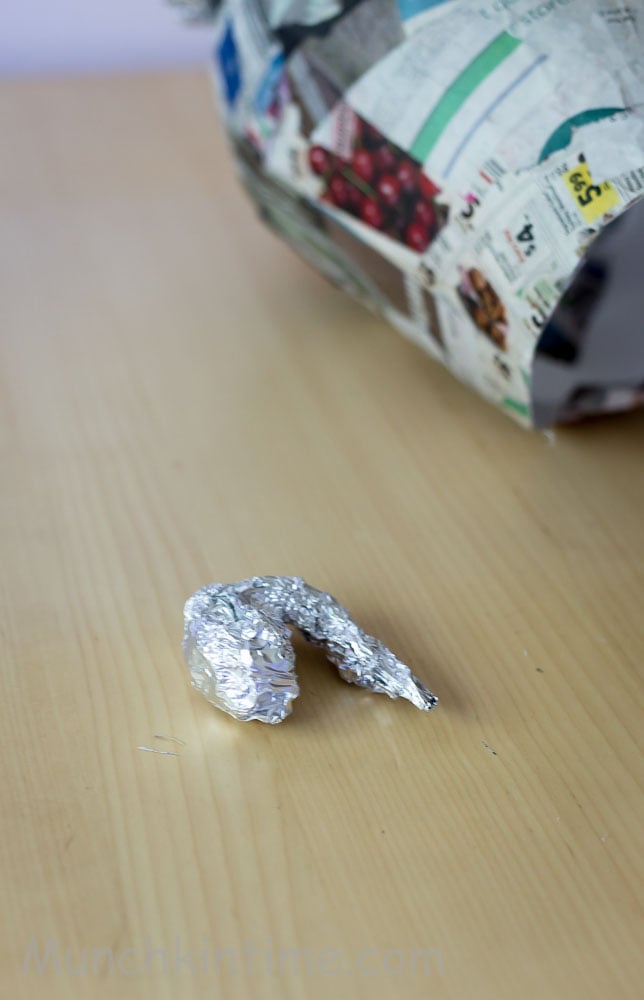
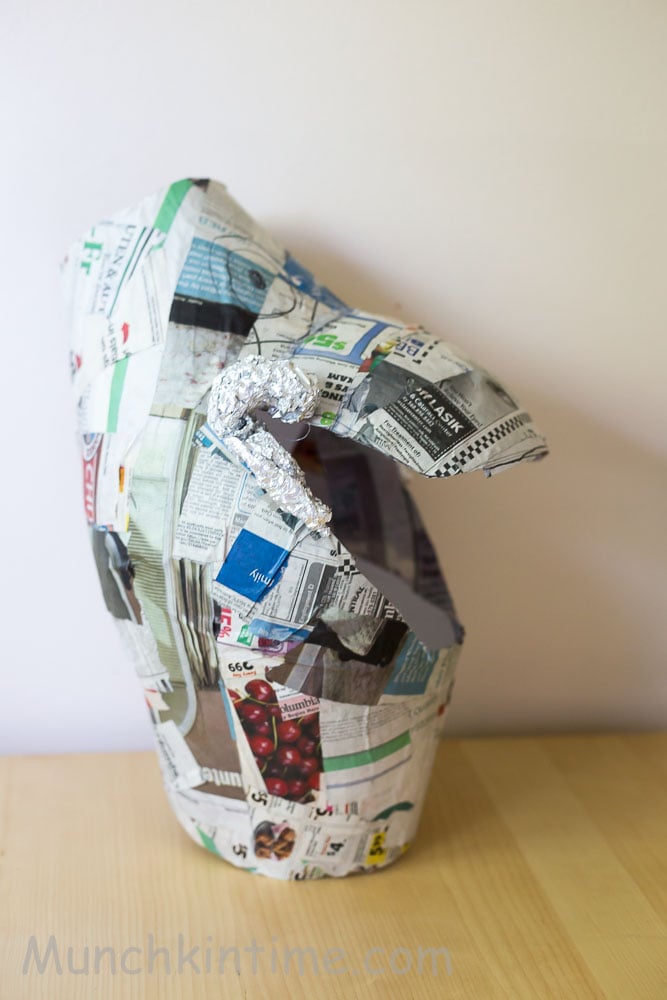
12. Using a glue gun glue the noise to Olaf's head.13. Take 2 foil papers and shape them up like a comma shape.
14. Attach them to the both sides of the mouth using glue gun.
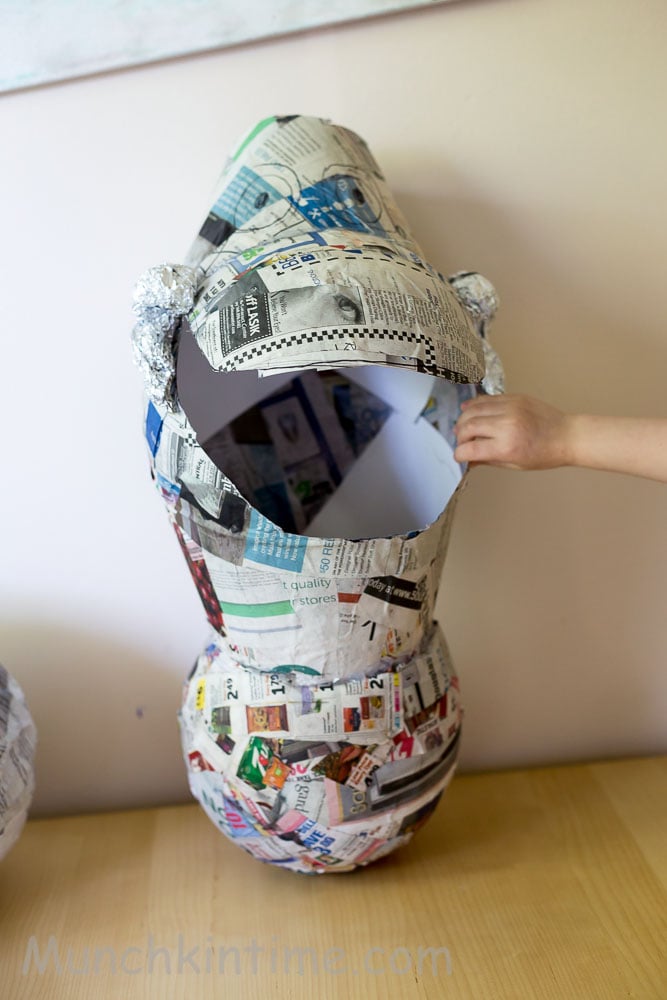
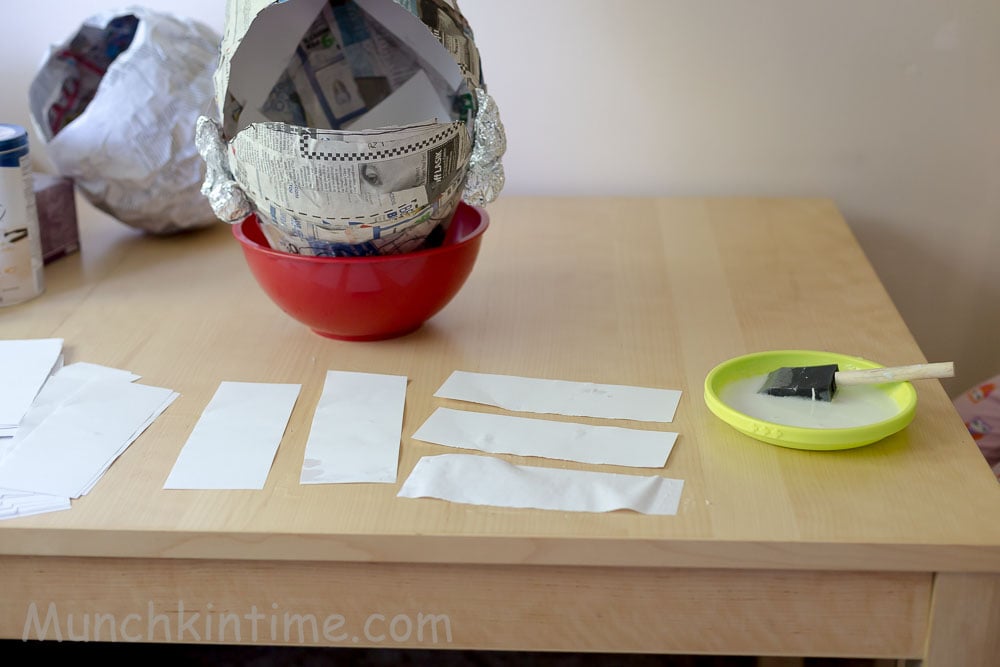
15. Mod podge Olaf's head and 2 other balloons with white paper.
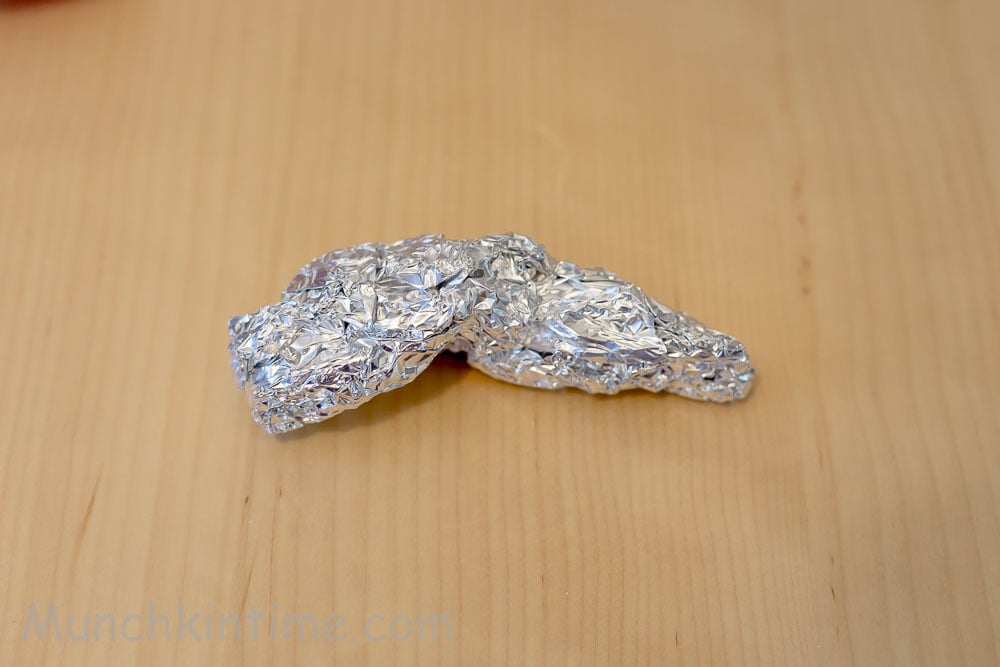
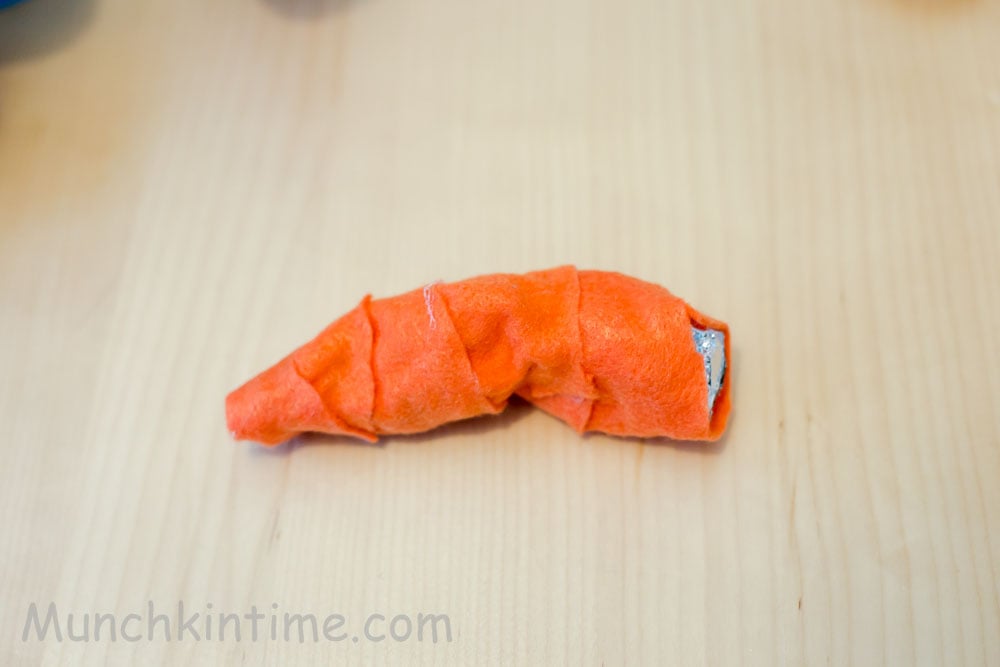
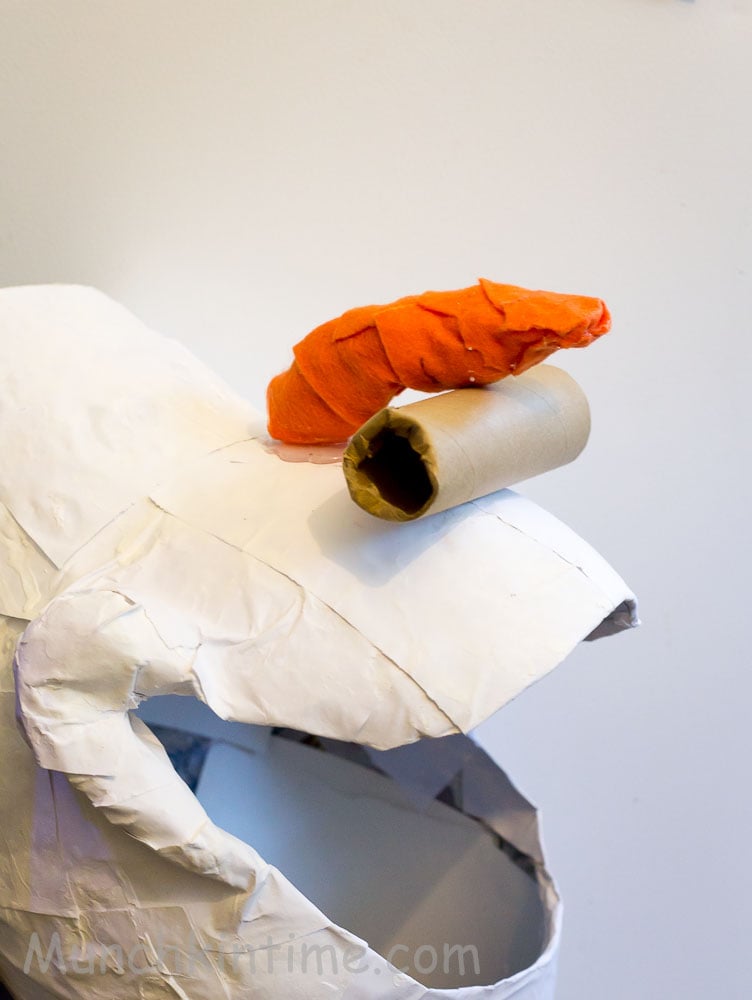
16. Make Olaf's nose.
17. Glue it to Olaf's face.
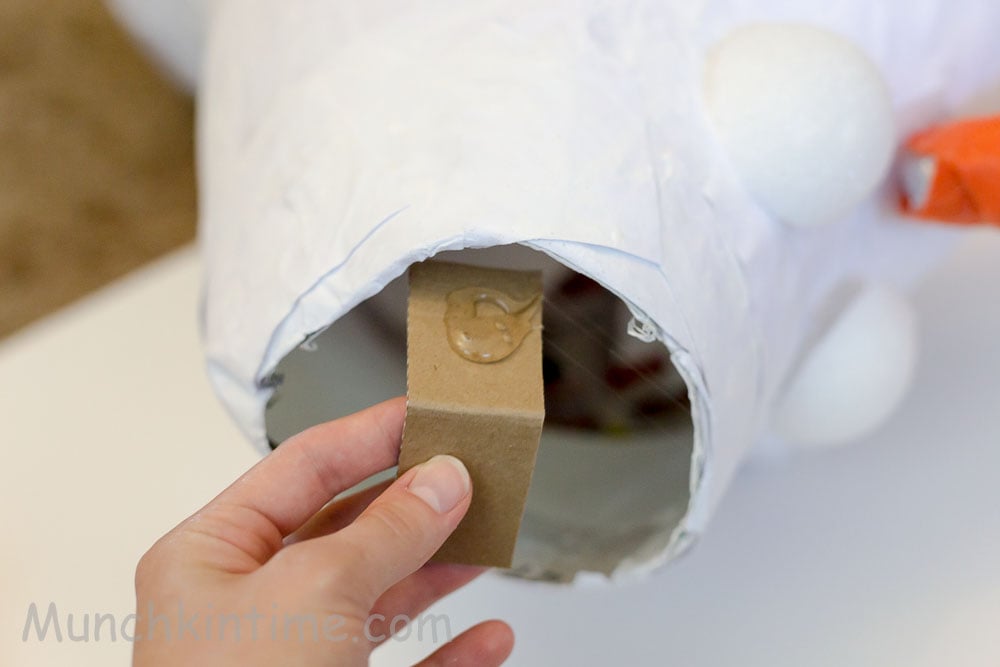
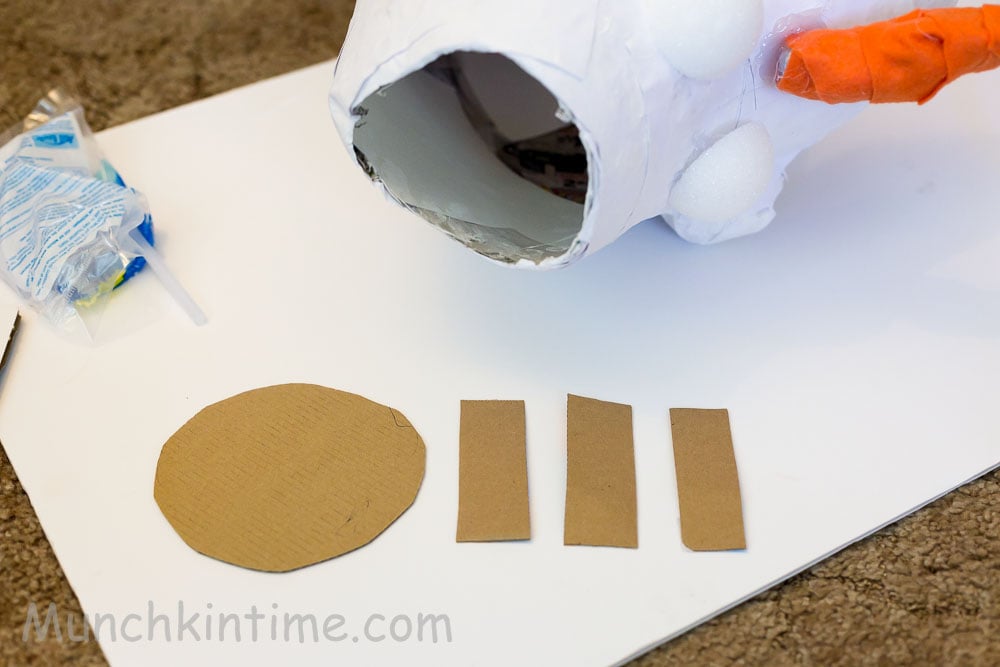
18. To make a cover for the top of the head cut out a circle and 3 strips of cardboard. 19. Using a hot glue glue it to the inside of the head.
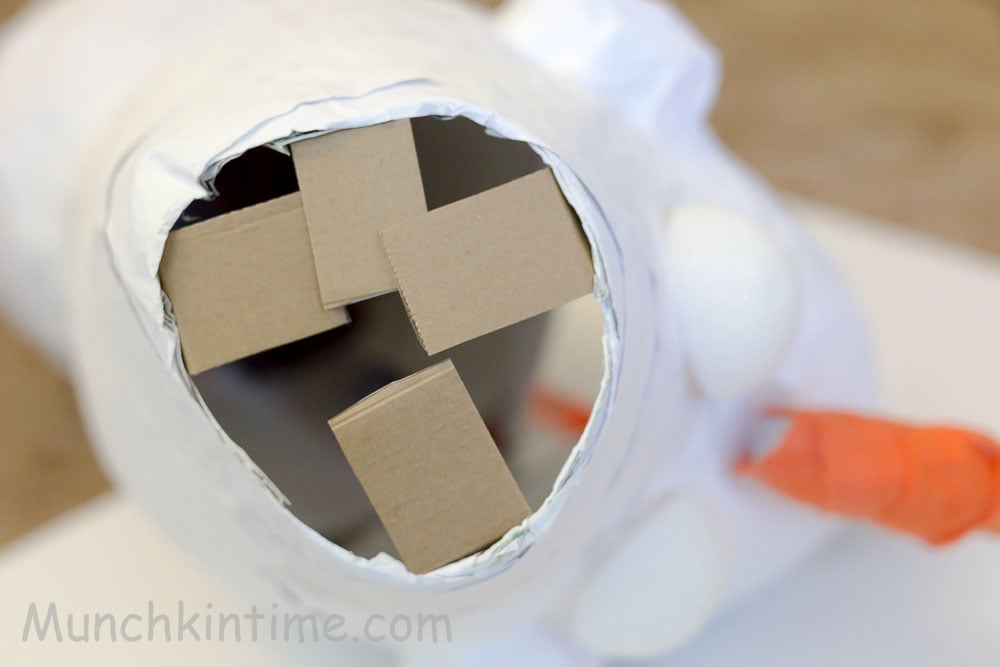
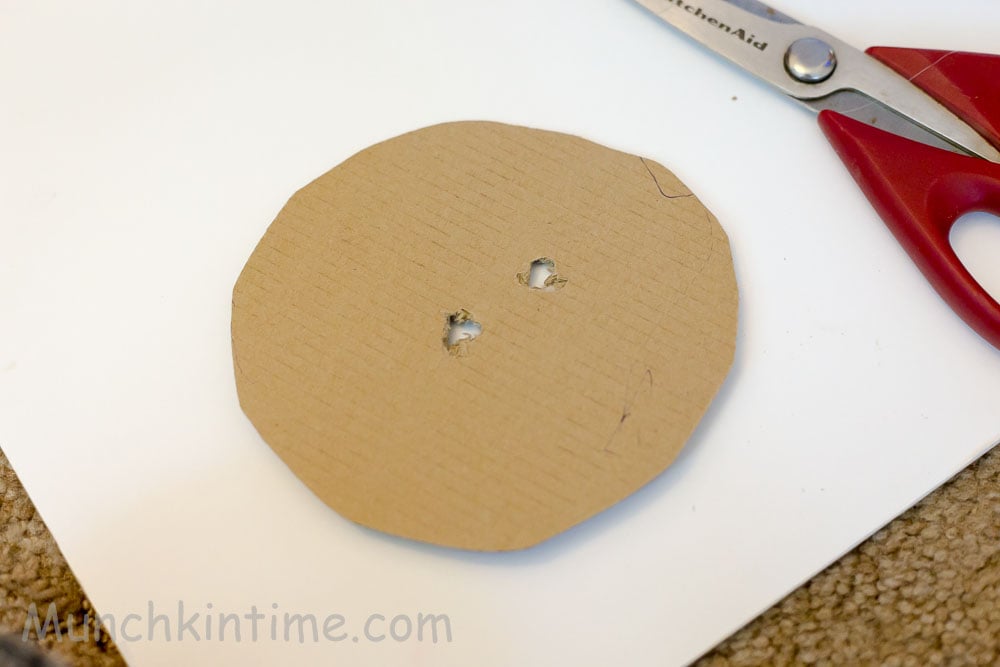
20. Make a hole then glue it to the top of Olaf's head. (I accidentally make two holes)
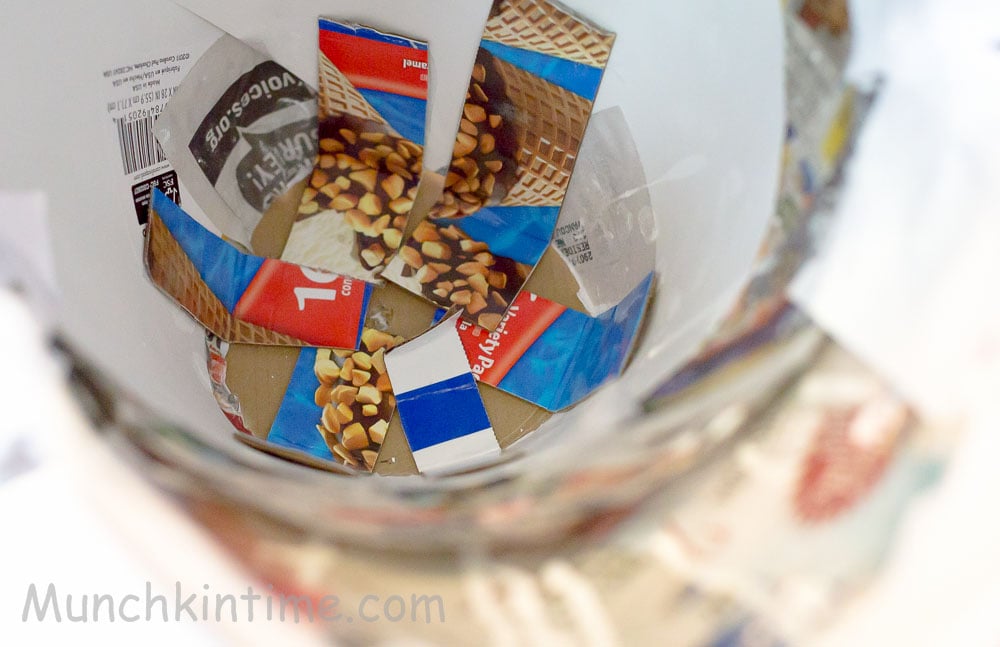
This is how it looks inside.
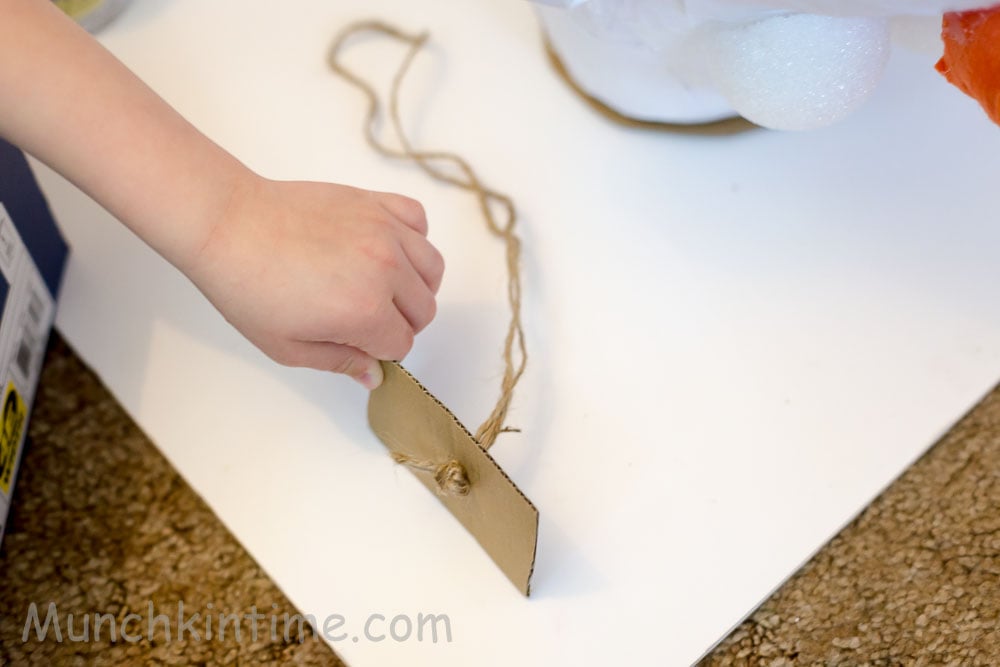
21. Cut out a square shape cardboard make a hole and knot a string thru it.
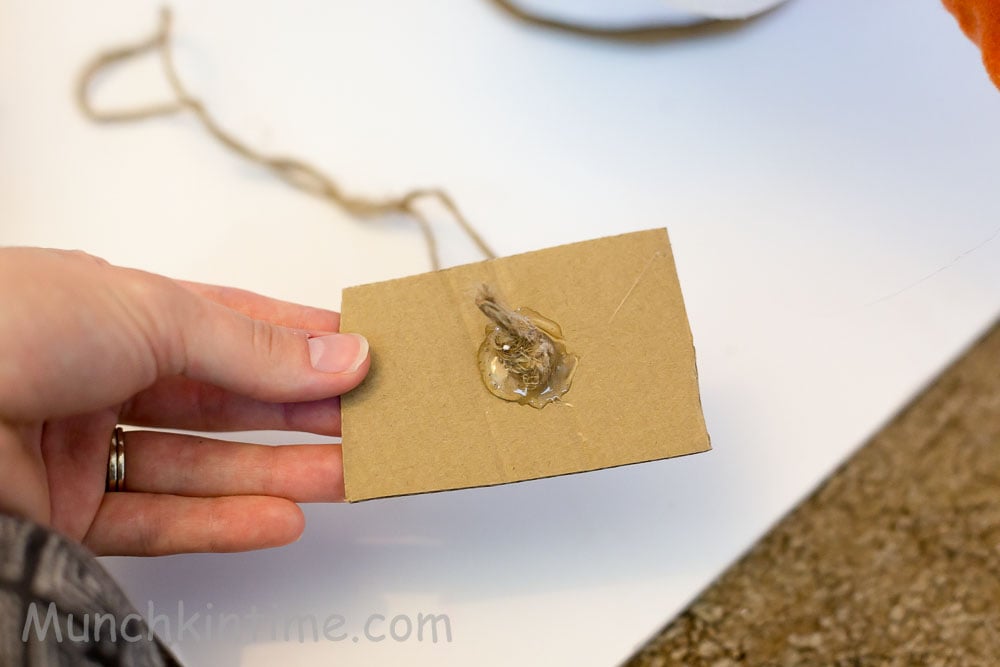
22. Add some hot glue.
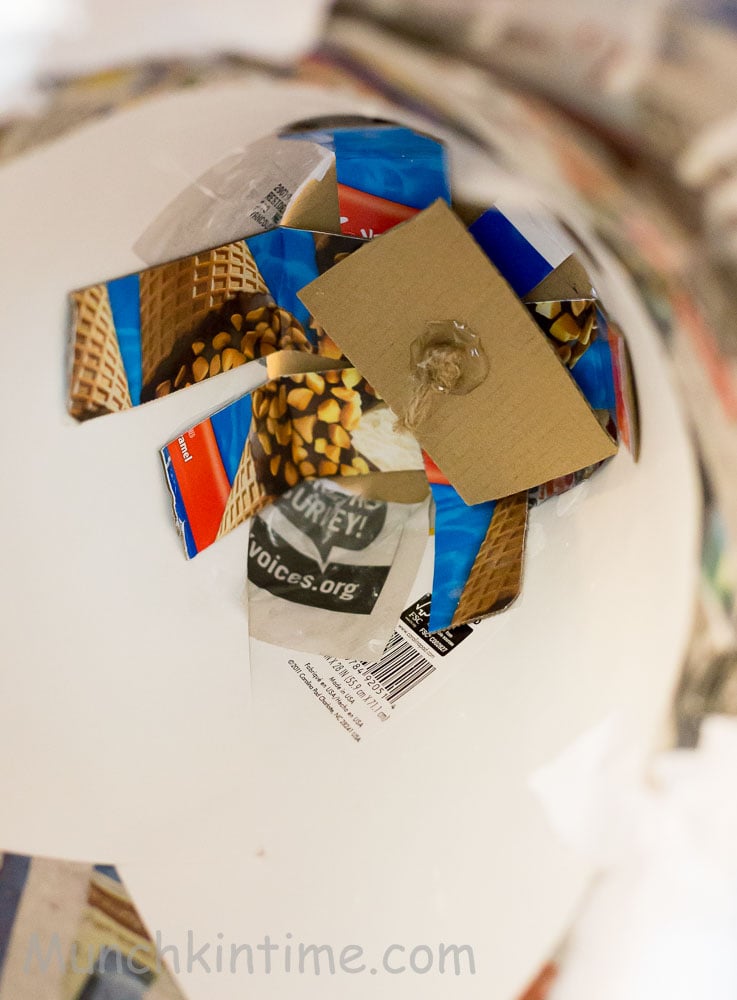
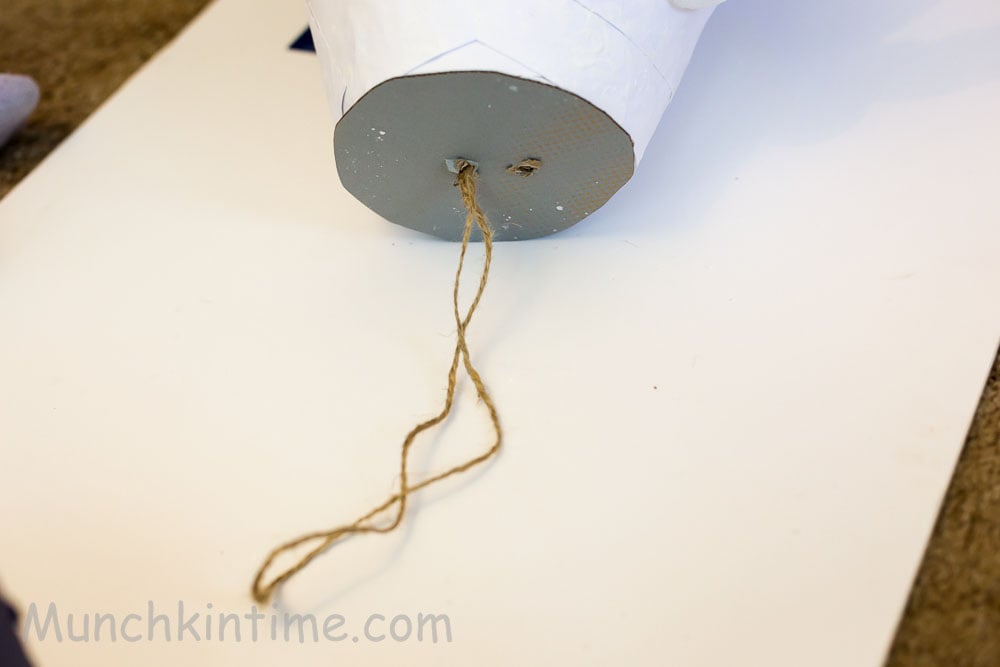
23. Add the string from inside of the head.
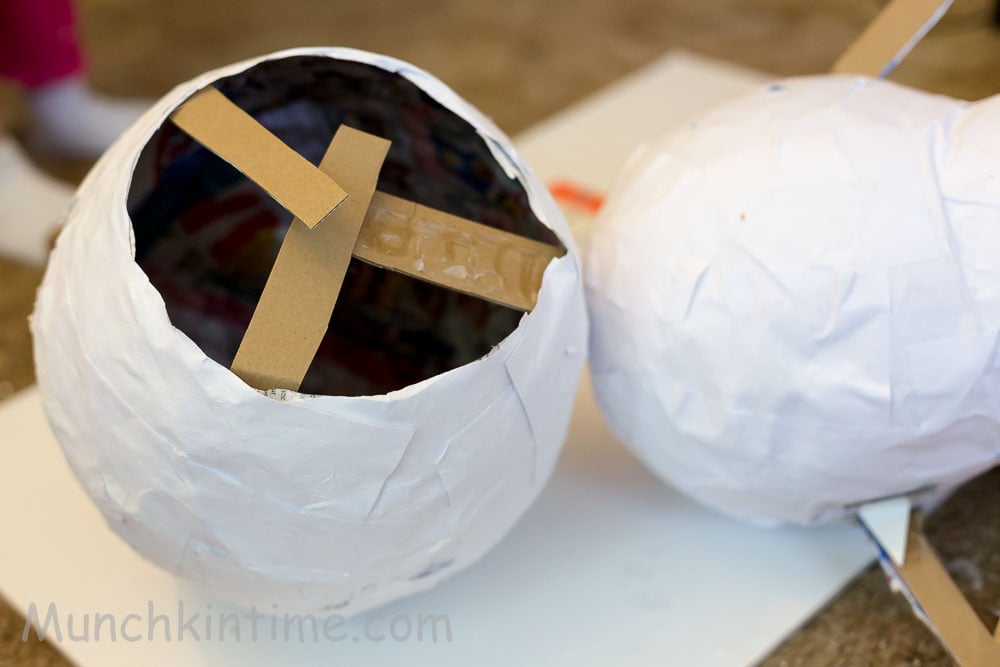
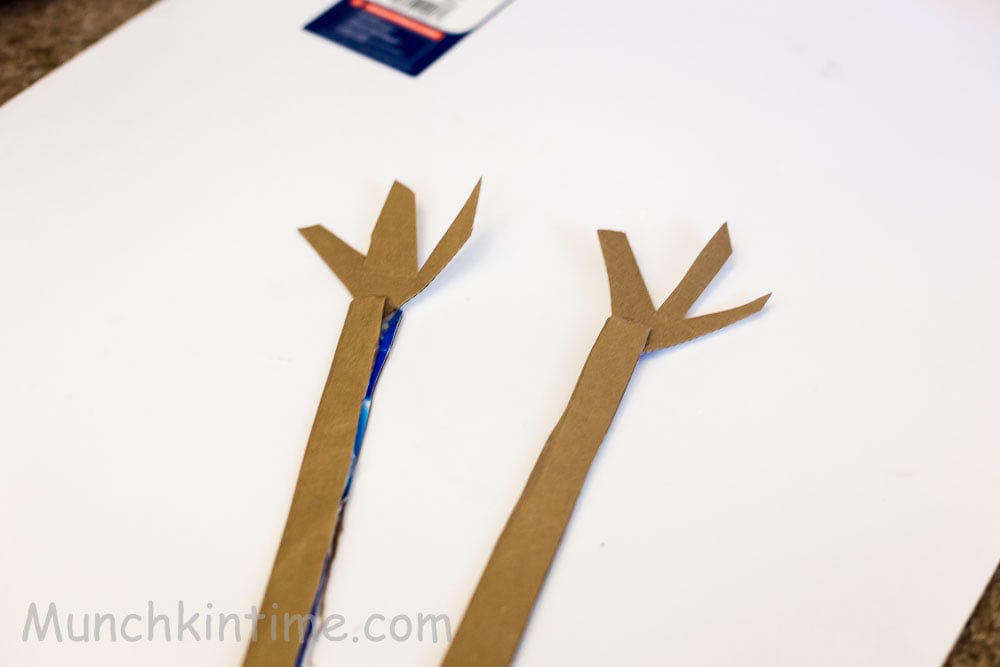
23. To attach Olaf's body parts cut out cardboard paper strips and glue them to the inside.24. Add hot glue on top of the strips and attach it to Olaf's head and hold it until glue cools off. Mod Podge the neck with white paper.25. Using cardboard make two hands and glue them to Olaf's body.
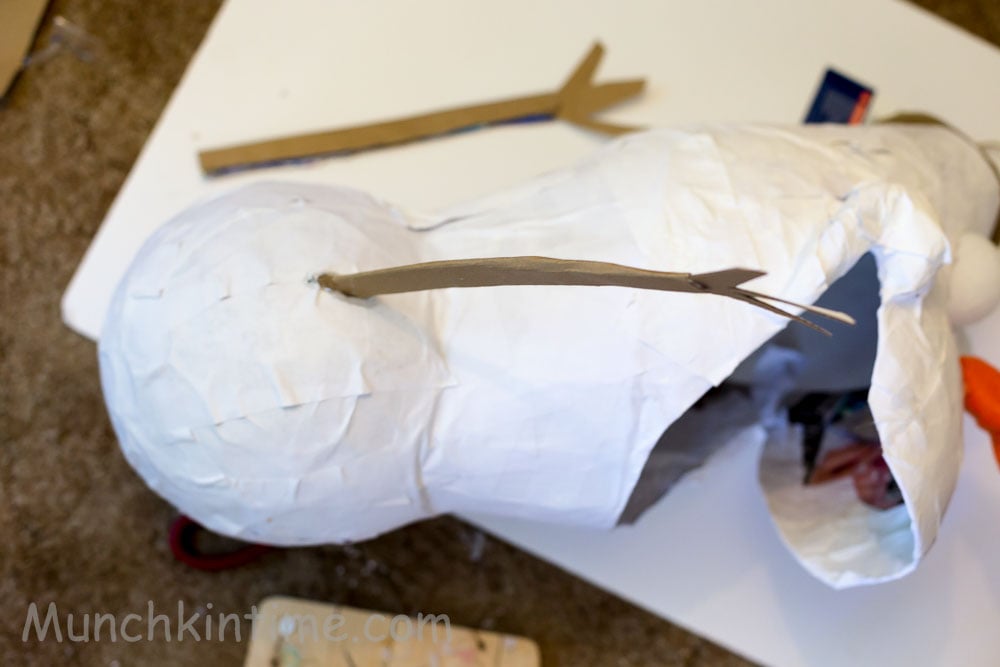
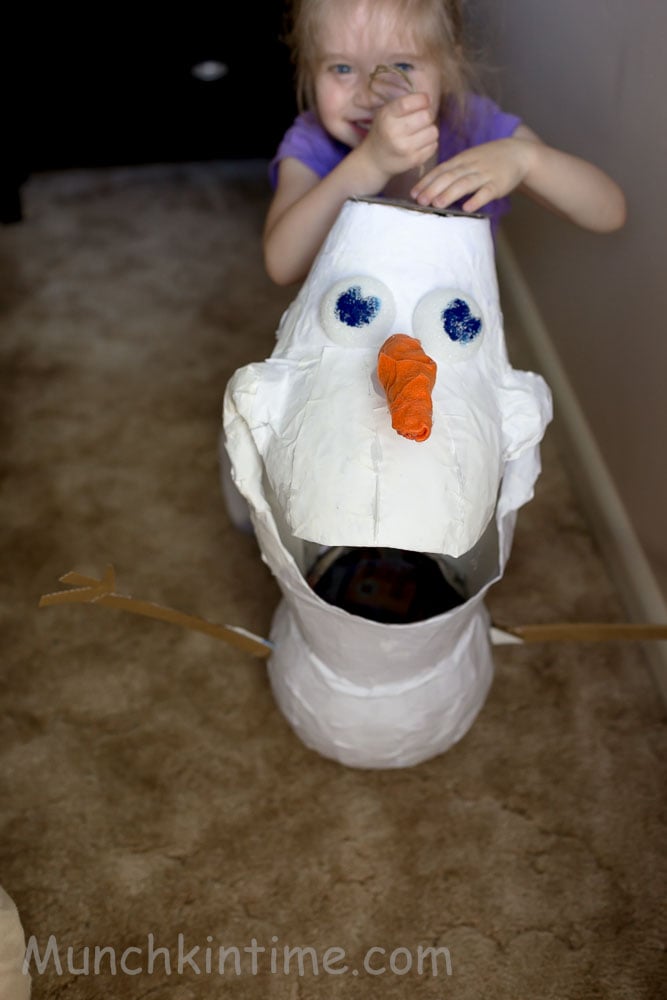
Glue small tree branches to the top of Olaf's head
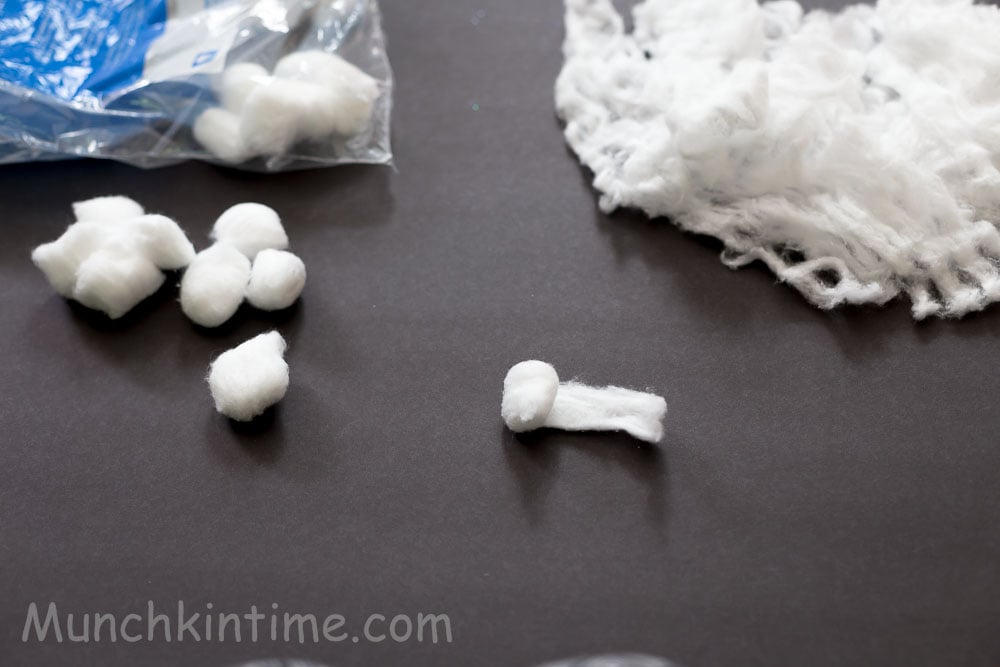
To decorate Olaf unroll cotton balls.
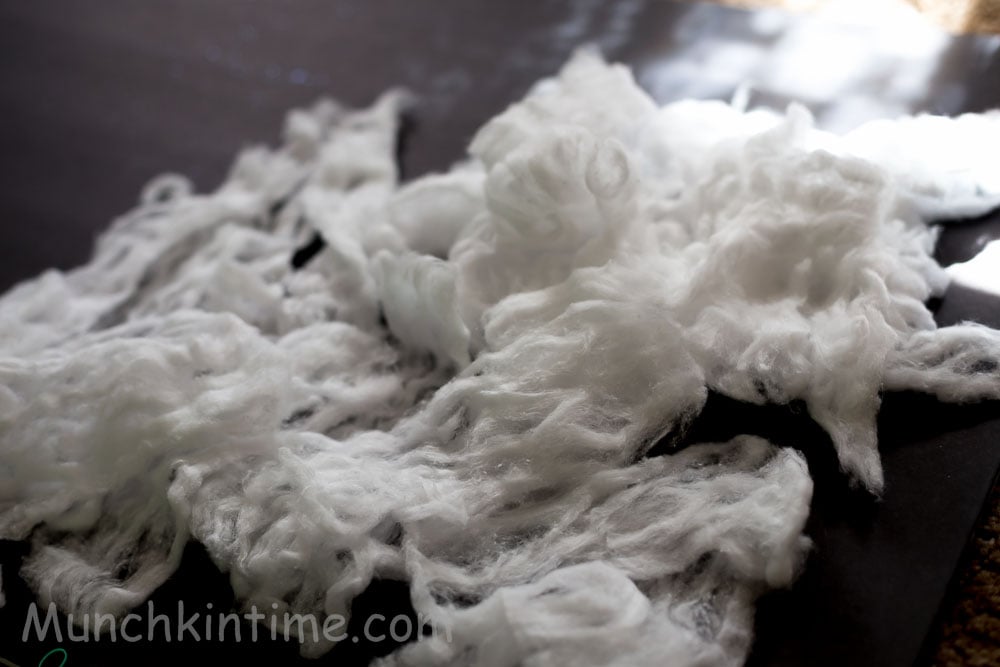
Lots of them.
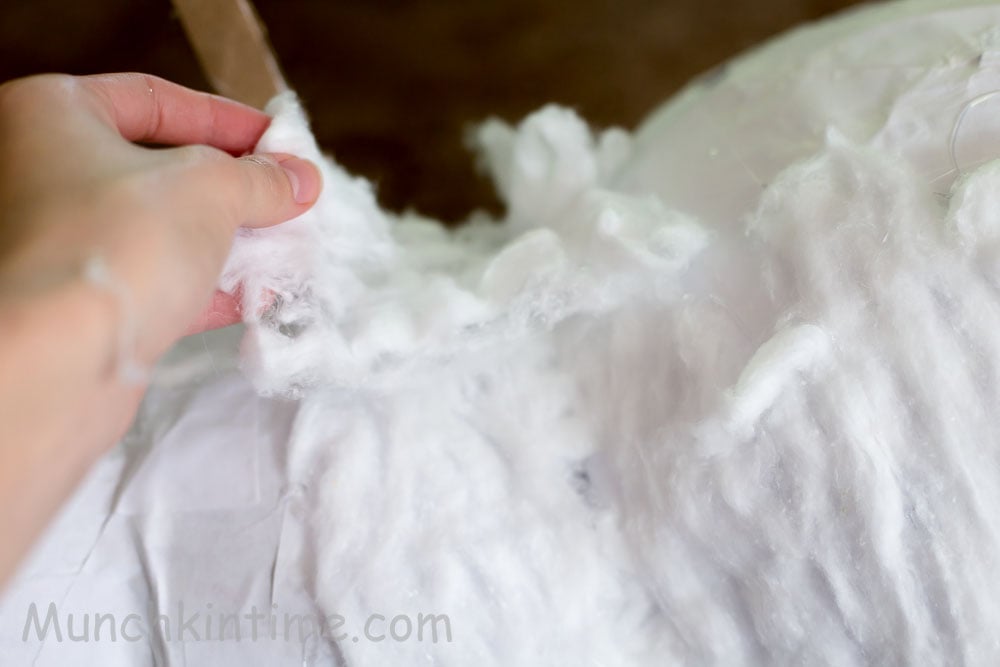
Cover Olaf's body with cotton using hot glue gun.
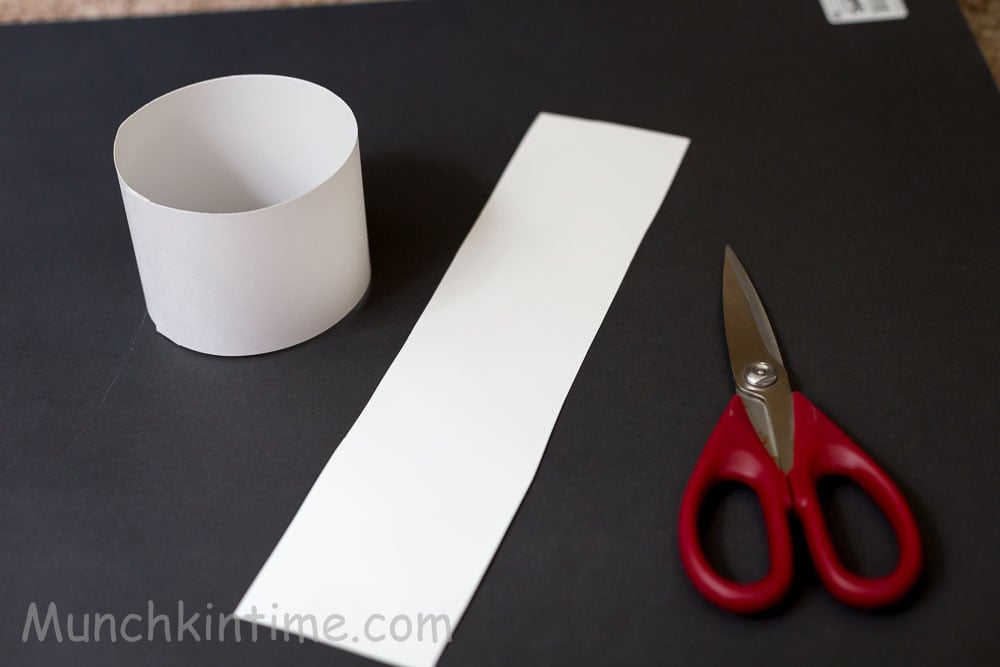
To make legs cut two poster strips and glue two sides together.
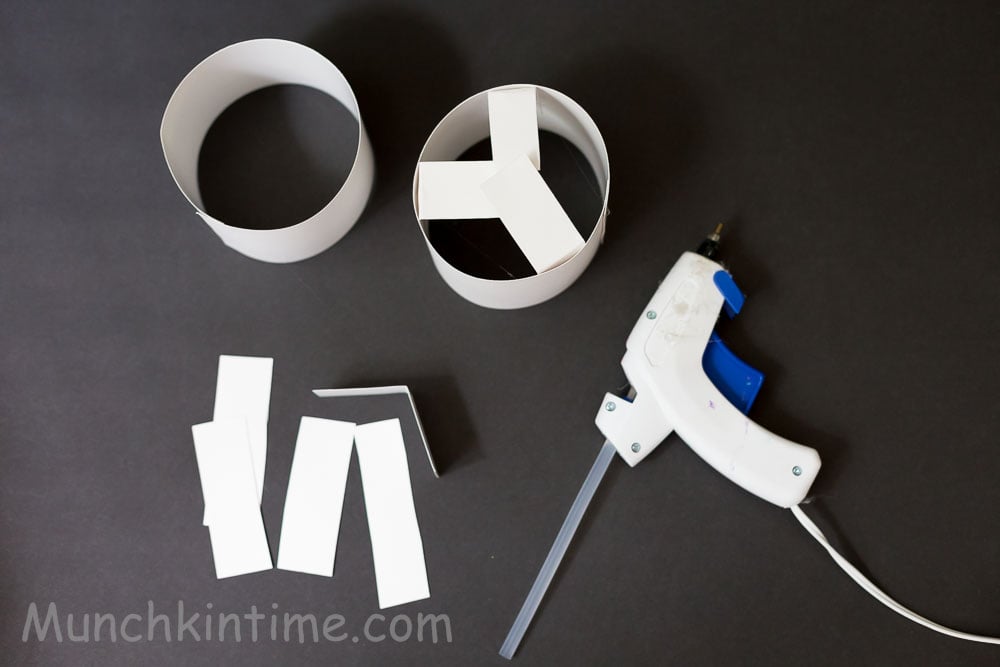
Glue small strips to inside of the leg.
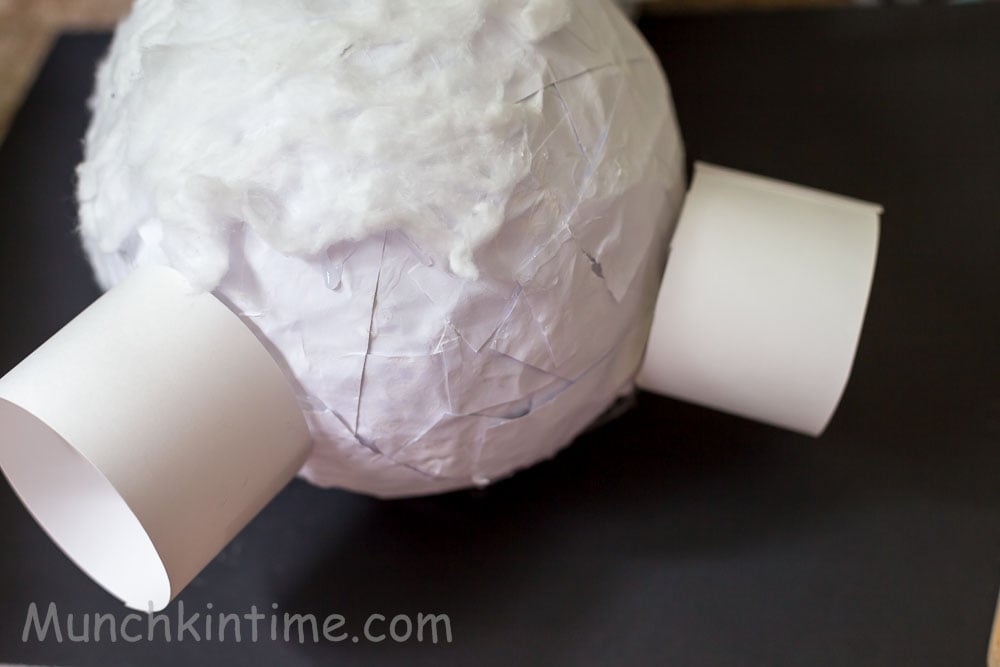
Add more glue on top of the strips then glue them to Olaf's lower body then finish covering Olaf's body with cotton.
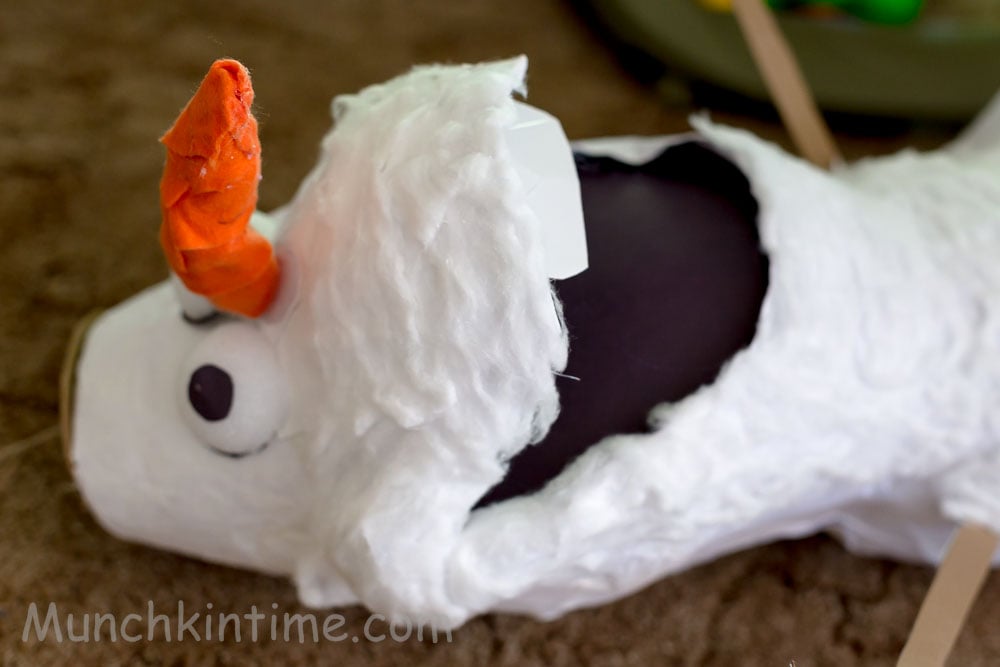
Glue white rectangle shape paper to the top of Olaf's mouth and black piece of paper to the bottom of Olaf's mouth to cover his insides.
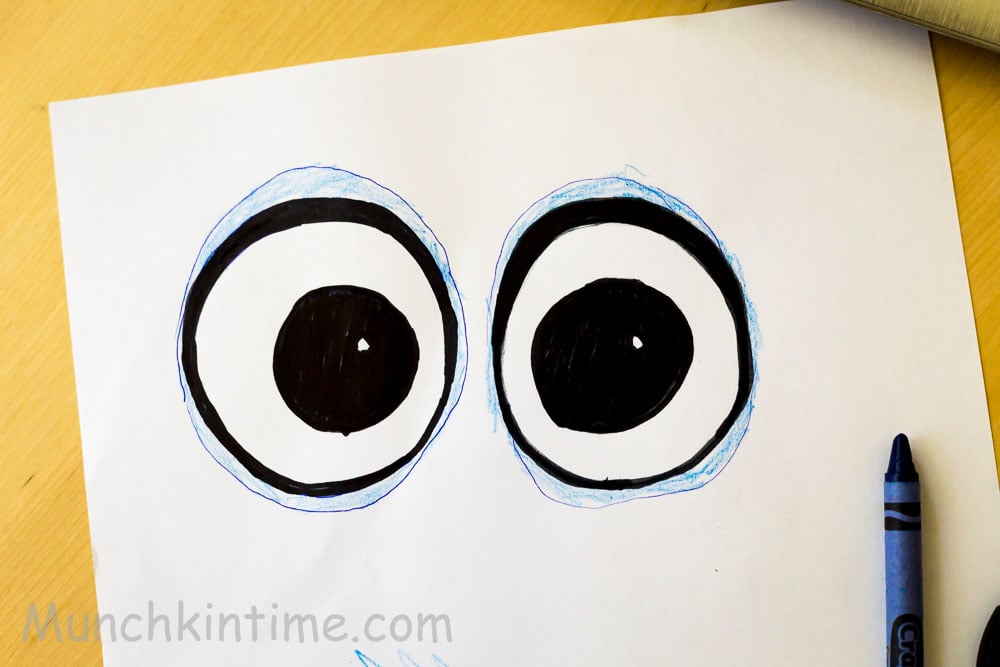
Draw two big eyes and glue them to Olaf's head.
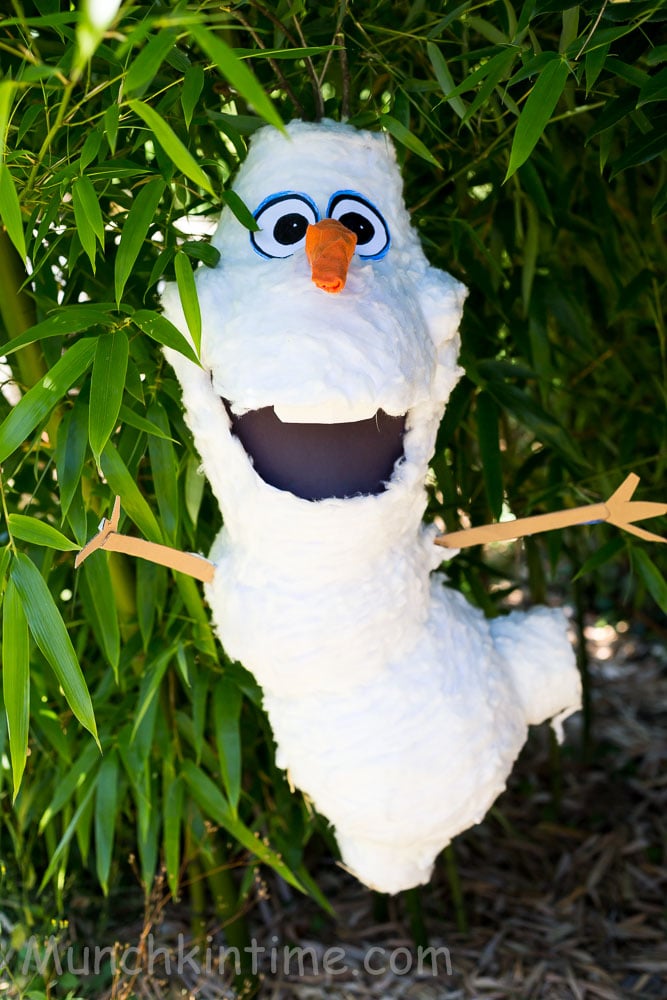
I forgot to add eyebrows and Olaf's buttons =(
I hope you liked this tutorial.
If you make Frozen Olaf Pinata please tag my name @munchkintimeblog or #munchkintimeblog on Instagram, I would LOVE to see your creations!
Let me know if you have any questions.
Thank you for stopping by!
More DIY Activities for Kids
- Quick and Easy Chocolate Dirt Pudding Recipe
- Lavender Bath Bombs
- How to Dye Eggs with Food Coloring (Instant Pot)
- How to Make Slime With Glue and Baking Soda (Video)
Quote of the Day

Lou Lou Girls
This is fabulous! I love it. Pinned and tweeted. Thanks for being a part of our party! I hope you stop by on Monday at 7 pm. We love to party with you. Merry Christmas! Lou Lou Girls
ashley
How many layers of news paper and white paper did you use? I want to make sure mine is sturdy but not too sturdy.
Munchkin Time
HI Ashley! I remember doing 2 layers of newspaper - one layer when covering each balloon and then letting them dry, and 2nd layer when connecting balloons together, as for white paper I believe I only did one layer just to cover newspaper. Hope that helps.
Sarah Doyle
How long did it take to dry
Munchkin Time
It took around 24 hours to dry.
Angie
I'm about to start making this but was wondering how sturdy your pinata was. How many hits did it take before it broke and how much candy did you put inside it?
Munchkin Time
Hi Angie! My pinata was quite sturdy so it took awhile to break it. I think it depends on how many layers of paper you are going to mod podge to the body. I fill half of Olaf's middle stomach. I hope this helps.
Natalie E.
At which point and into which cavity did you put the candy?
Great tutorial! Thanks!
Munchkin Time
Thank you Natalie! You can add candy at the end by placing them thru Olaf's mouth into his stomach.