
How to Make Slime With Glue and Baking Soda - Are you looking for a creative and engaging activity for your kids? Making homemade slime is a fantastic way to encourage hands-on play while providing a fun science experiment right at home! This DIY slime recipe is simple, safe, and perfect for kids of all ages.
This time, my girls were super excited to make Slime with Glue and 2 other secret ingredients. It was the best! Slime turns out just like the one you buy at the store, even better.
Jump to:
Why Slime is Great for Kids:
- Sensory Play: It enhances fine motor skills and sensory exploration.
- Creative Expression: Kids can experiment with colors and textures.
- Educational Fun: It offers a fun way to introduce basic science concepts.
Tips for Success:
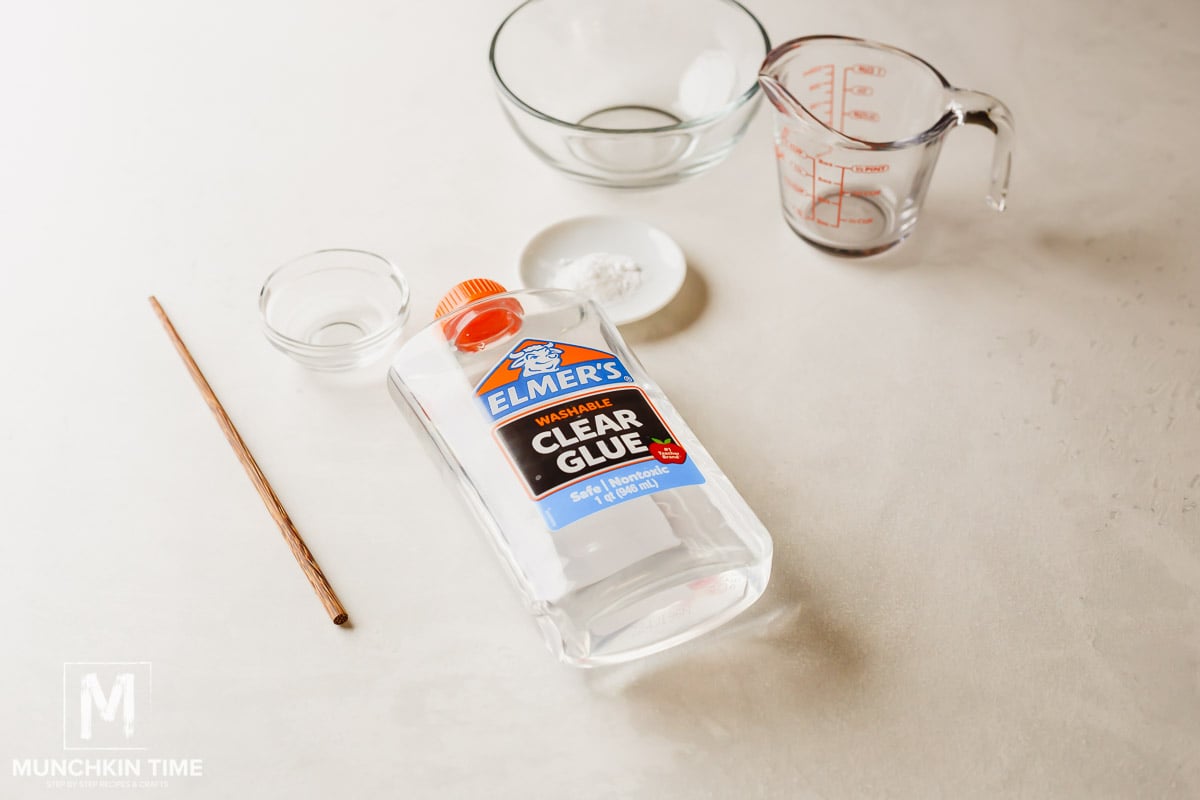
- Gather all ingredients before starting.
- Clear glue offers a transparent result, while white glue gives more opaque slime.
- Measure ingredients carefully for best results.
- Mix thoroughly to avoid clumps.
- Add colors gradually to reach the desired hue.
- Experiment with textures by adding other ingredients (e.g., shaving cream for fluffiness).
- Ensure safety by supervising younger children and cleaning spills promptly.
How to Make Slime With Glue and Baking Soda
- To make slime at home, first place glue into a bowl, then add few drops of food coloring and stir until combined. Now add baking soda, stir it in.
2. Next, into the same bowl pour in contact lens solution, then stir until everything is combined.
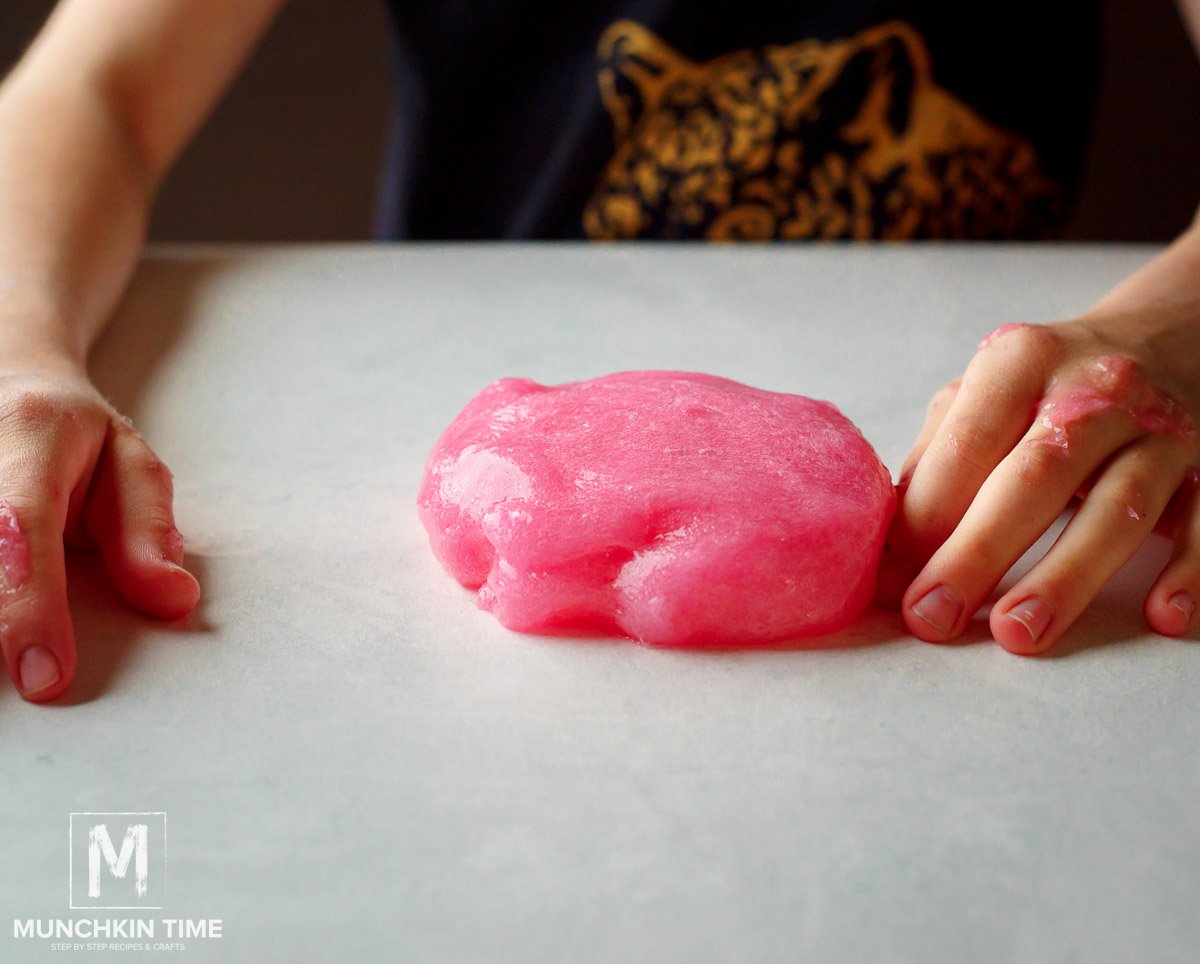
3. After, knead for about 2-5 minutes or until it turns into a slime.

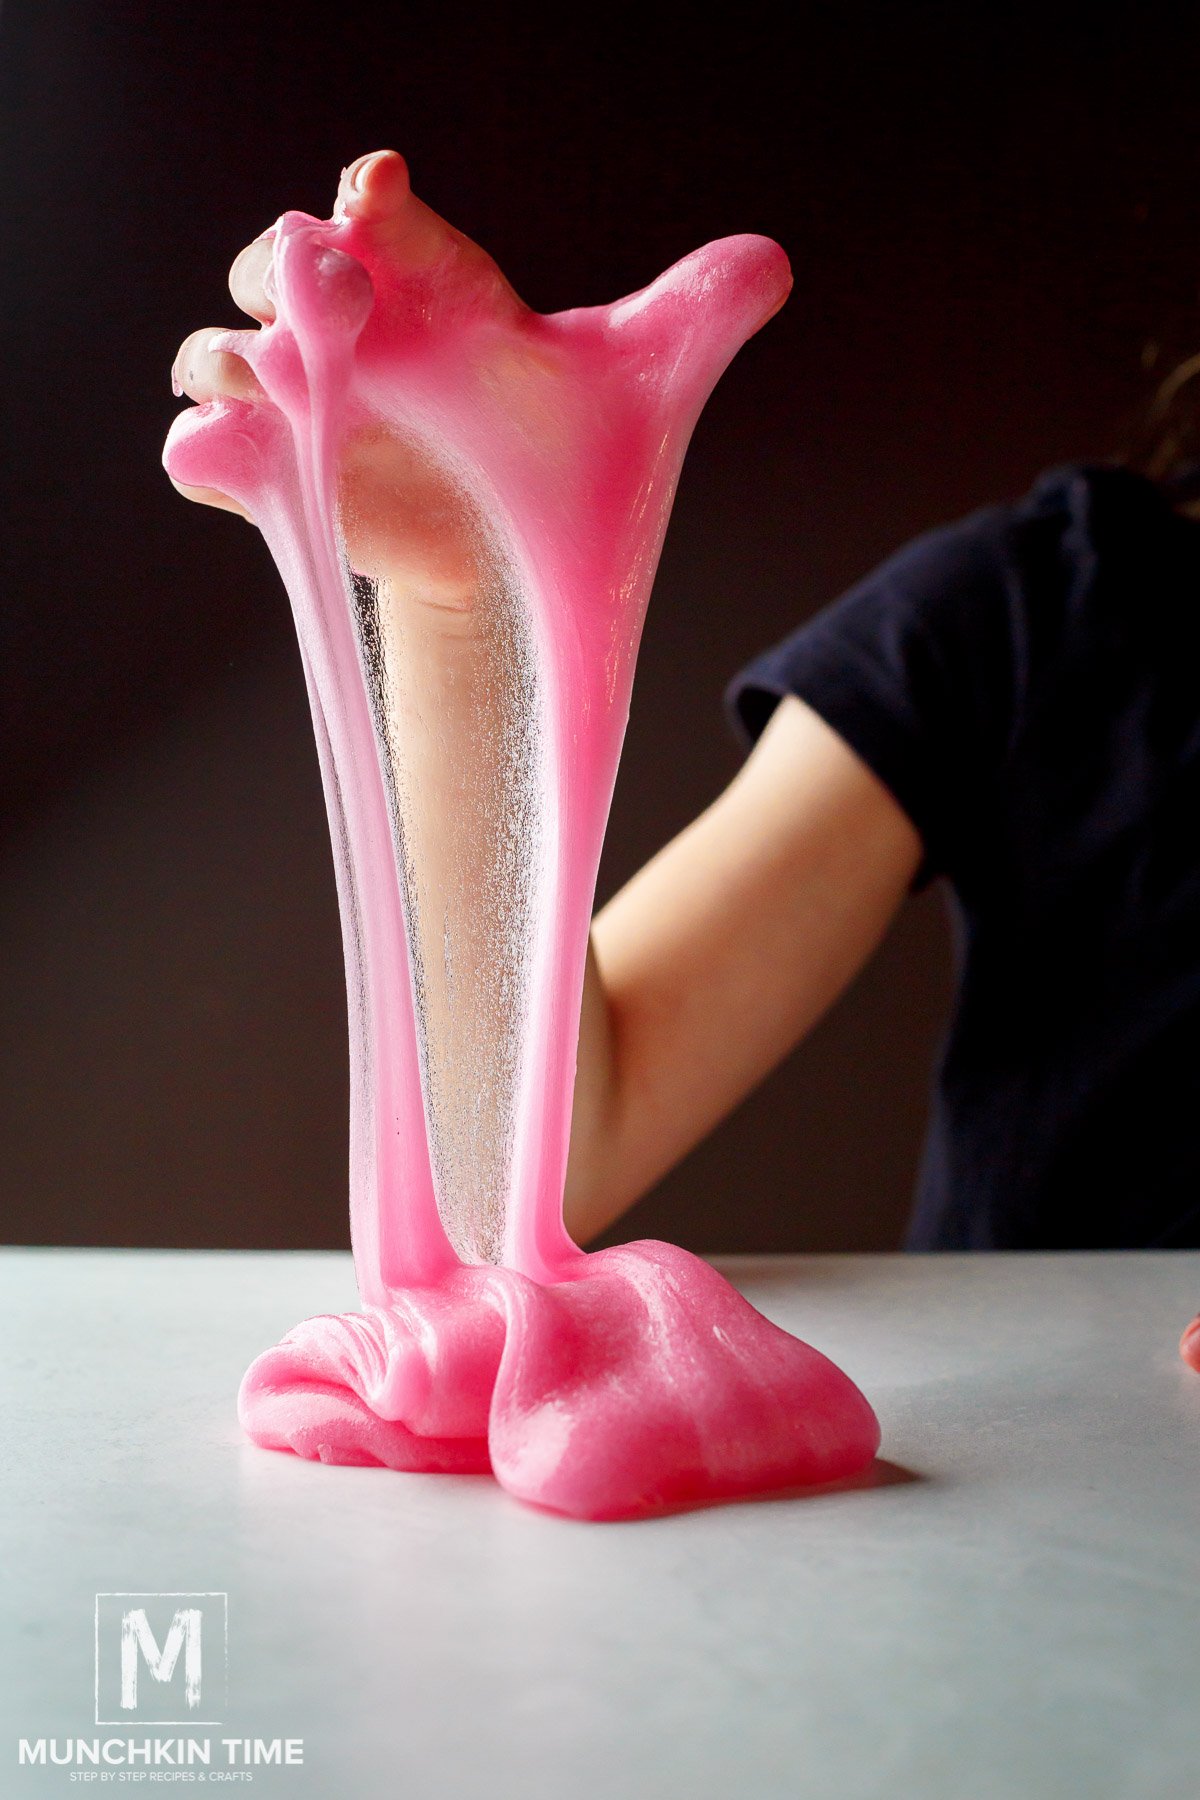
4. Enjoy your homemade slime.
Storage Tips
Be sure to store your slime in an airtight container to keep it from drying out. This way, your children can enjoy their creation again and again!
Slime FAQs
Yes, but clear glue or white school glue works best for making slime. Clear glue results in a more transparent slime, while white glue is thicker and more opaque
Baking soda helps to firm up the slime, giving it a better texture and enhancing its stretchiness.
If you don’t have contact lens solution, you can use liquid starch or saline solution, but make sure the saline contains boric acid.
To make fluffy slime, add a few tablespoons of shaving cream to the mixture after adding the baking soda. This will make it lighter and fluffier.
A runny consistency can occur if there’s too much glue or not enough contact lens solution. You can adjust the amount of contact lens solution to achieve your desired texture.
Yes, you can try other recipes, but baking soda helps create the right texture and firmness. Look for recipes specifically tailored without it if that’s your preference.
More DIY Activities for Kids
- How To Make Frozen Olaf Pinata Easy DIY Tutorial
- Lavender Bath Bombs
- How to Dye Eggs with Food Coloring (Instant Pot)
- Dirt Pudding Recipe with Chocolate
When YOU make this DIY Slime Recipe, take a picture and tag us on Instagram @MunchkinTimeblog we would love to see your slime creations!
If you tried this homemade slime recipe or any other recipe on my website, please leave a * star rating and let me know how it went in the comments below. Thanks for visiting!
Thank YOU for YOUR Comment, Share & Recipe Review!

How to Make Slime With Glue and Baking Soda
Equipment
Materials
- ½ cup clear glue we like to use Elmer's glue
- ½ teaspoon baking soda
- 2 ¼ teaspoons contact lens solution this is the one I used Kirkland Signature Multi-Purpose Disinfecting Solution, add more if needed
- pink food coloring or color of your choice
Instructions
- Prepare Your Bowl: Start by pouring ½ cup of clear glue into a large mixing bowl.
- Add Color: Add some drops of food coloring into the glue. Stir until the color is evenly blended.
- Mix in Baking Soda: Sprinkle in ½ teaspoon of baking soda and mix well. This step is crucial for slime's firmness!
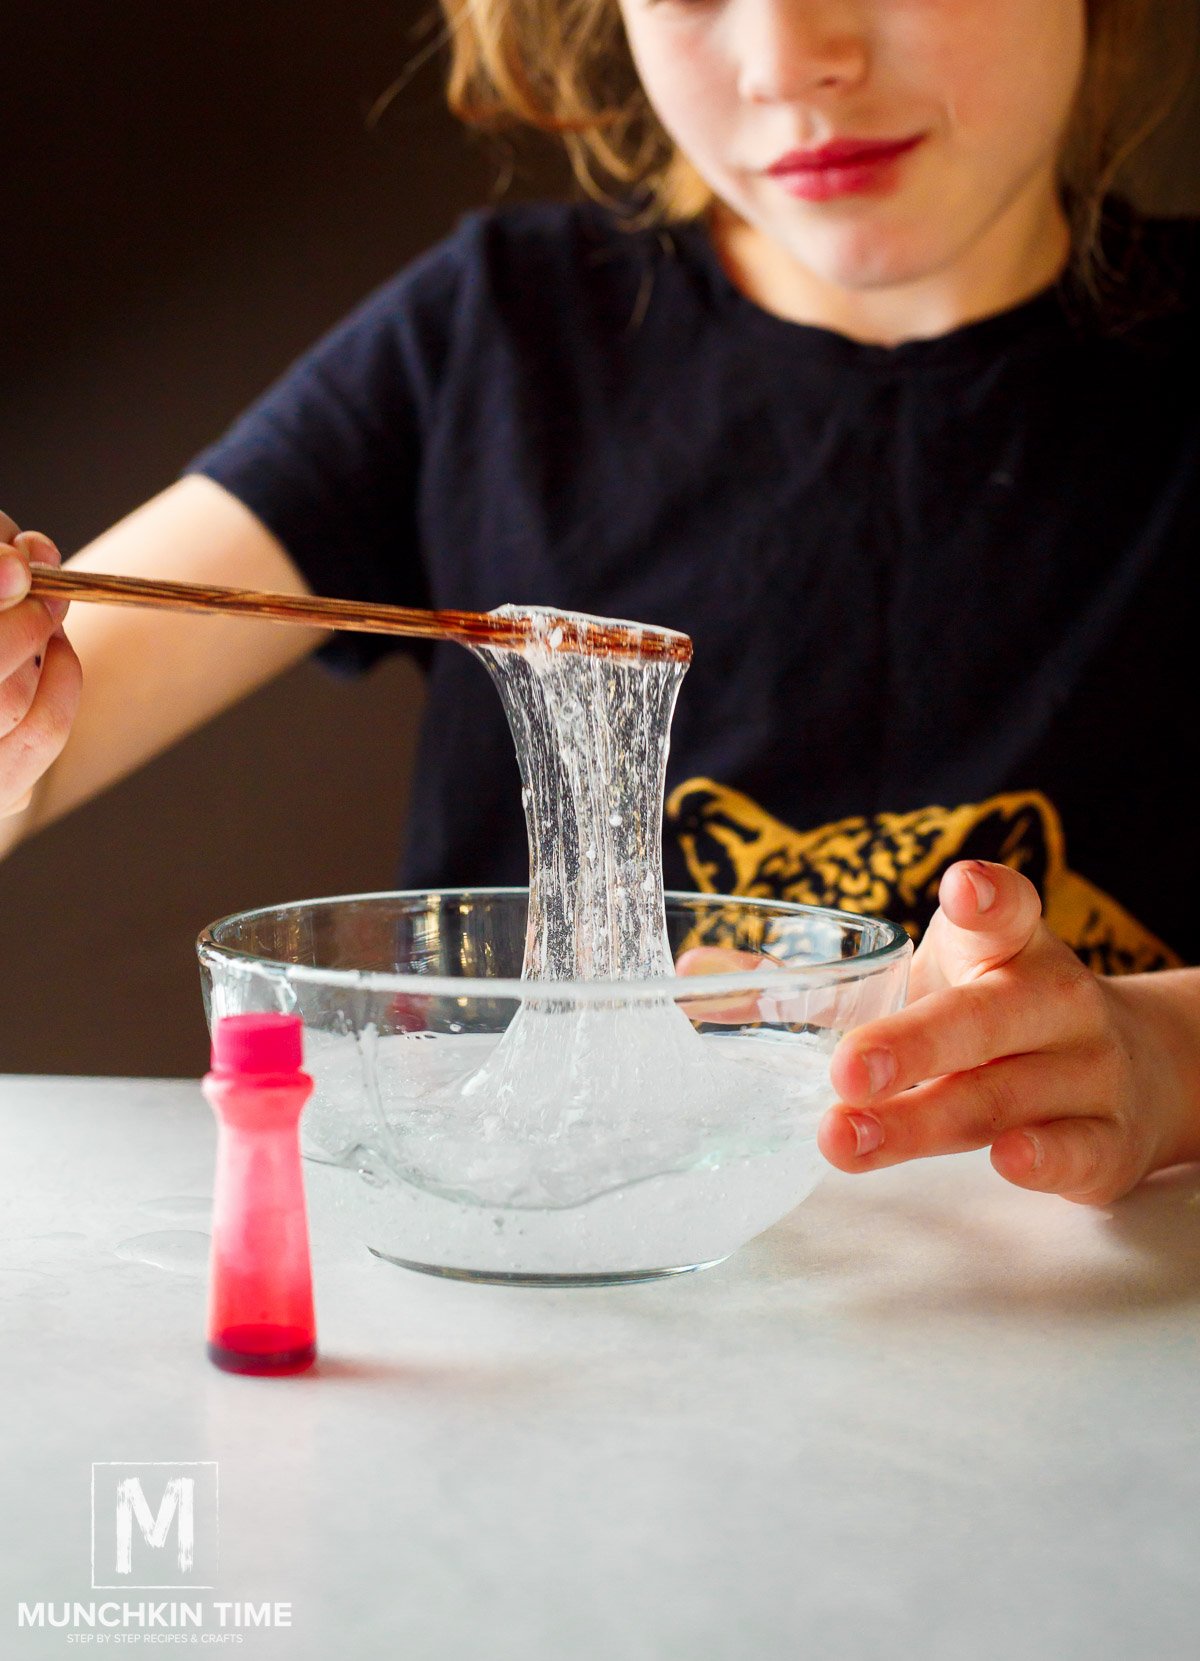
- Incorporate Contact Lens Solution: Next, add in 2 ¼ teaspoons of contact lens solution. Stir everything together until it starts to clump and form a slime-like consistency. You can adjust the amount of solution to achieve your desired texture.
- Knead Your Slime: Get your hands in there! Knead the mixture for 2-5 minutes. This step may take a bit of patience, but kneading is key to achieving the perfect slime texture.
- Play Time! Your homemade slime is ready to enjoy! Stretch, squish, and mold it into silly shapes. The possibilities are endless!
Video
Notes
- Add Colors Gradually: If you’re using food coloring, add it gradually until you achieve your desired shade. Remember, colors can darken as they mix!
- Play with Textures: Experiment with different textures by adding items like shaving cream for fluffier slime or corn starch for a thicker consistency.
- Store Properly: Keep your slime in an airtight container to maintain its texture and prevent it from drying out.
Nutrition
Can't wait for you to try this slime recipe!

Catherine
Would white glue work instead of clear glue for this recipe?
Munchkin Time
Hi Catherine! I haven't tried it with white clue, not sure if it will work...
paris
it will does not matter what kind of liquid glue u put in it. so, I think it will. Hope if does work
Munchkin Time
Hi Paris, I use Elmer's glue, I am sure any liquid glue should work, hope this helps!
Ashley
This is THE BEST recipe for slime I've ever made! And we have tried a lot haha. We added about a half cup of shaving cream for fluffy slime.
Munchkin Time
Thank you Ashley! Adding shaving cream sounds so much fun, going to try it next time with my girls!
Kate
I mean silicone not slice.(AUTO CORRECT IS SO STUPID!!!!!!!!!!!!!!!!!!!!!!!!!!!!!!!!!!!!!!!!!!)
Kate
I learnt to make slime by adding slice glue to water
Munchkin Time
Thank you for sharing, Kate! 😀
McZombie
Awesome thank you!
Munchkin Time
You are welcome! 🙂