
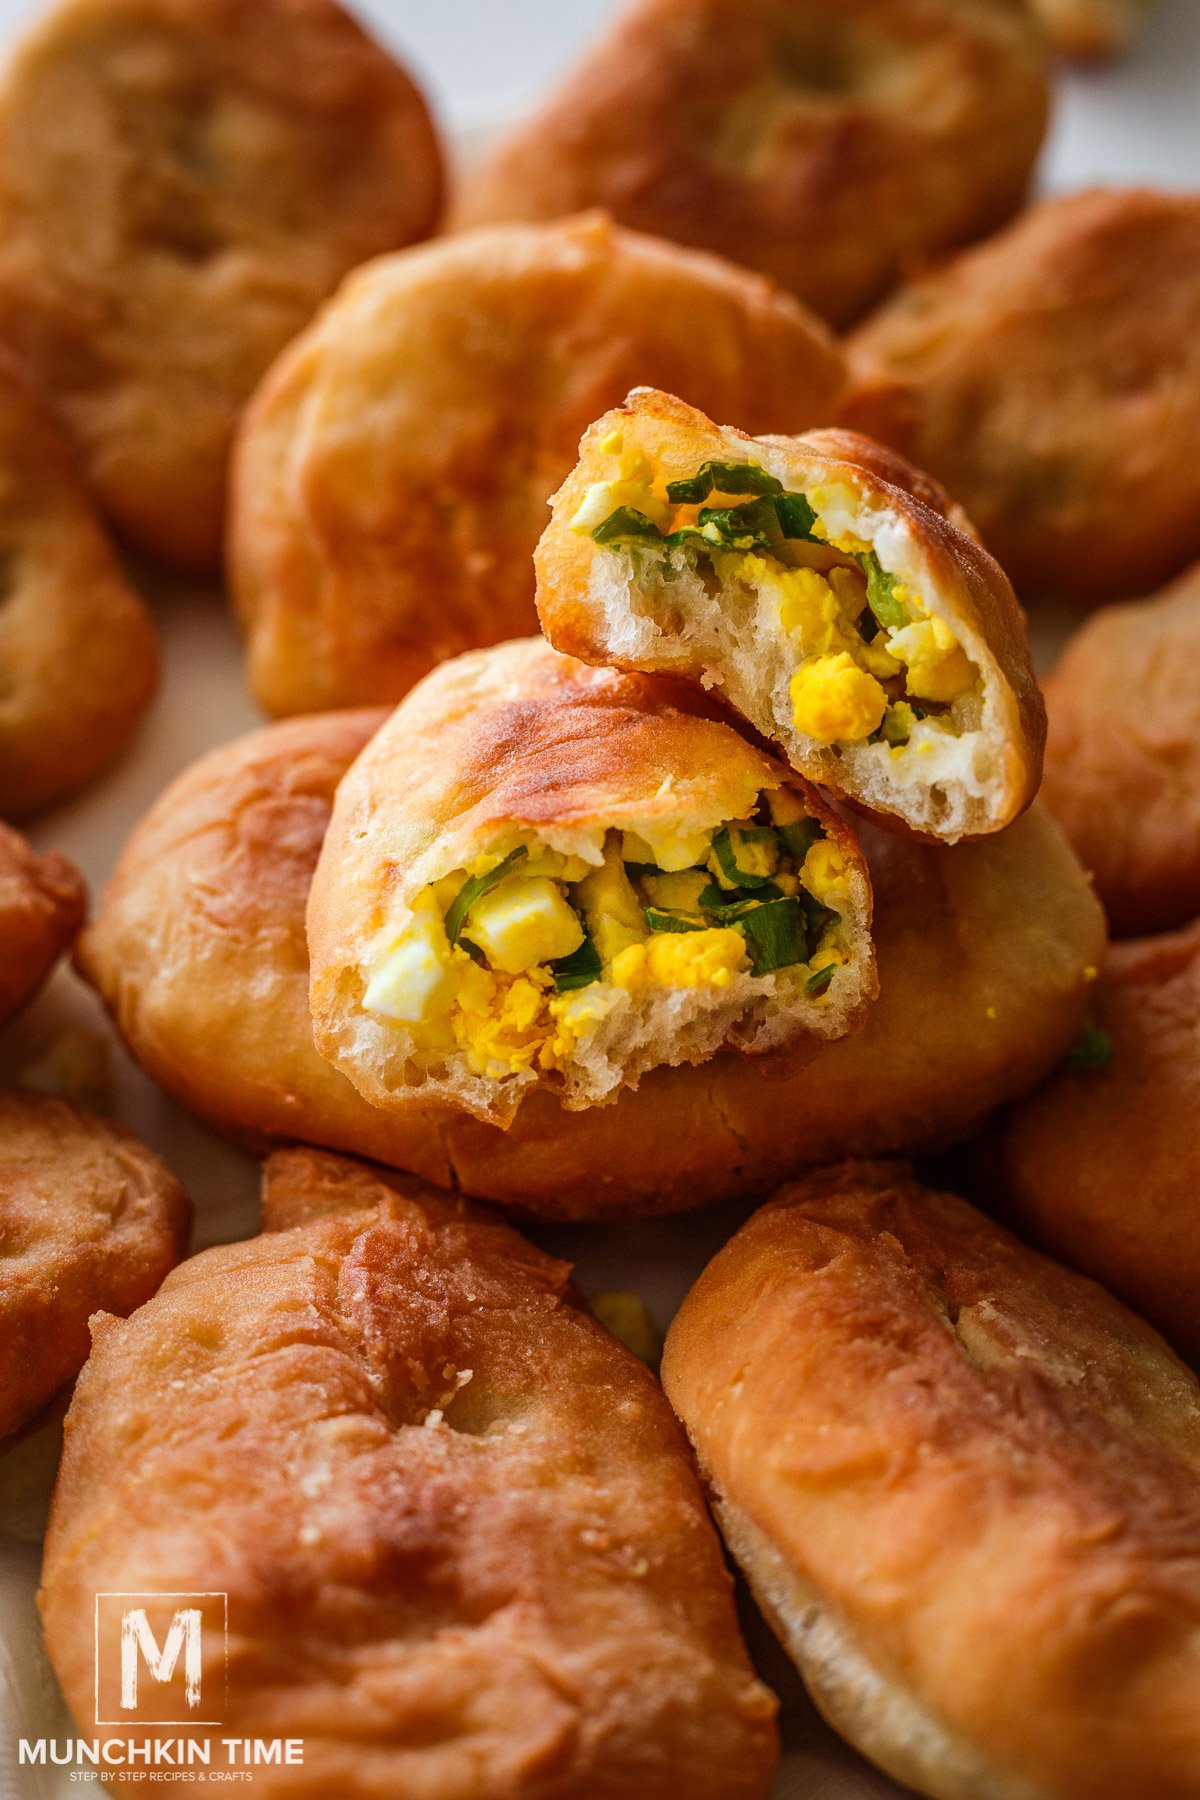
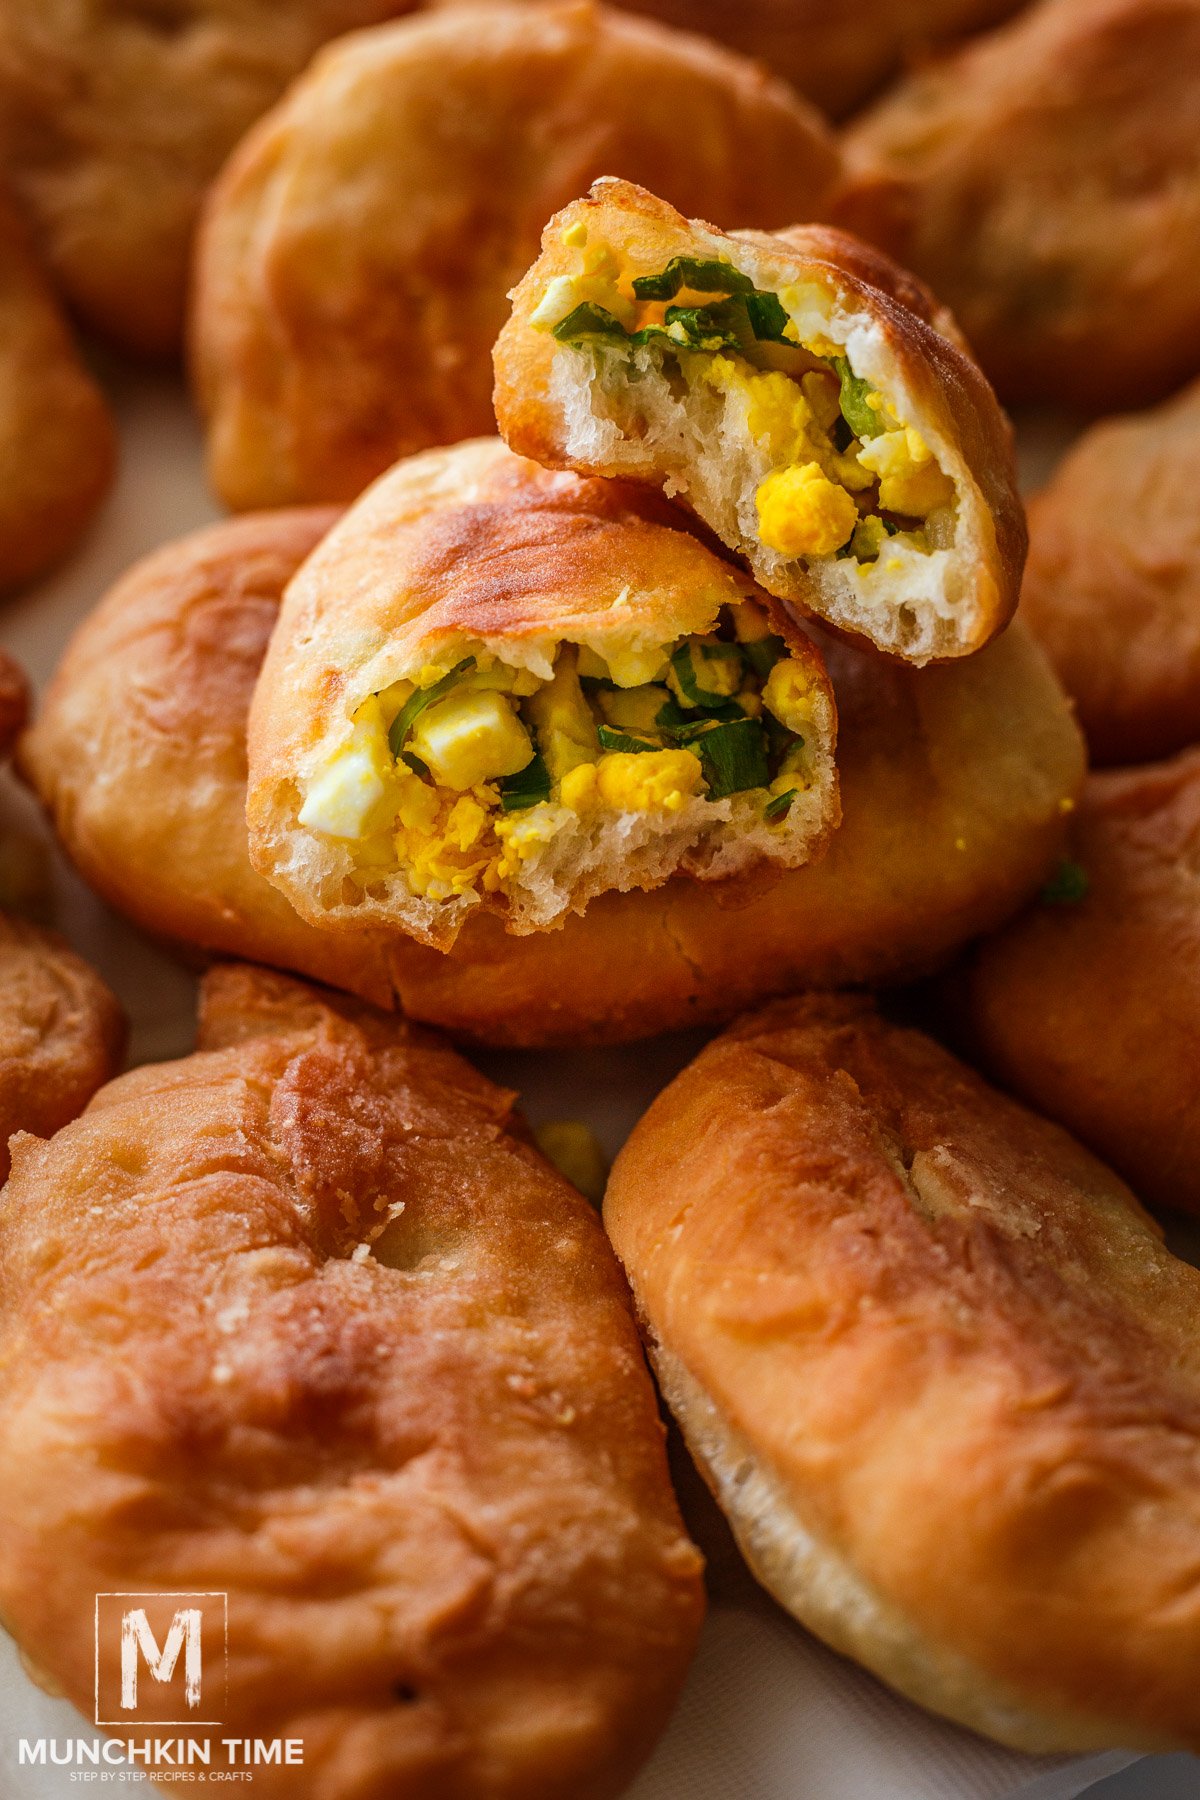
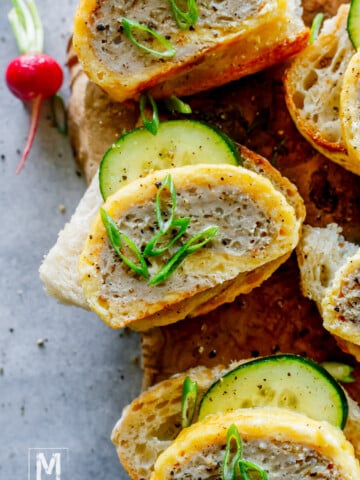
I’m so excited to share my mom’s piroshki recipe with you all! It’s one of my childhood favorites that my kids now absolutely love. Hopefully one day they pass it on too! It’s a soft fluffy dough filled with savory eggs and green onions then fried until beautifully golden!
In America, you’d probably consider them similar to stuffed crescent rolls or hand pies! They make delicious comfort food, whether for breakfast, brunch, or dessert. My kids love when I put one in their school lunch boxes!
Working with leavened dough is so much easier than you think, and I’m going to walk you through all the steps to making homemade piroshki from scratch!
Jump to:
What is Piroshki?
Also known as pirozhiki or piroshky recipe. There are probably as many different variations to spelling this word as there are filling combinations!
They are a traditional Russian street food or treat made with a light and fluffy dough filled with all kinds of sweet and savory filling combinations and then formed into what looks like a pocket or dumpling.
It is then baked or fried until golden and crispy on the outside and pillowy soft on the inside.
Ingredients Needed for Piroshki Recipe
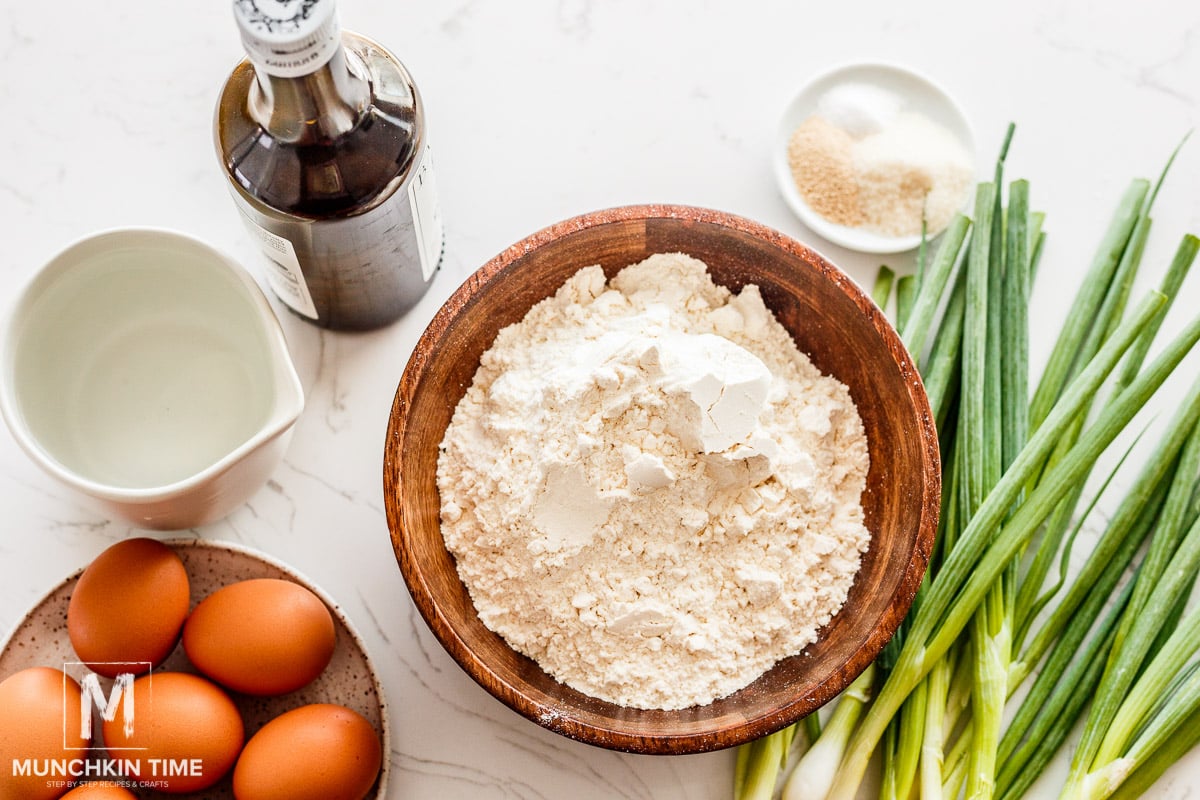
- Warm water: Yeast needs warmth to become active, so you want to make sure you’re not using very hot water (otherwise, it’ll kill it) or water that’s not warm enough.
- Sugar: This is the other thing that feeds the yeast in order to make it grow and activate.
- Olive oil: Plus more for frying.
- Active dry yeast: Make sure to check your yeast before you use it. If it’s expired, discard and get yourself some fresh yeast.
- Sea salt: Needed to enhance the flavor of the dough. Just brings out the taste a little more.
- Flour: All-purpose flour is what I use.
For the Piroshki Filling
- Hardboiled eggs: These can be made ahead the day before, or while your dough is rising.
- Green onion: Chopped and added to the filling along with the eggs. A simple filling made with just 2 ingredients and a bit of salt is my favorite way to eat them!
- Salt: Just to season the filling.
How to Boil Eggs for Piroshki Filling
I always like to boil more eggs than the recipe requires. It helps to know that if one cracks, or doesn’t turn out exactly right, I have others to fall back on. Plus, if they all turn out great, I keep my extras for egg salad for lunch the next day, or even just to snack on hardboiled eggs!
Here’s how you make them:
- Place your eggs in a single layer inside a medium pot. It should be large enough to hold 10 eggs in a single layer.
- Fill with water until the eggs are completely submerged.
- Bring the pot to a boil over medium-high heat.
- As soon as the water starts to boil, remove it from the heat.
- Cover the pot with a lid and set a timer for 11 minutes.
- Once the timer is up, drain the eggs, and rinse them under cold water.
- Allow them to sit and cool until safe to touch and peel!
How to Make Piroshki
Now, the fun part!
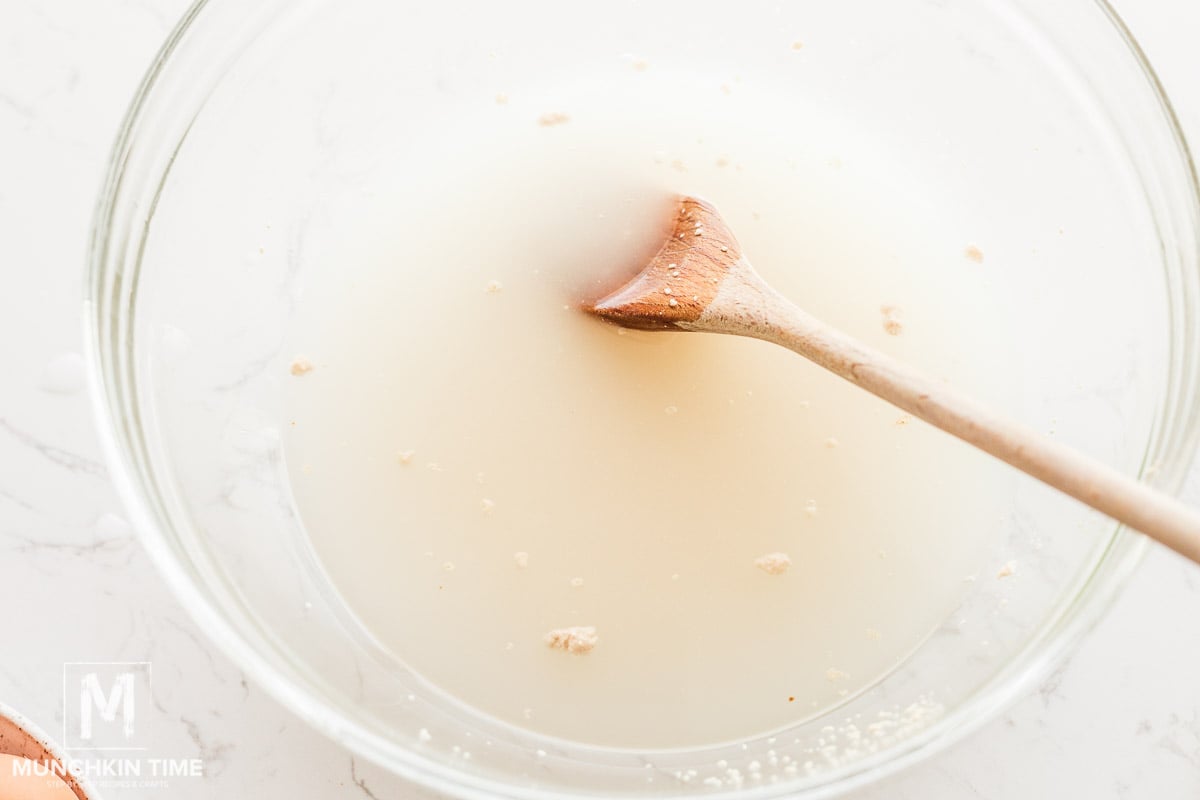
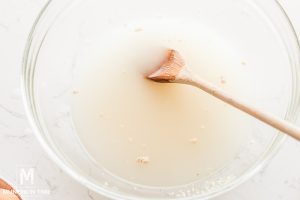
Step 1: In a mixing bowl, combine water, sugar, oil, yeast, and salt. Stir with a wooden spoon.
Step 2: Mix in the flour until it’s all combined. The dough will be quite sticky (like pizza dough), and that’s ok. Cover it with plastic wrap, a lid, or a kitchen towel, and let it rise in a warm dry area for 1-2 hours. By then it should grow in bulk.
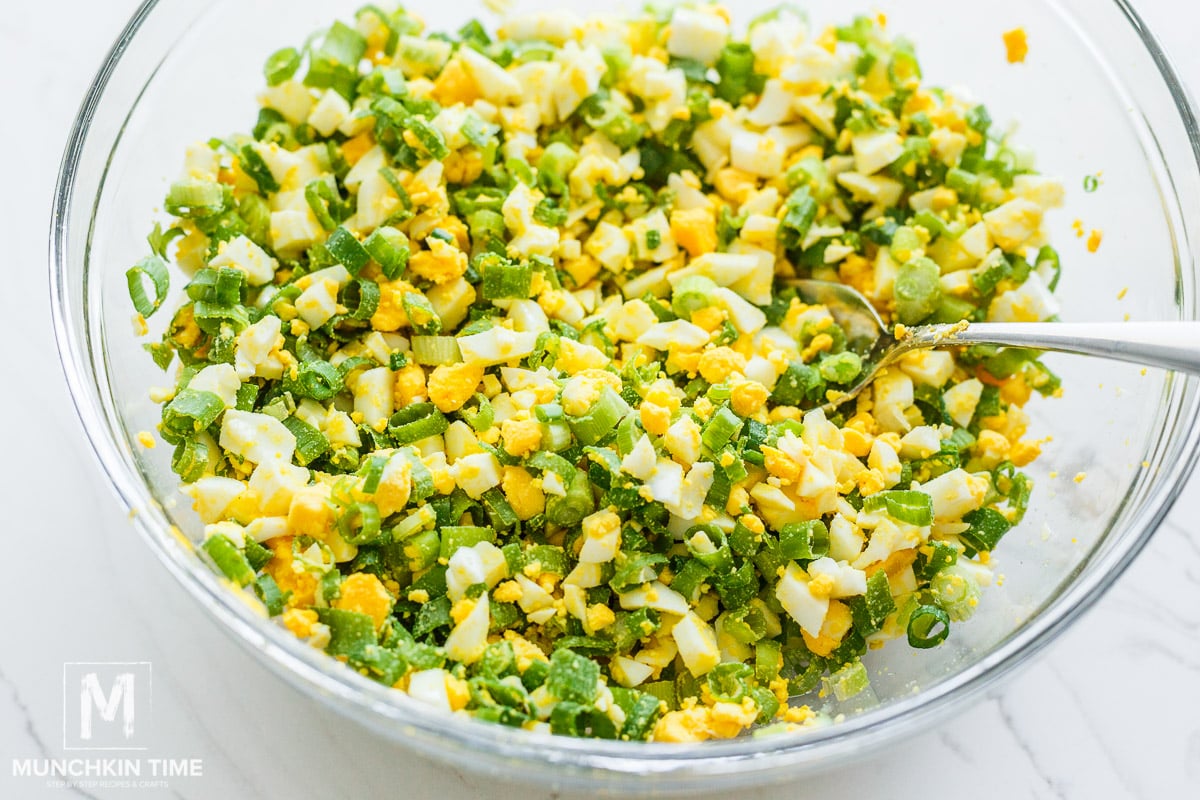
Step 3: In the meantime, make your piroshki filling by combing all of the ingredients in a bowl, giving it a good stir, and put it in the fridge if you’re not quite ready to use it yet.
Step 4: Once the dough has risen, oil your hands or dust the dough with a bit of flour to help keep the dough from sticking while you work with it. Pinch about ¼ cup of dough and place it on a floured surface.
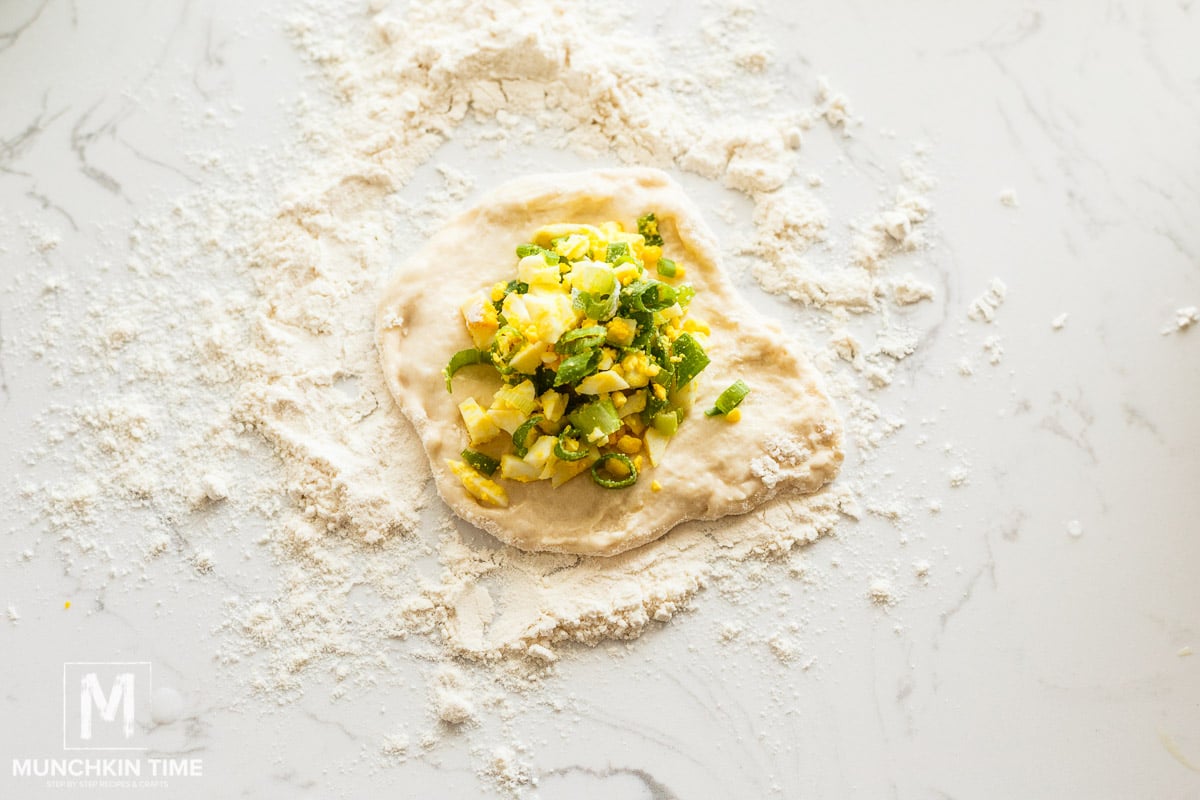
Step 5: Flip over the dough and press it into a circle, then add 2 teaspoons full of filling to the center of the dough.

Step 6: Fold the dough over the filling and pinch the edges together to form the piroshki.
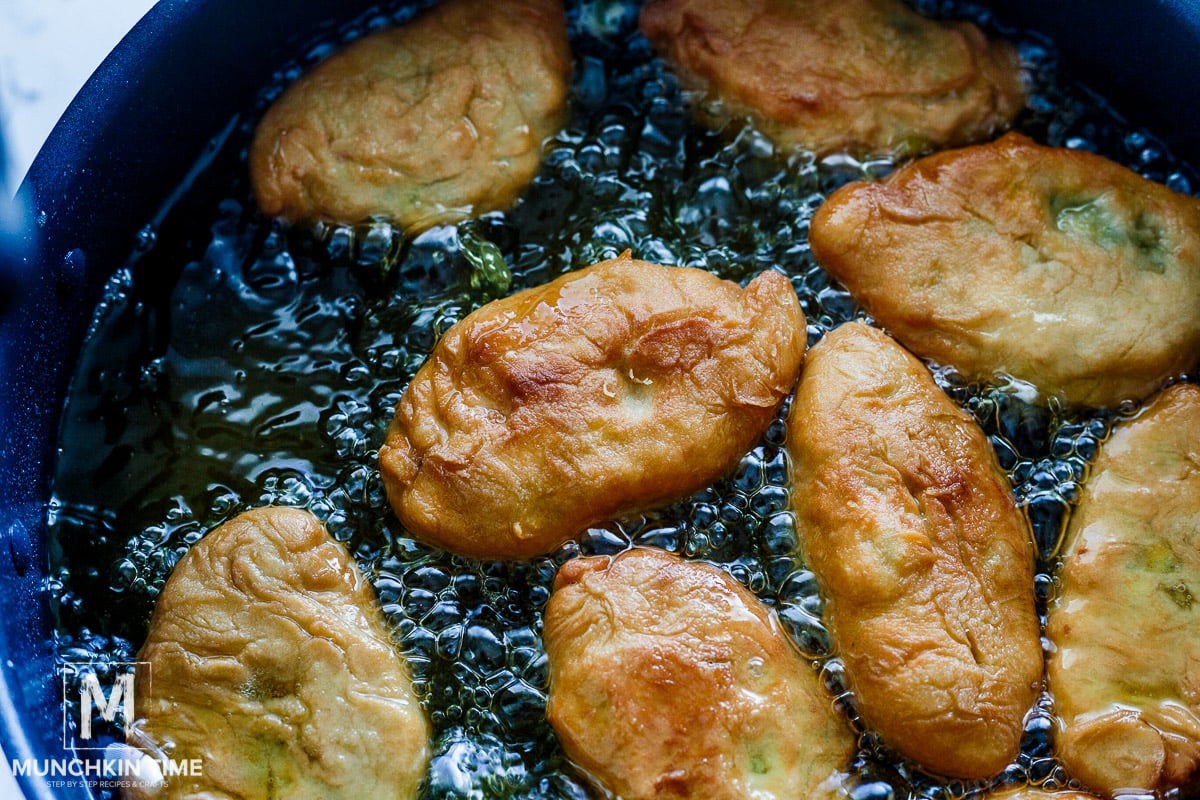
Step 7: Preheat 1 inch of oil in a deep skillet over medium heat. Carefully place the filled dough into the hot oil until golden. Flip and cook until golden on the other side. Transfer each one to a paper towel-lined plate. Repeat until all remaining dough is used and enjoy!
How Many Piroshki Should I Fry At Once?
You don’t want to overcrowd the pan, so you’ll have to eyeball it depending on the size you use. Just make sure you can place them all in a single layer with enough room in between each one to brown evenly.
Piroshki Recipe Tips
- Wait until the oil is hot to avoid soggy results. Test your oil with the end of a wooden spoon. If you enter it into the oil and it sizzles, it’s ready. If you add the piroshki too early, it’ll start to soak up too much of the oil as it heats up, causing the dough to become soggy.
- The dough will rise faster in a warm area. If you can, use the proofing option on your oven.
- Do not overstuff the dough. You want the dough to hold the contents without anything overfilling and falling out into the oil!
- Get creative with your filling. The eggs and green onions are just a jumping-off point. There are plenty of ways you can jazz up the flavors or even use a completely different filling.
Other Filling Options for Piroshki
As I said, this is just the beginning! My kids love them whether sweet or savory and if you’re serving a crowd, you can even make a variety to share so people can enjoy a few different samples!
- Chopped apples with sugar
- Mashed potatoes with sautéed sausage and cheese
- Mashed potatoes and cheese
- Ground beef and cabbage
- Cooked rice and ground beef
More DELICIOUS Dinner Recipes:
- Easy Strawberry Cheesecake
- Quick Breakfast Burrito Recipe
- Cheesy Hot Beef Sandwich Recipe
- Easy Chili Recipe
- Best Apple Fritters
- 3-ingredient Gluten Free Chocolate Cake
When YOU make Easy Piroshki Recipe PLEASE hashtag #munchkintimeblog on Instagram, we would LOVE to see your creation! Thank YOU!
📖 Recipe
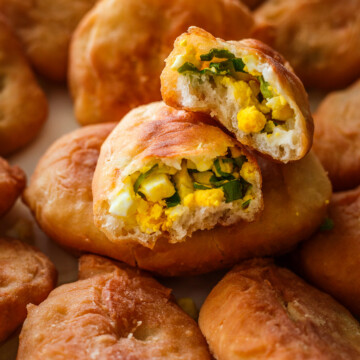
Piroshki Recipe With Eggs and Green Onion
Equipment
Ingredients
- 1 ½ cup water warm
- 1 tablespoon sugar
- 1 tablespoon olive oil
- ½ tablespoon dry active yeast
- 1 teaspoon sea salt
- 3 cups flour more for dusting
- oil for frying (I like to use avocado or olive oil)
Piroshki Filling
- 7 eggs cooked for 10 mins, peeled and chopped
- 5.5 oz green onion chopping
- salt to taste
Instructions
- In a mixing bowl combine water, sugar, oil, dry active yeast and salt. Give a good stir with a wooden spoon. Next add flour and mix it in, until everything is combined (the dough will feel sticky to touch almost like pizza dough). Cover with plastic wrapper or a lid and let rise for 1-2 hours in a warm place.

- After you can put some oil on your hands or dust it in flour, pinch about ¼ cup of dough and place it on floured surface. Flip on the other side and press down to make a circle. Add 2 teaspoons full of filling in the center of the dough.
- Next pinch the ends together to form Piroshki and place it on floured surface.
- Now, preheat about 1 inch of oil in the deep skillet, over medium heat. Carefully place piroshki into the hot oil and cook until golden color, flip on the other side and cook until golden color. Transfer onto a plate lined with paper towel. Enjoy!


How to Make Piroshki Filling
- To make filling for piroshki, simply add chopped green onion and eggs into a bowl, season with salt, to taste. Give it a good mix, and voila! The filling is ready!

Video
Notes
Nutrition
Q. Do YOU like this Piroshki Recipe?
Please let me know in the comments below we would love to hear from you!
Thank YOU for YOUR Comment, Share & Recipe Review!
Happy Cooking!
Mahon
This worked exactly as written, thanks!
Love Keil
So glad to hear that! 😊 Love when a recipe works out perfectly, thank you for trying it!
Sveta
This is by far the best dough recipe for piroshki! I have tried so many other recipes and the dough would always tear when frying them causing the filling to leak. With this recipe every single one was perfect! No tearing at all. I will always use this recipe for my piroshki! Thank you Love for this recipe!
Munchkin Time
Thank you, Sveta! I am so happy you like this dough recipe for piroshki! It is my favorite recipe!!!