
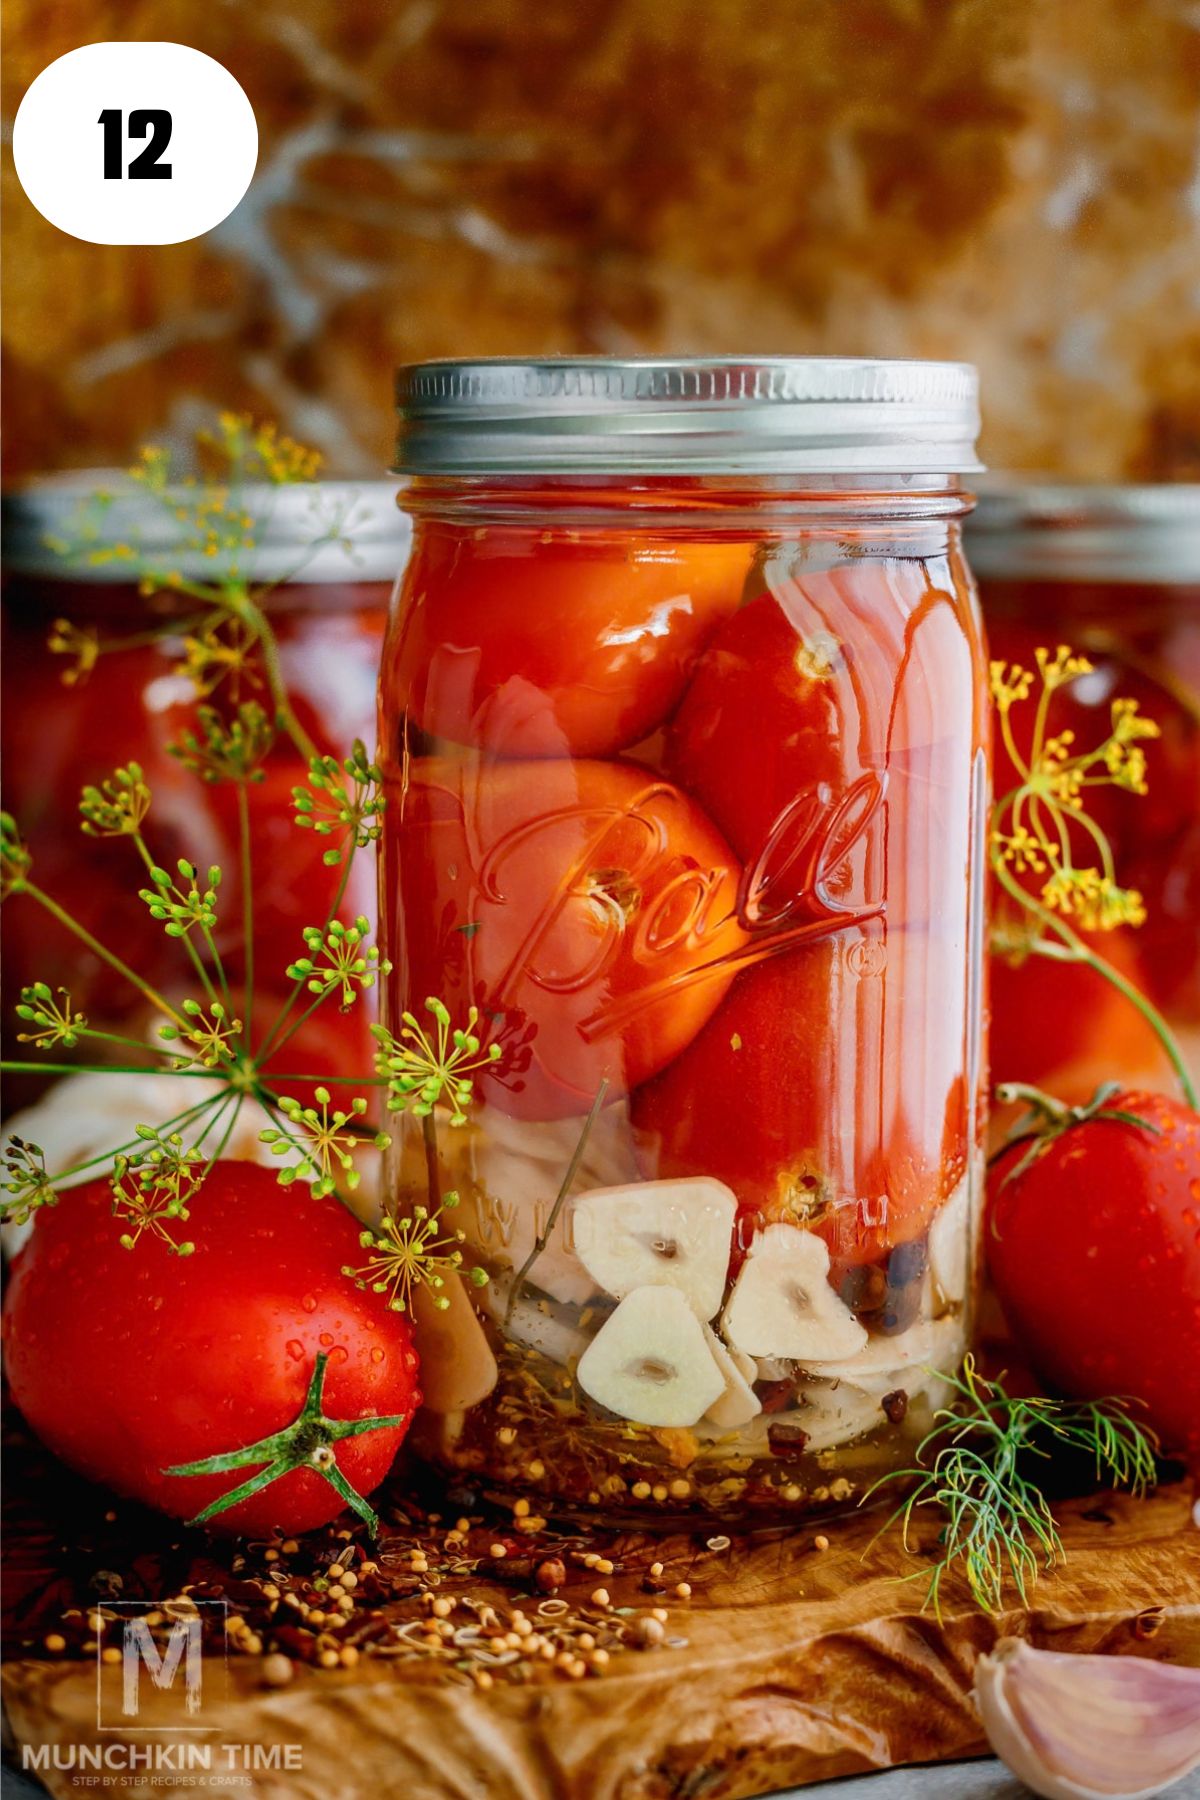
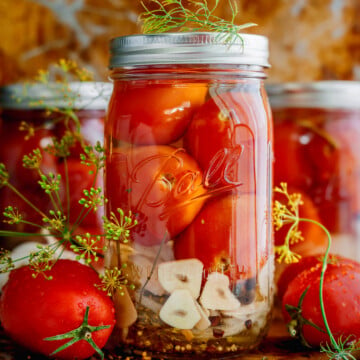
Pickled Tomatoes are one of my favorite ways to enjoy fresh Roma tomatoes! They're packed into jars with fresh dill, garlic, onion, and pickling spices, then covered in a slightly sweet and tangy vinegar brine. Give them time to soak up all those delicious flavors, and you'll have juicy, garlicky, dill-packed tomatoes waiting to enjoy with some mashed potatoes.
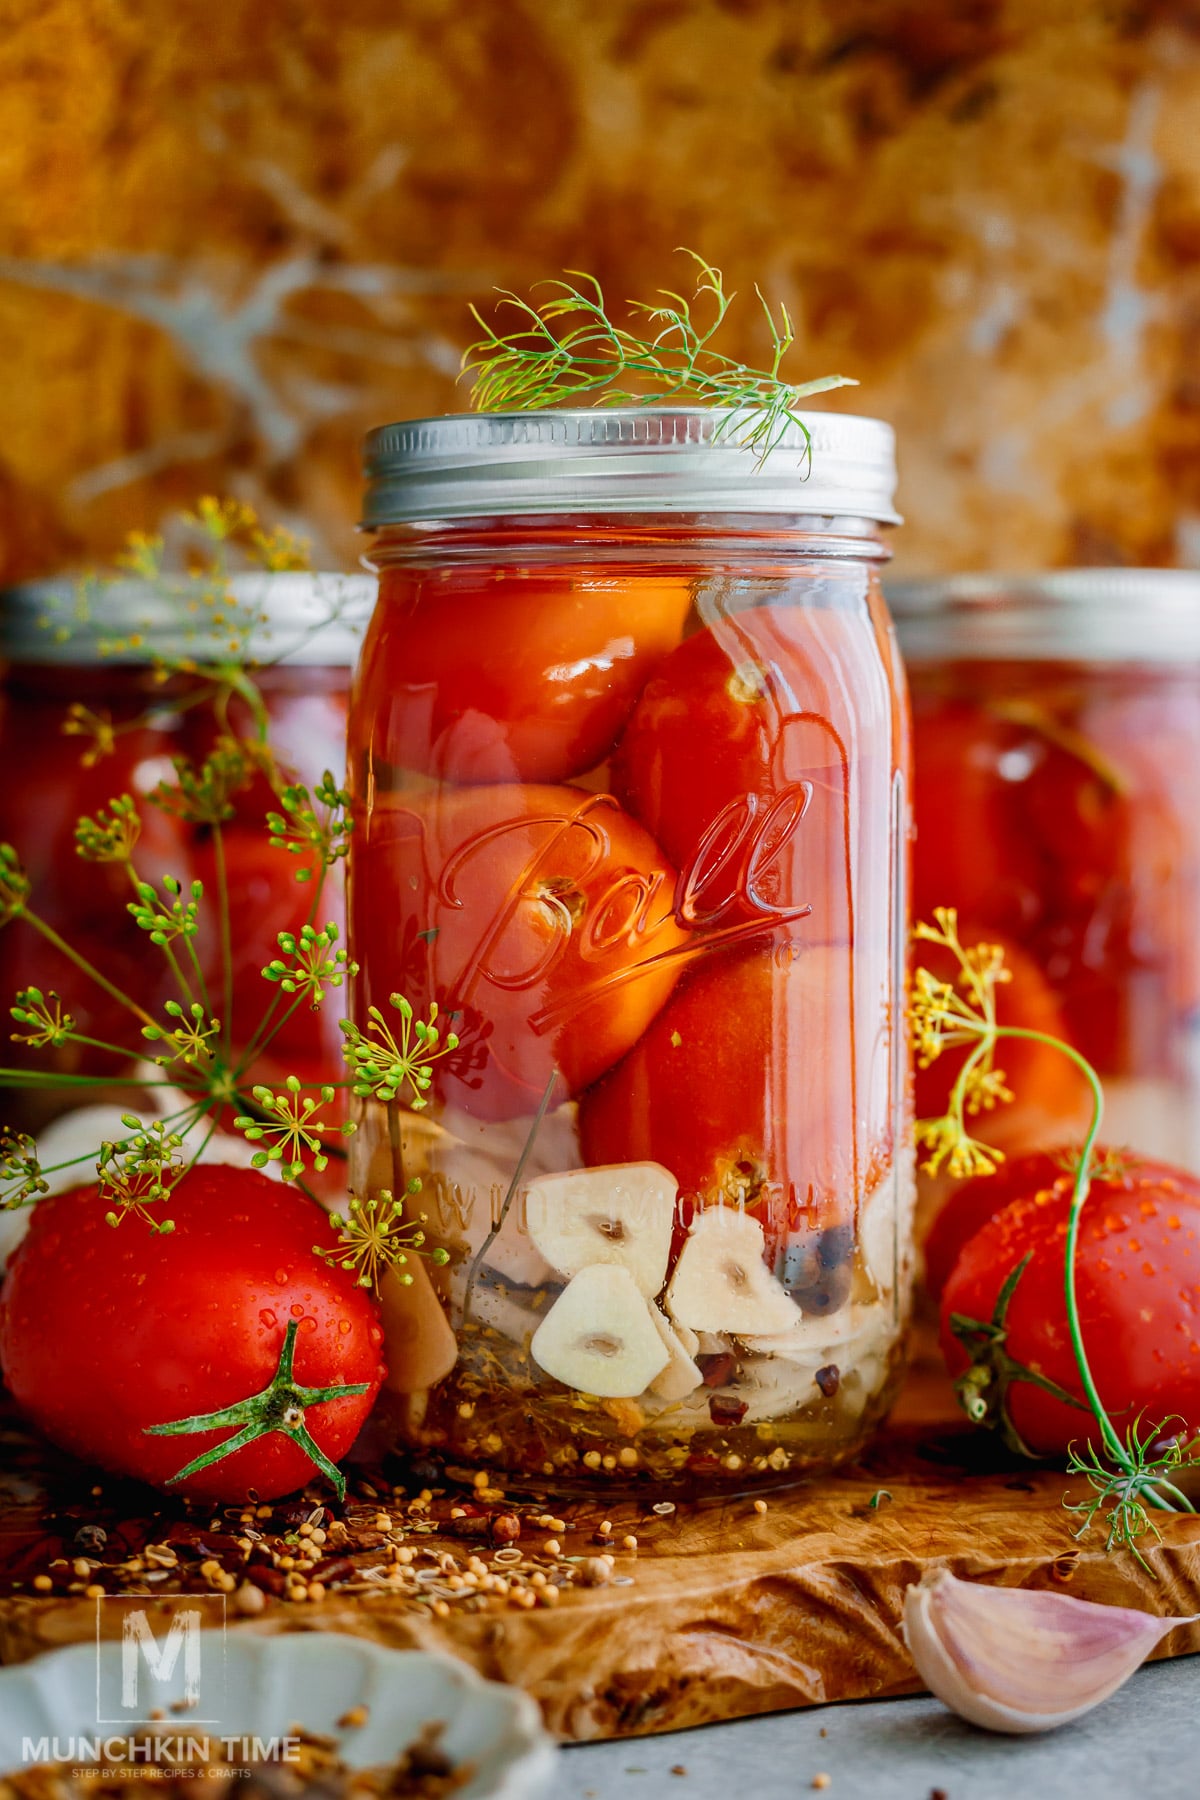
If you have a garden overflowing with tomatoes—or you came home from the farmers market with way more tomatoes than you planned, this is such a delicious way to use them.
And honestly, there is something so satisfying about seeing those beautiful jars filled with tomatoes, garlic, onions, and fresh dill!
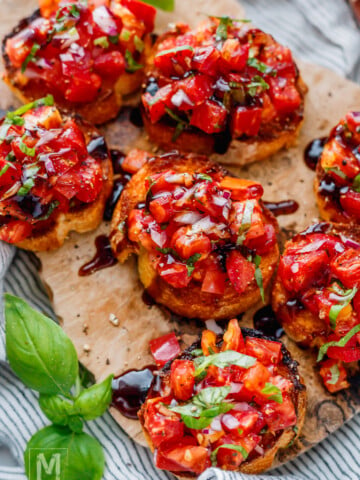
If you have even more tomatoes to use, make my Heirloom Tomato Bruschetta next. It's another one of my favorite simple recipes that really lets fresh tomatoes shine.
Jump to:
- A Little Note From My Kitchen
- Why You'll Love These Pickled Tomatoes
- Ingredients You'll Need
- What Are the Best Tomatoes for Pickling?
- How to Make Pickled Tomatoes
- My Best Tips for Pickled Tomatoes
- What to Serve With Pickled Tomatoes
- Frequently Asked Questions
- More Tomato Recipes
- If You Make These Pickled Tomatoes...
- 📖 Recipe
A Little Note From My Kitchen
This is how I make these pickled tomatoes for my family, using the method I grew up with. Every family has their own way of making pickled tomatoes, and this is the version we know and love!
I'm sharing my personal recipe and experience, not professional canning or food-safety advice.
Why You'll Love These Pickled Tomatoes
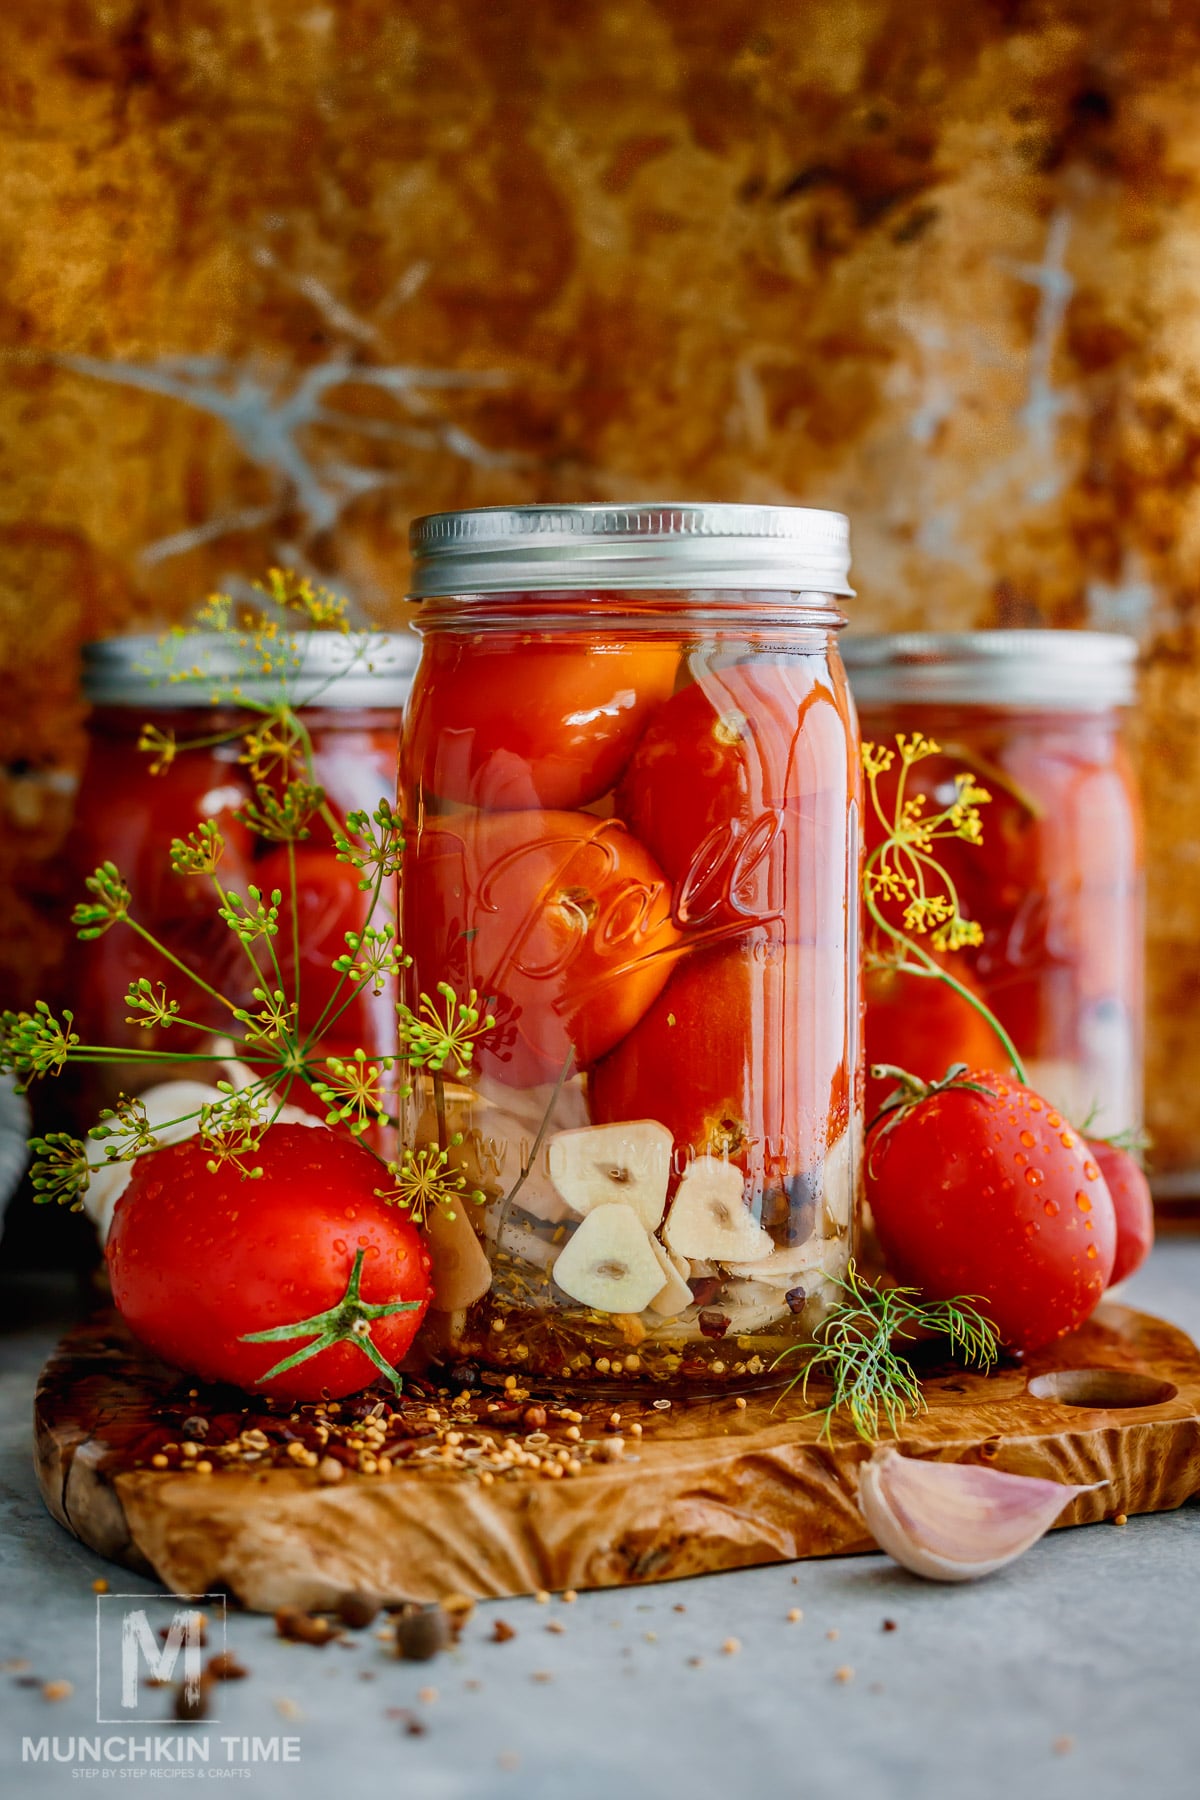
- Full of flavor. Fresh dill, garlic, onion, and pickling spices turn simple Roma tomatoes into something seriously delicious.
- Great for fresh tomatoes. If you have lots of garden or farmers market tomatoes, this gives you another way to enjoy them.
- Easy ingredients. There's nothing fancy here. It's mostly tomatoes, herbs, seasonings, vinegar, salt, sugar, and water.
- Make several jars at once. This recipe makes about four 32-ounce jars, so there's plenty to enjoy and share.
- Even better after resting. Give those tomatoes time to sit in the brine and soak up all that garlicky, dilly goodness!
Roma tomatoes are perfect for pickling because they're firm and meaty. If you're growing or buying lots of tomatoes this season, my Cucumber Tomato Salad is another easy way to use them.
Ingredients You'll Need
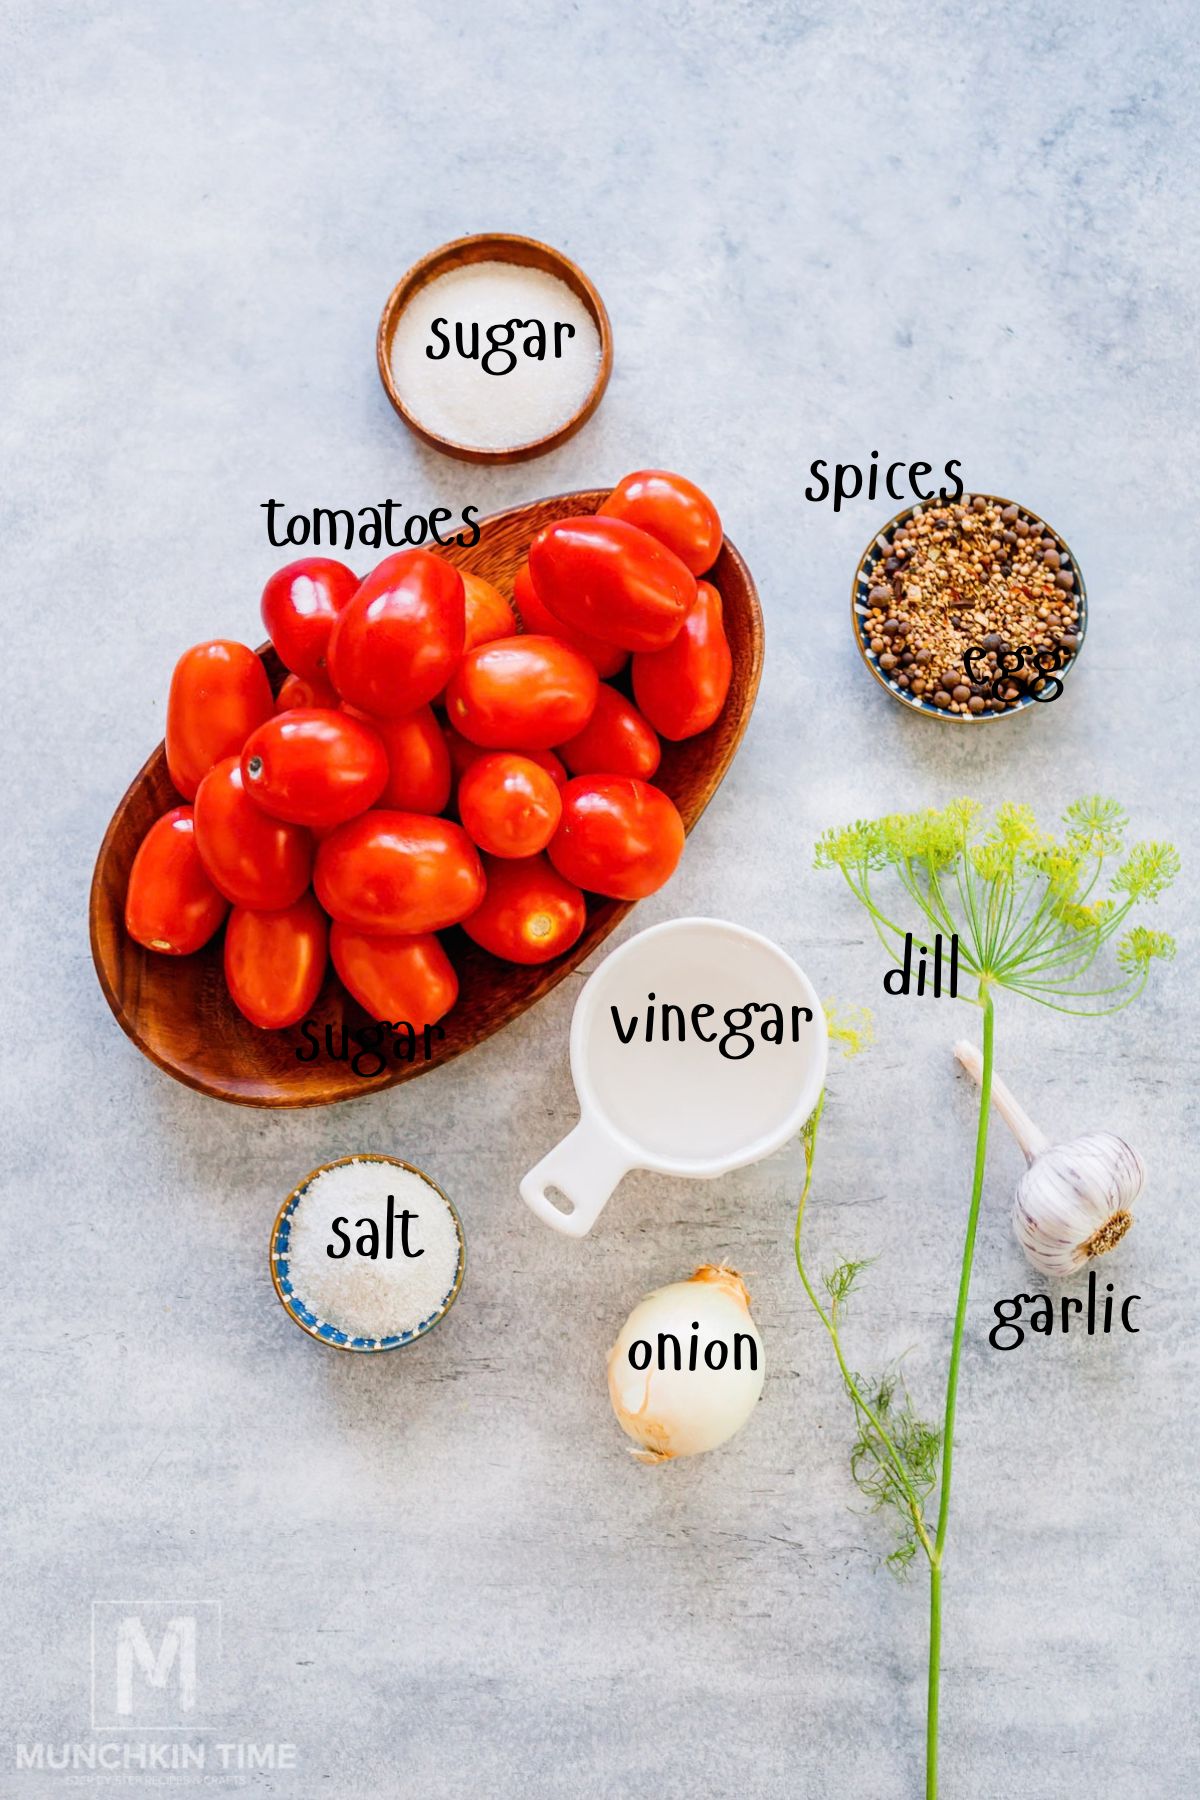
- Roma tomatoes: I like using small, firm Roma tomatoes because they're meaty and fit nicely into the jars. Choose tomatoes that are ripe but still firm rather than very soft or overripe.
- Fresh pickling dill: Use both the beautiful dill florets and the stalks. I cut the stalks into smaller pieces so I can easily divide everything among the jars.
- Garlic: Fresh sliced garlic adds SO much flavor. This isn't the place for garlic powder!
- Onion: Slice the onion into half circles and divide it among the four jars.
- Pickling spice: You'll need 1 teaspoon for each jar. This gives the tomatoes that classic warm, aromatic pickle flavor.
- Vinegar: Gives the brine its tangy flavor. I recommend checking the label and using vinegar labeled 5% acidity.
- Pickling salt: Pickling or canning salt dissolves easily into the brine and doesn't contain the additives found in some table salts.
- Cane sugar: Just enough to balance the vinegar and salt without making the tomatoes overly sweet.
- Water: You'll use hot water during the preparation as well as flitered water in the brine.
See the recipe card below for the complete ingredient amounts and instructions.
What Are the Best Tomatoes for Pickling?
I really like Roma tomatoes for this recipe.
They're firm, meaty, and don't contain quite as much liquid as some larger slicing tomatoes. I also love that smaller Roma tomatoes fit beautifully into 32-ounce jars.
Look for tomatoes that are:
- Ripe but still firm
- Free from bruises and soft spots
- Small enough to fit comfortably into your jars
- Fresh and flavorful
Depending on their size, I can usually fit about 4–5 Roma tomatoes into each 32-ounce jar.
If you have cherry tomatoes instead, use them in my Cherry Tomato Salad for another super easy way to enjoy fresh tomatoes.
How to Make Pickled Tomatoes
Step 1: Prepare the Tomatoes
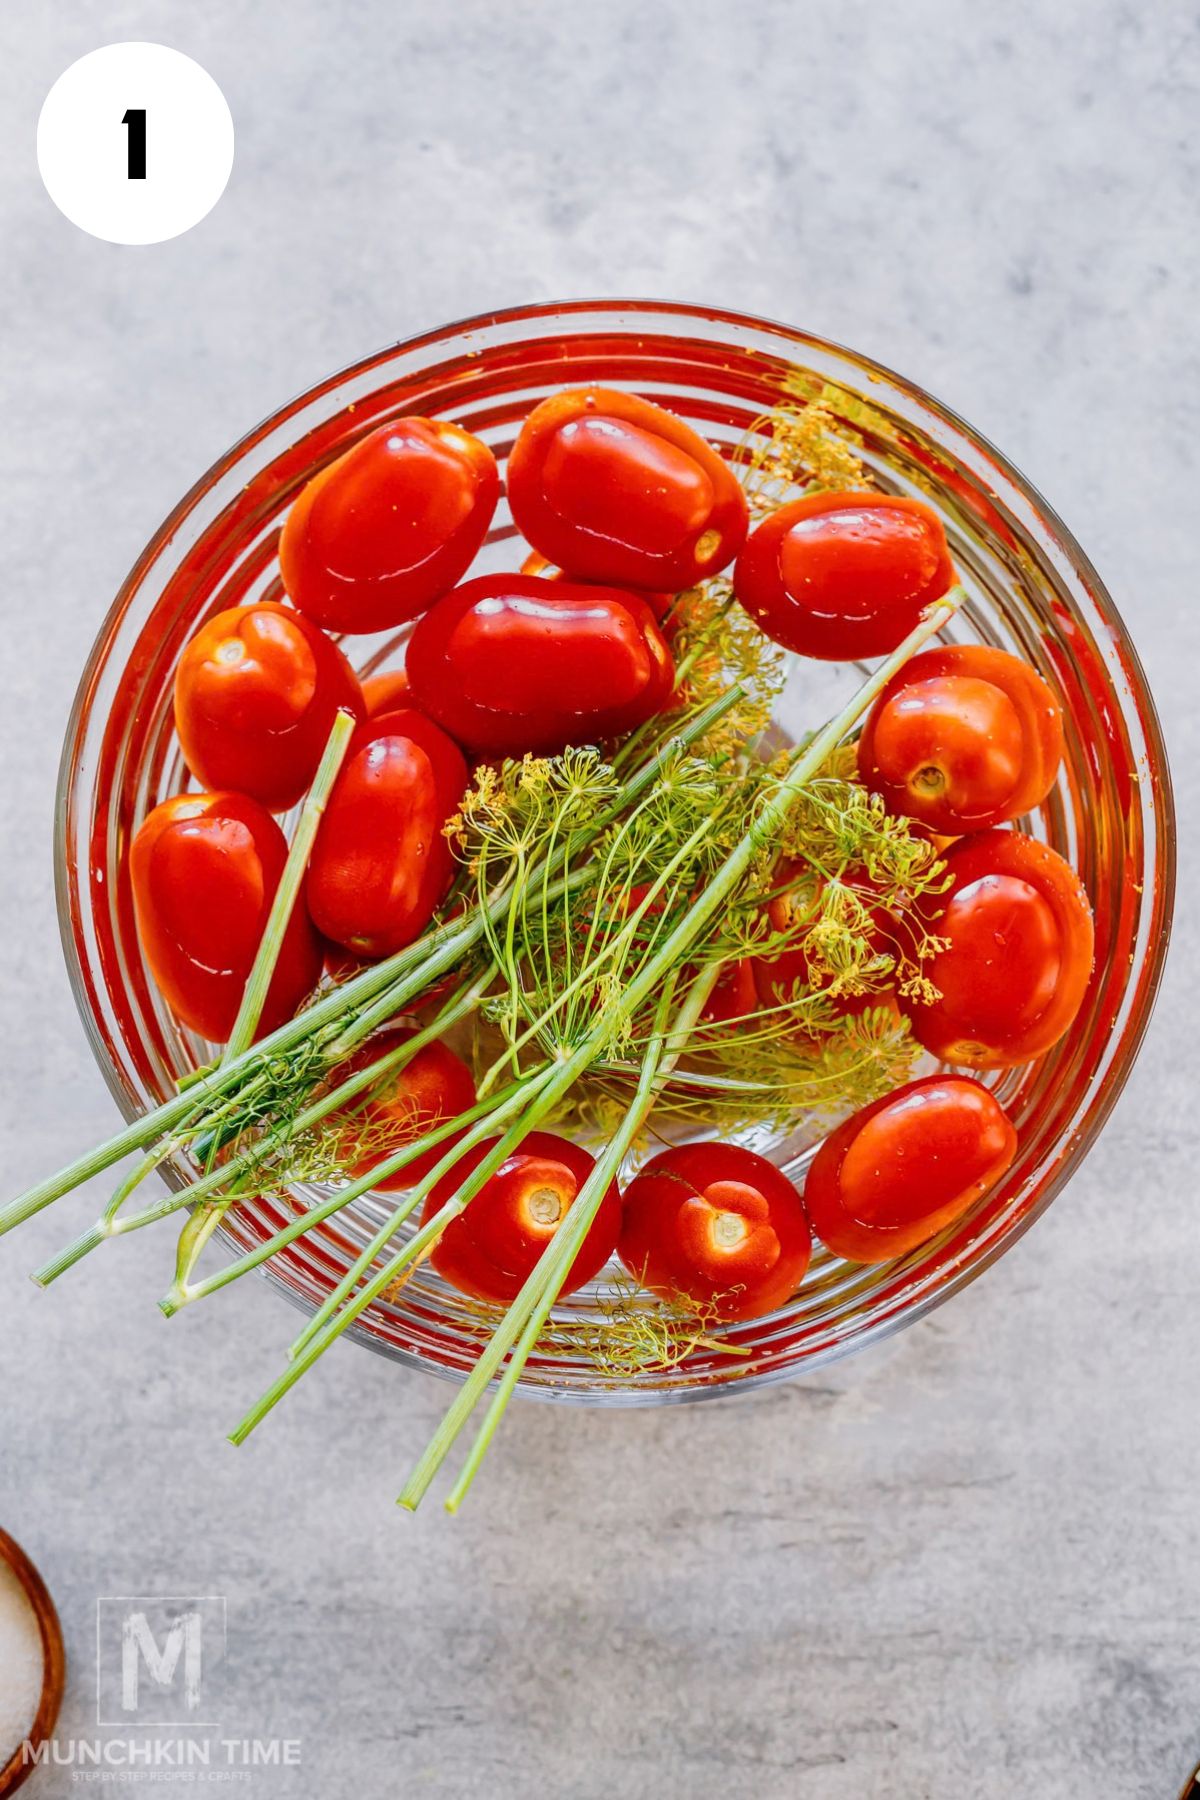
Wash the Roma tomatoes really well.
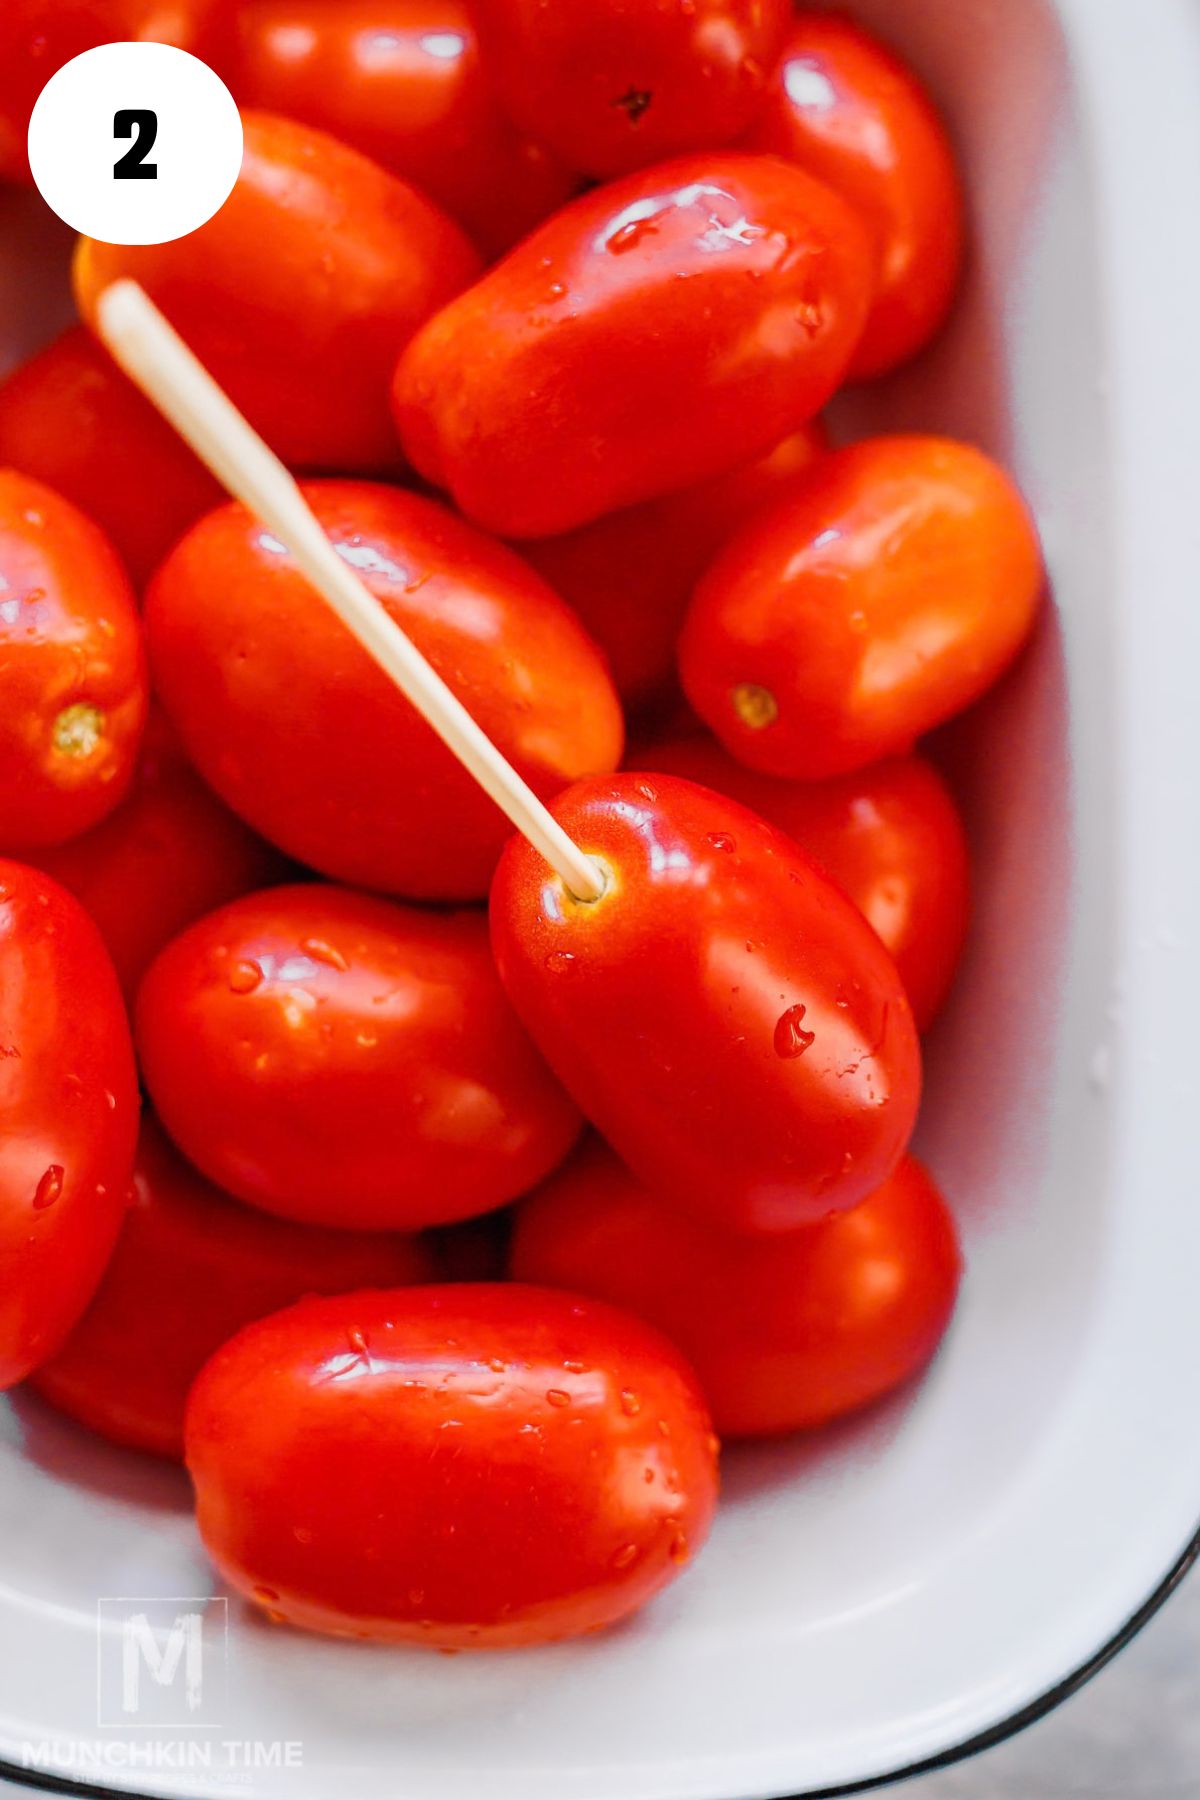
Using a clean chopstick or skewer, gently poke a small hole in each tomato where the stem was attached.
I like doing this because it gives the brine a little opening to get into the tomato and may also help reduce how much the skin splits.
Don't poke all the way through the tomato. You only need a small opening.
Step 2: Prepare the Dill
Wash the fresh pickling dill.
Cut the dill florets and stalks into smaller pieces so they'll fit easily into the jars.
And don't throw those stalks away! They have plenty of dill flavor.
Step 3: Prepare Your Jars
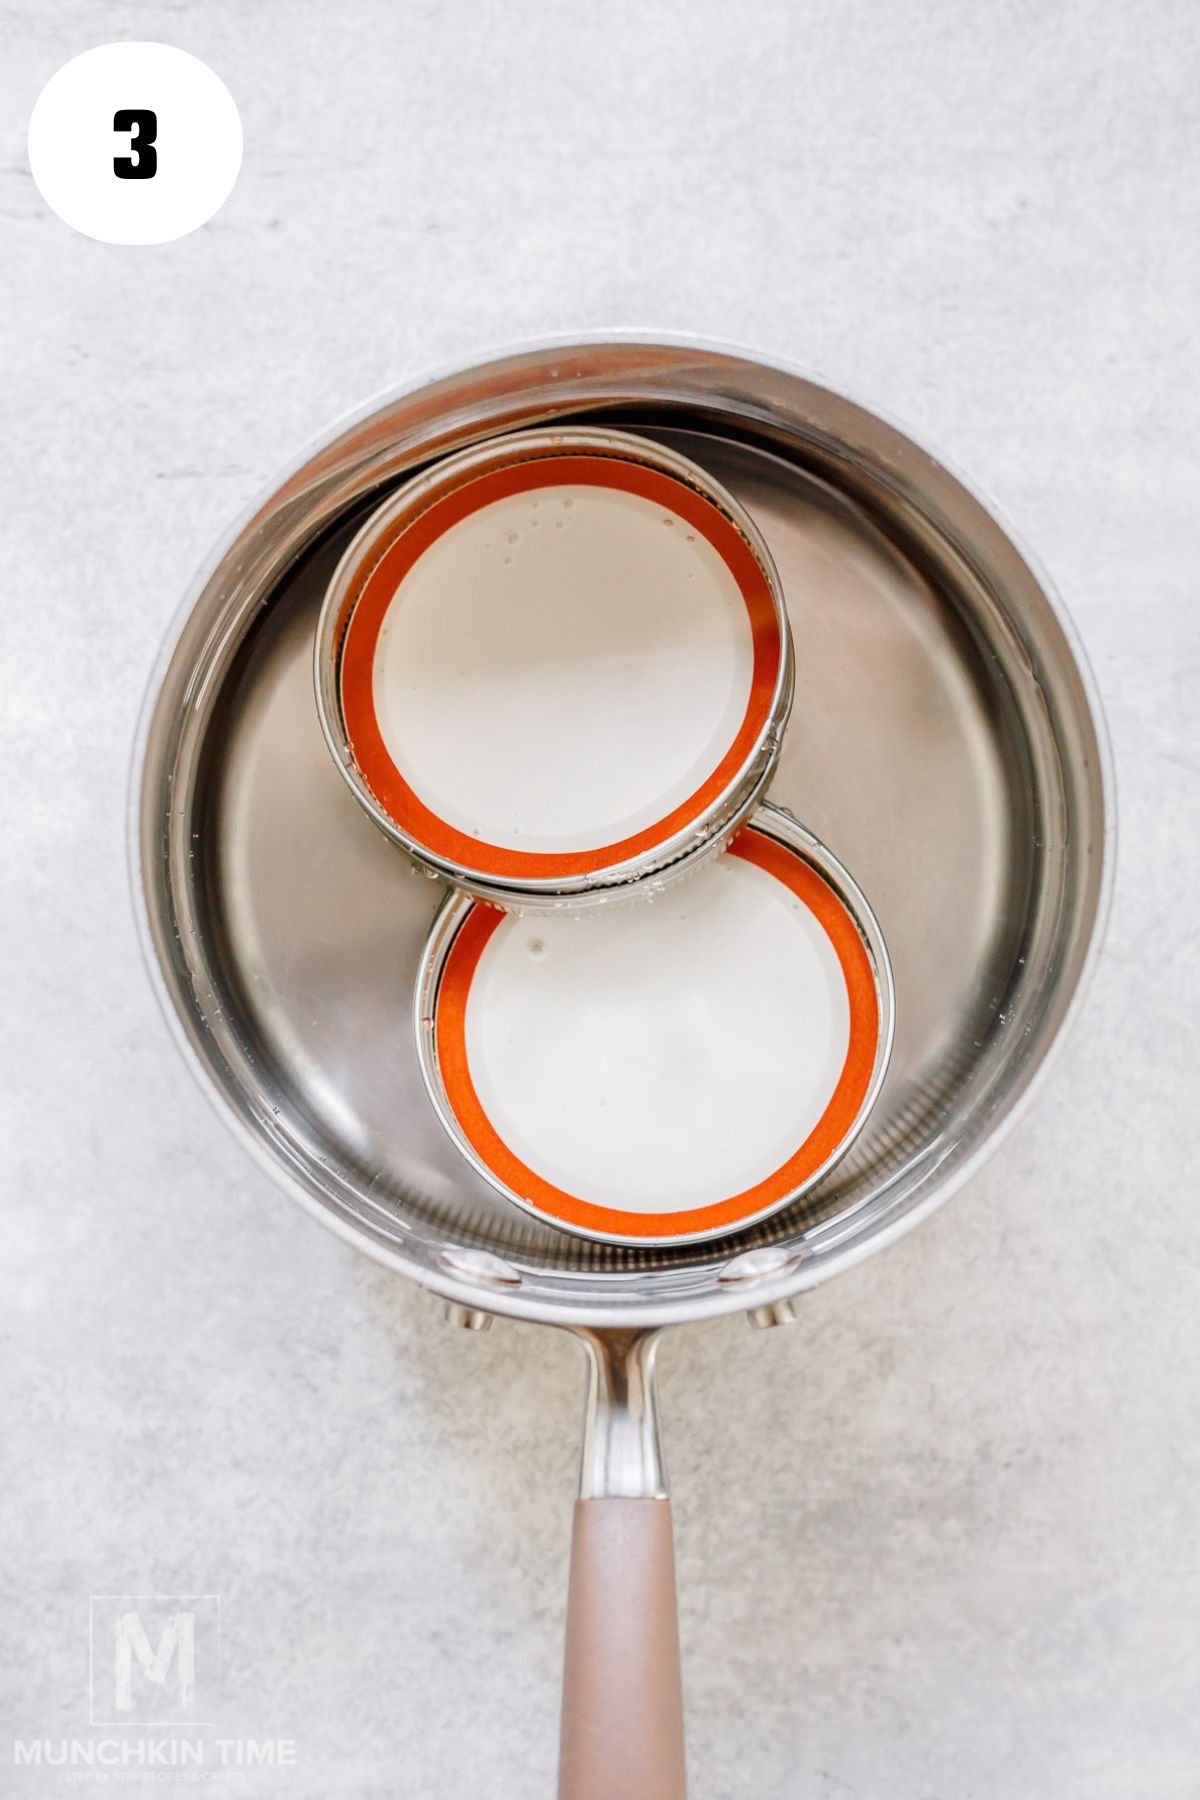
Wash your jars thoroughly with hot, soapy water and rinse them well.
To sterilize the jars, place the clean jars upright in a large pot and cover them with water by at least 1 inch.
Bring the water to a boil and boil the jars for 10 minutes, adjusting for elevation when appropriate.
Keep the jars hot until you're ready to fill them.
Prepare your lids according to the manufacturer's instructions.
Step 4: Add the Dill, Garlic and Pickling Spices
Now for my favorite part—filling those jars!
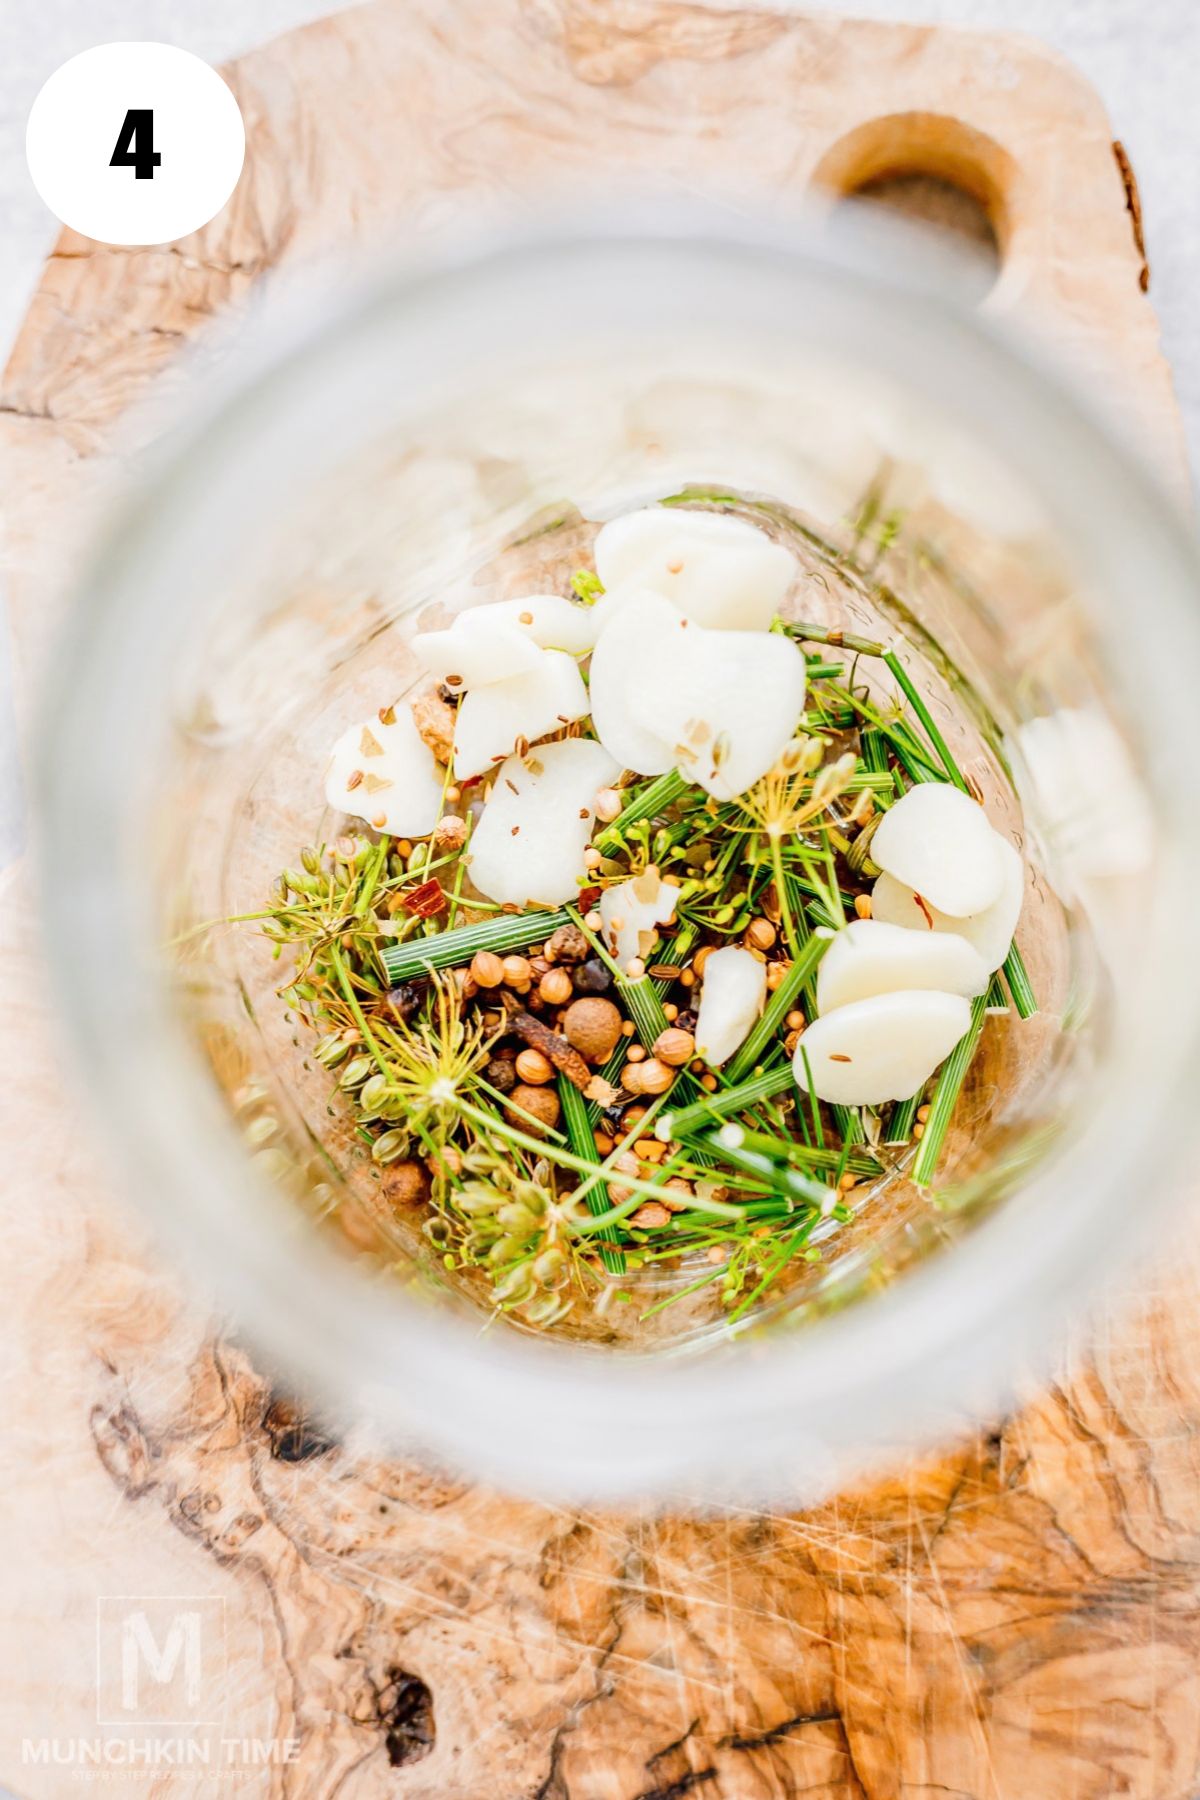
Add some of the dill florets and cut dill stalks to the bottom of each jar.
Divide the sliced garlic among the jars, then add 1 teaspoon of pickling spice to each jar.
Step 5: Add the Onion and Tomatoes
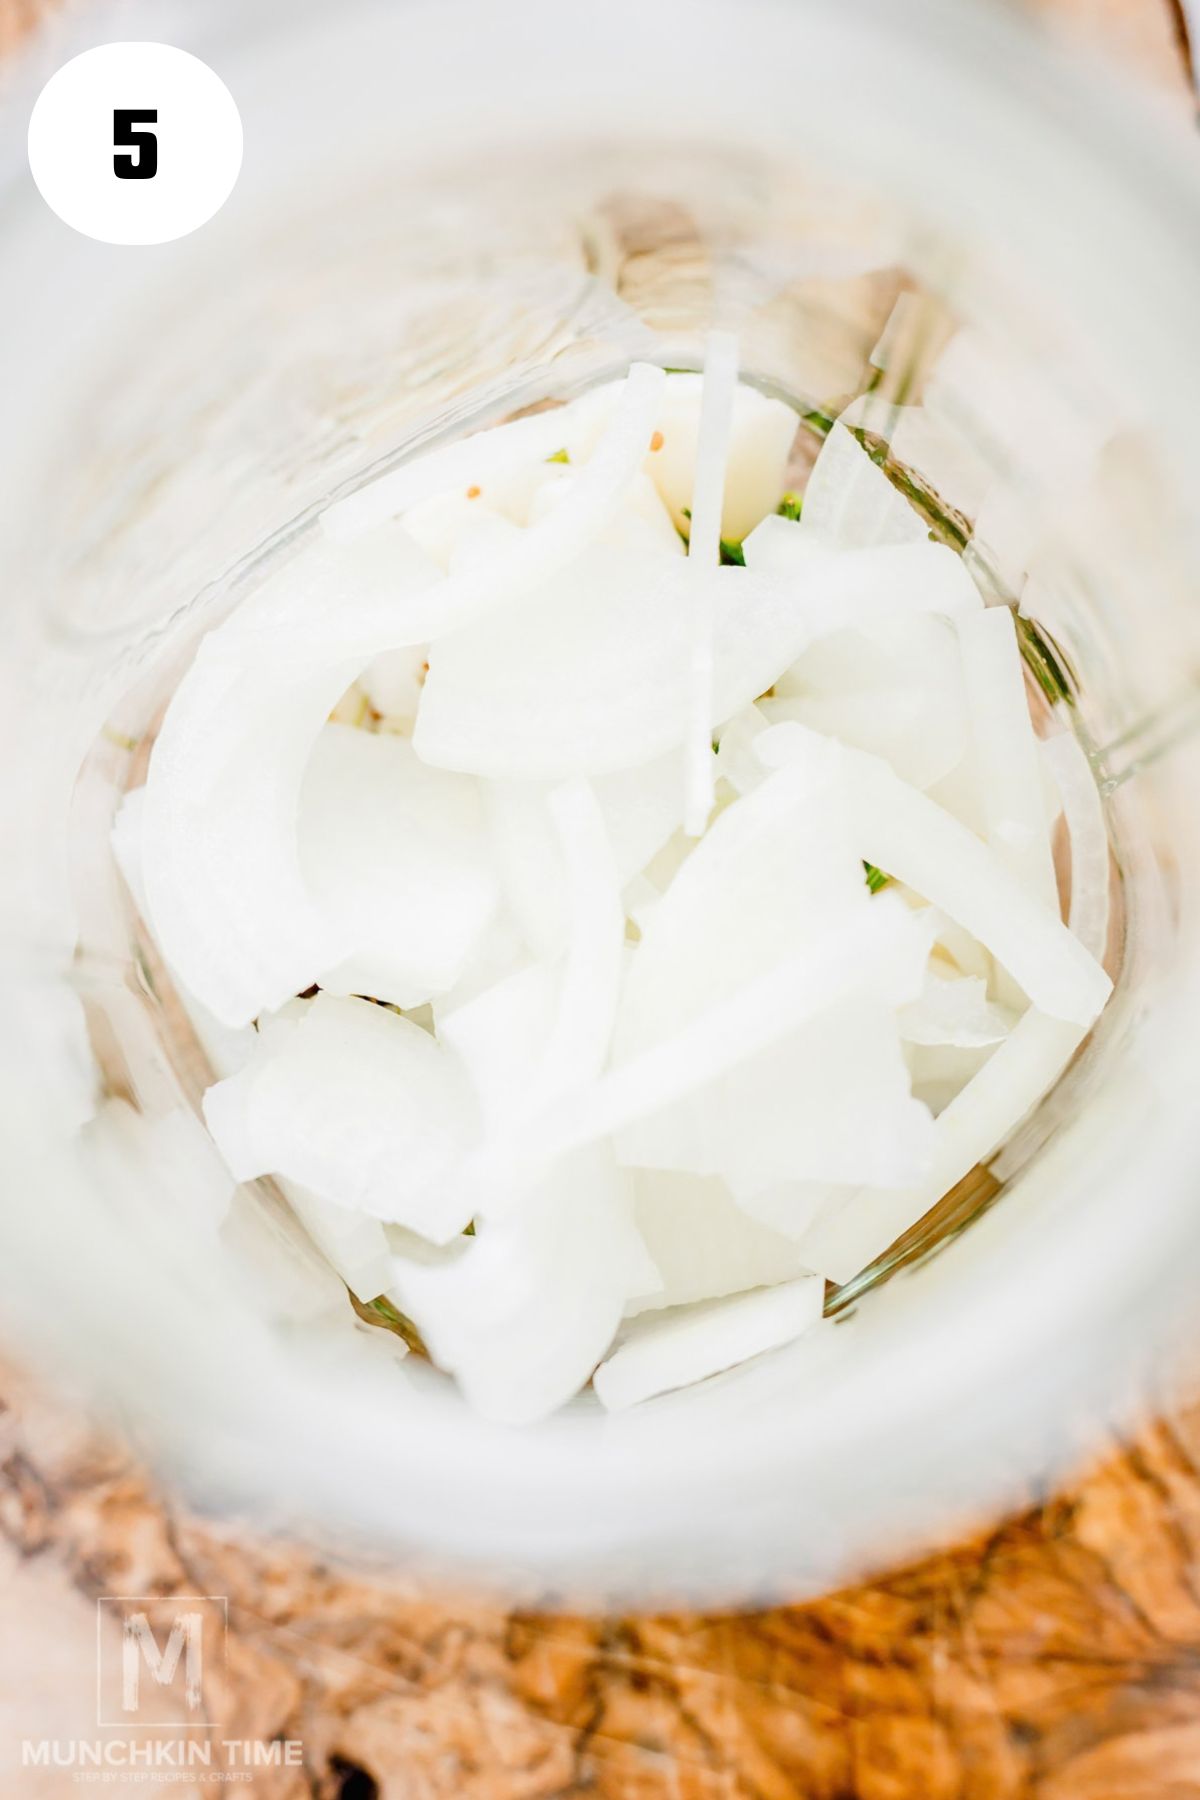
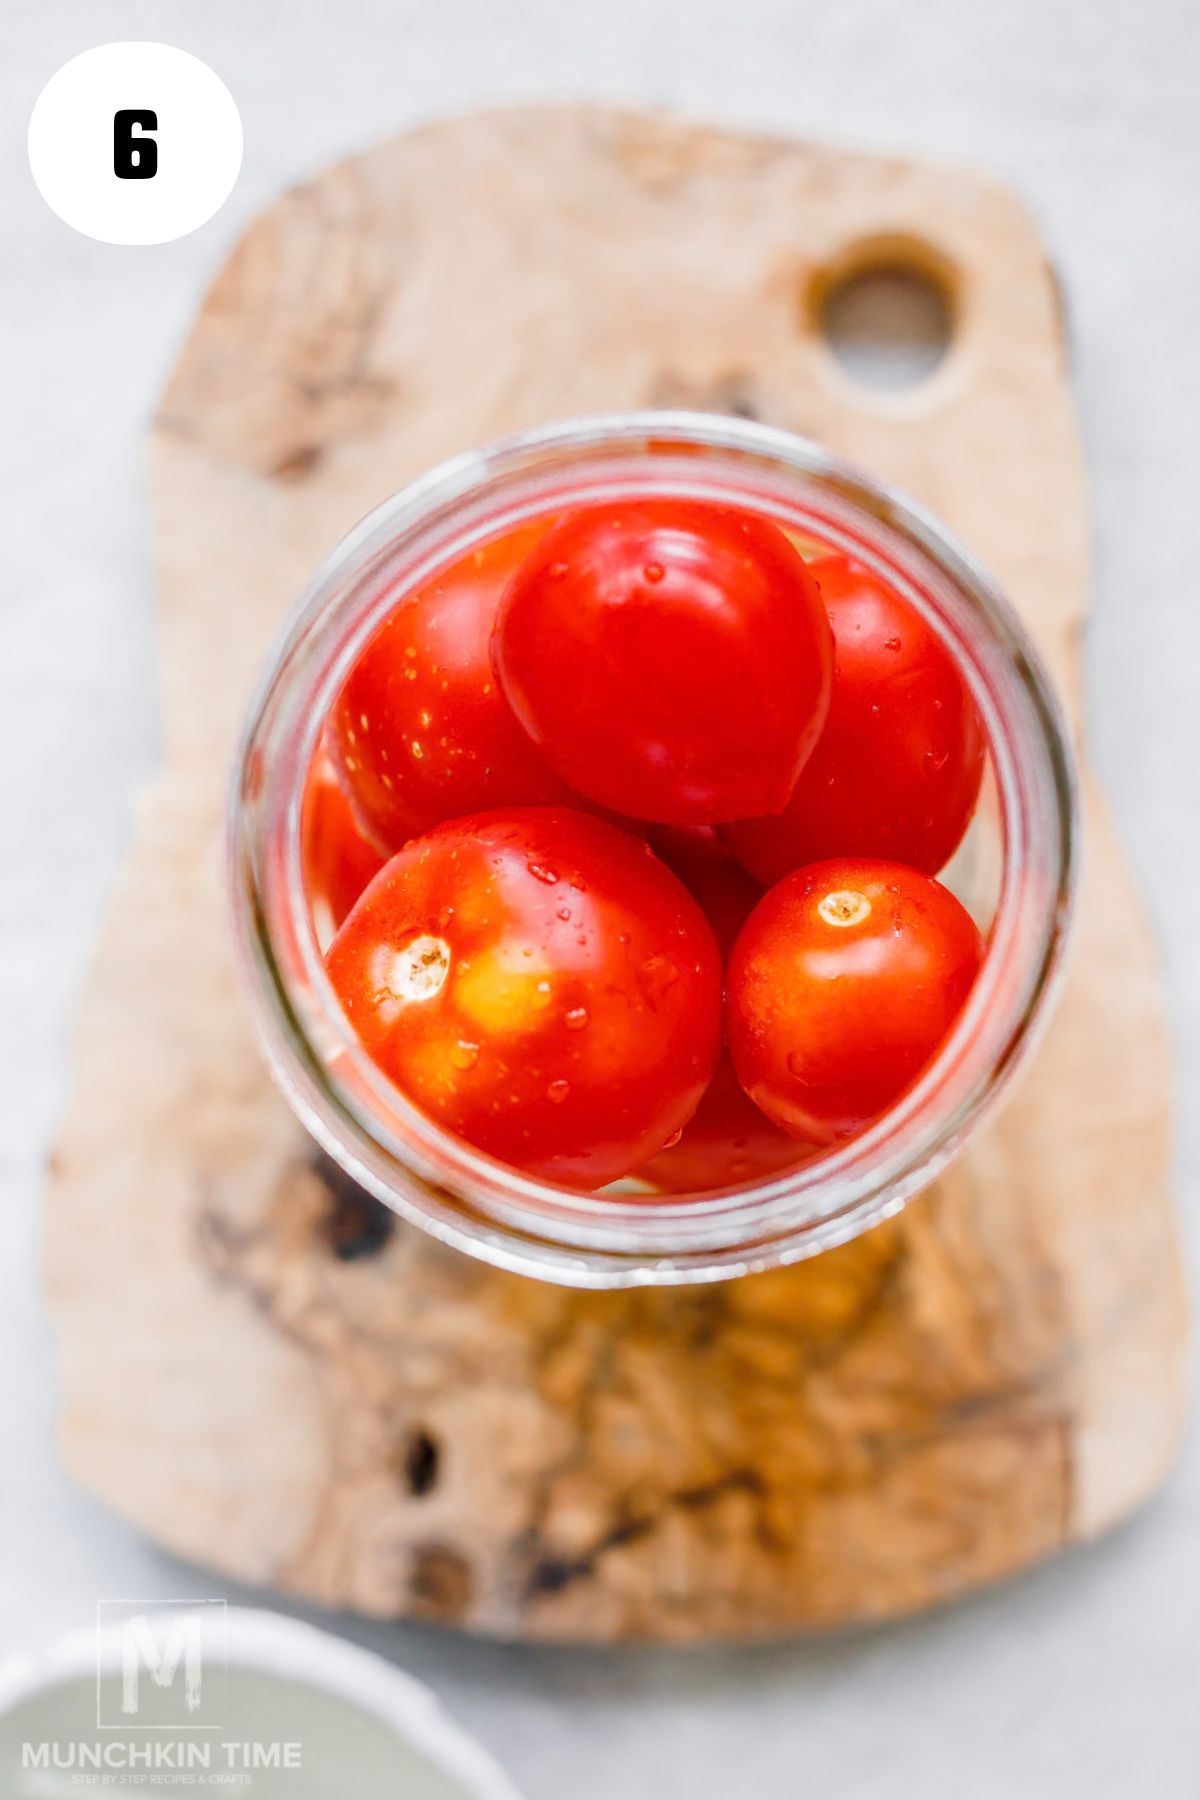
Divide the sliced onion among all four jars.
Next, gently add your Roma tomatoes.
Don't smash them down. Just arrange them snugly enough to fit comfortably in the jar.
Depending on the size of your tomatoes, you may be able to fit approximately 4–5 tomatoes per jar.
Step 6: Add the Hot Water
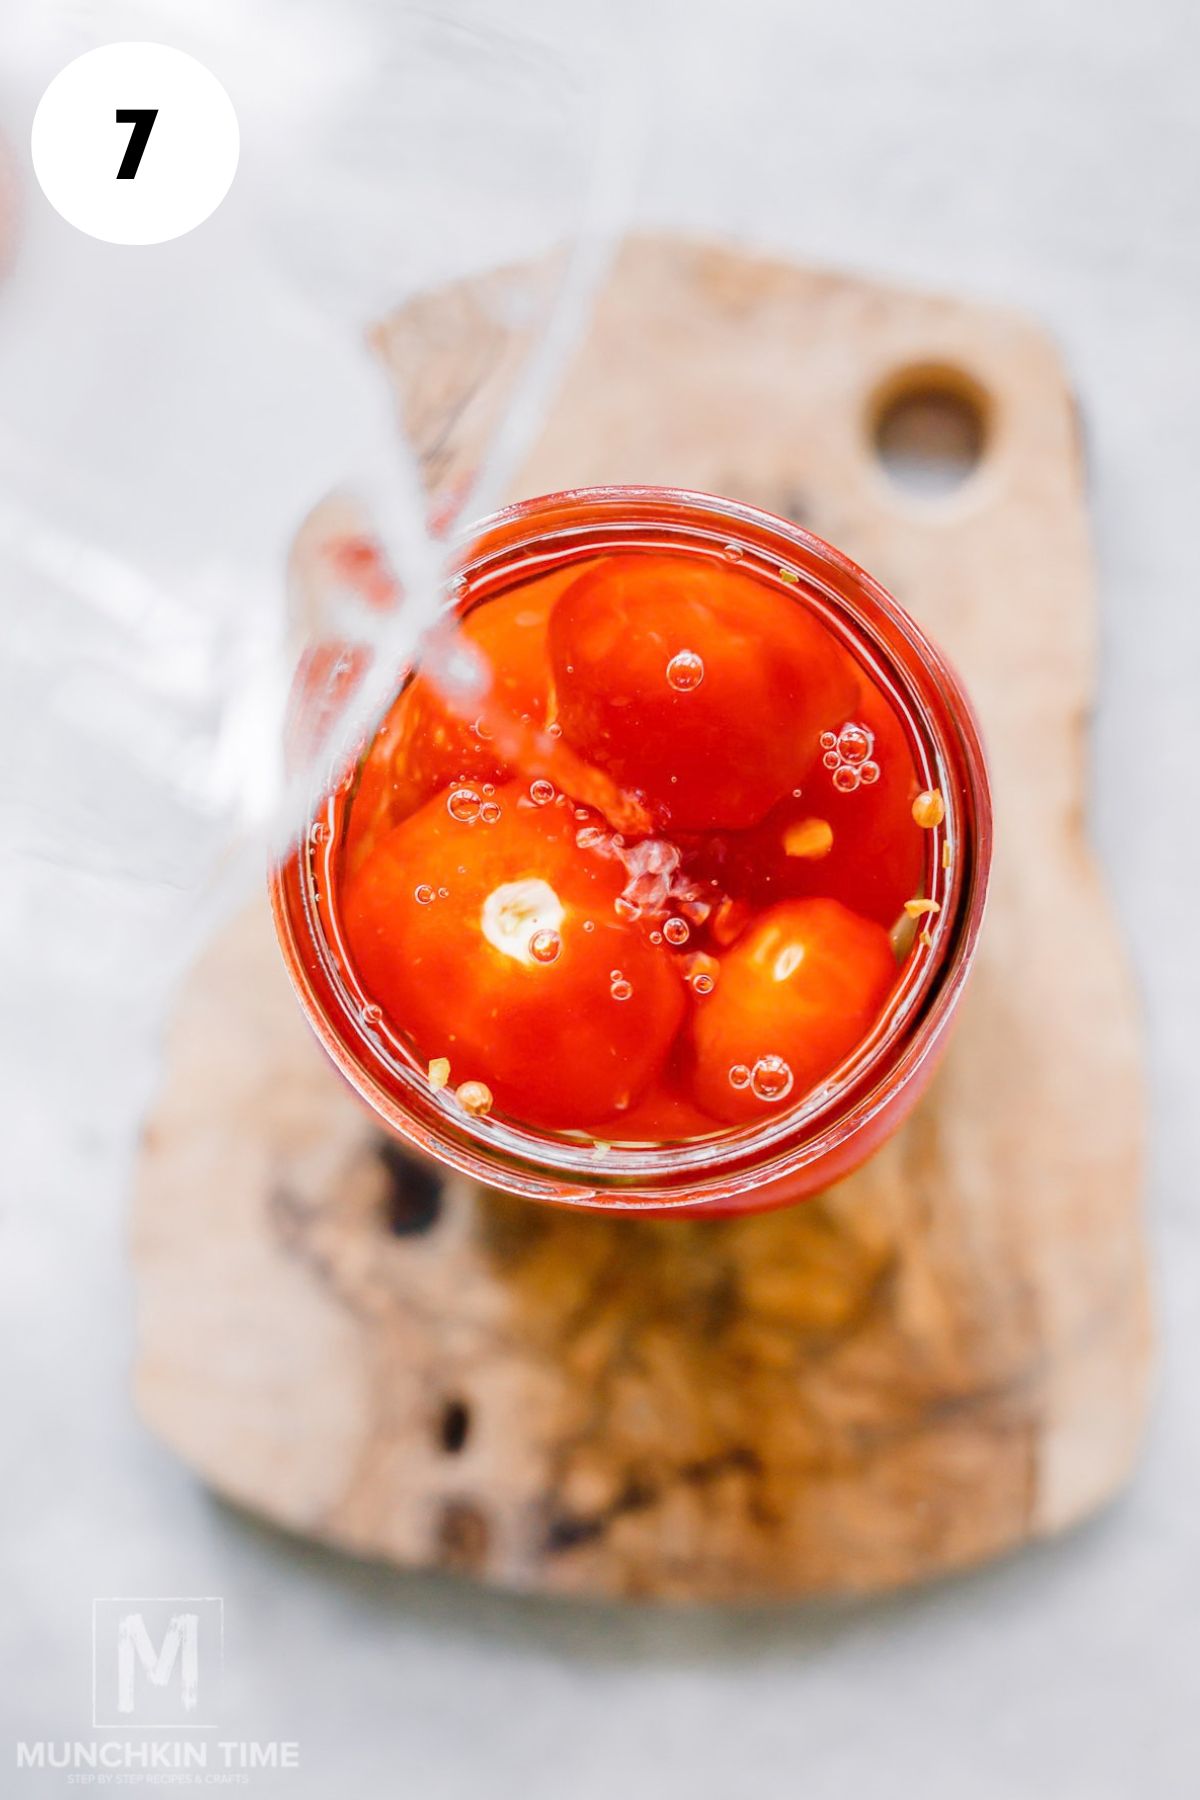
Carefully pour plain boiling water over the tomatoes.
Let the jars sit for about 15 minutes.
This warms the tomatoes and jars before the hot brine is added.
Step 7: Make the Pickling Brine
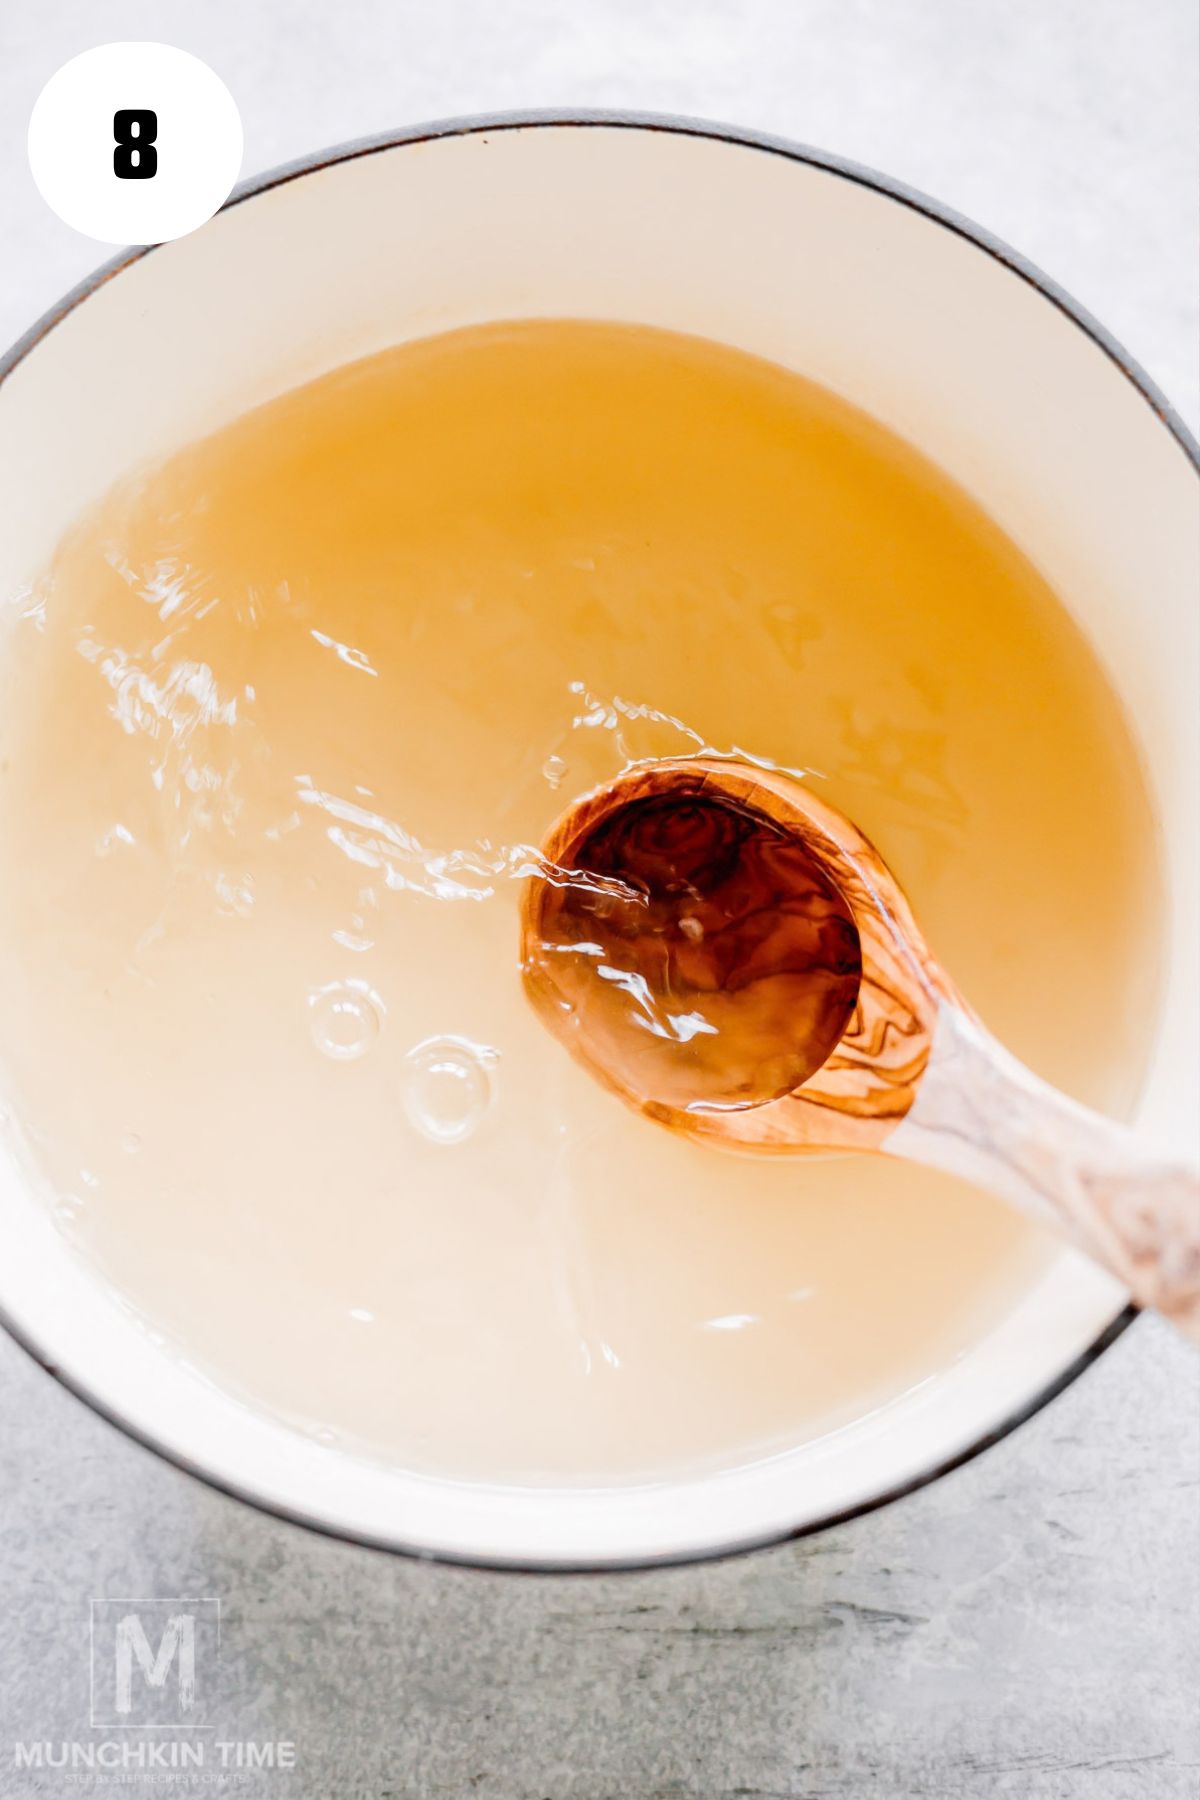
While the tomatoes are sitting, make the brine.
Add the vinegar, water, pickling salt, and cane sugar to a large pot.
Bring the mixture to a boil, stirring until the salt and sugar dissolve.
Step 8: Drain the Jars
After 15 minutes, carefully pour the plain water out of each jar.
Here's my little trick: hold a small strainer over the opening while you pour. It catches any dill, garlic, onion, or pickling spices that try to escape!
If anything falls into the strainer, simply put it back into the jar.
Step 9: Add the Hot Brine
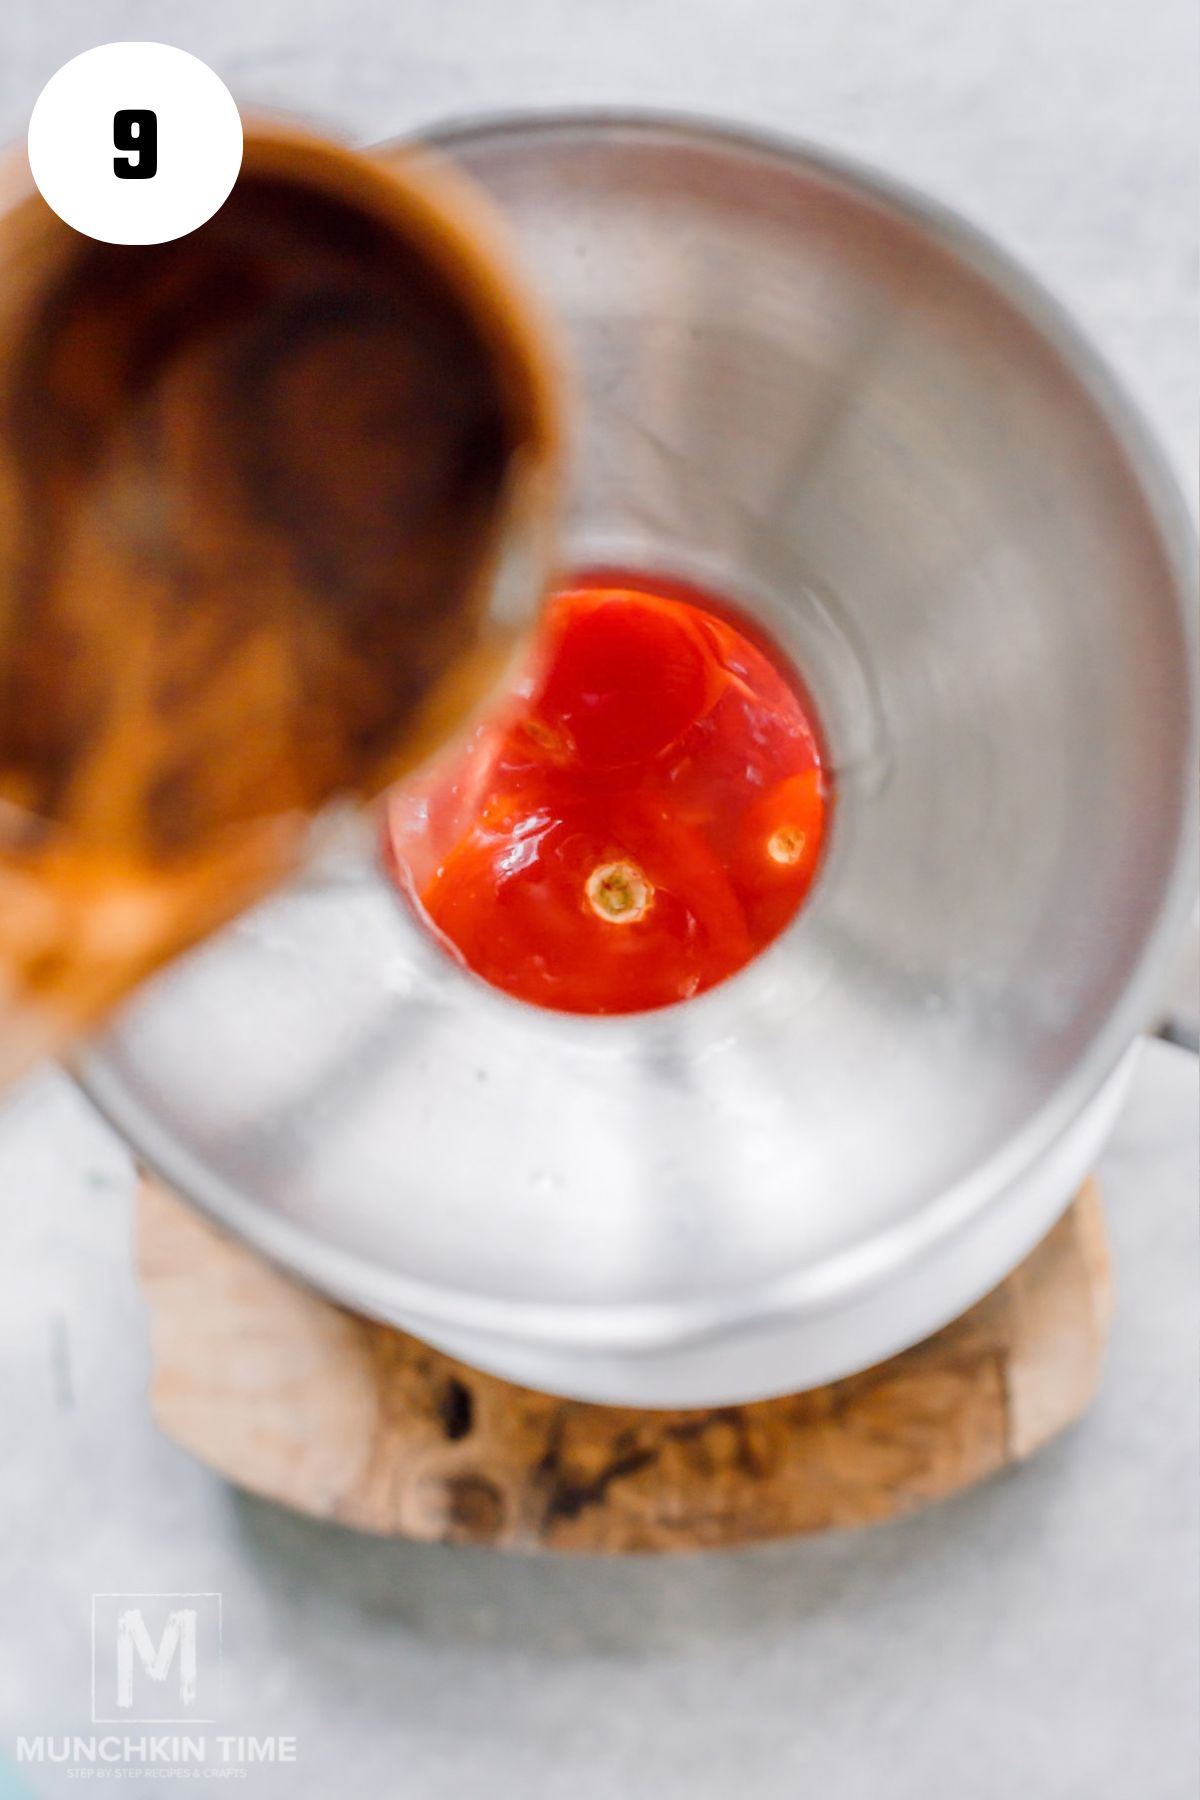
Carefully pour the hot pickling brine over the tomatoes.
Make sure the tomatoes are covered with brine.
Then, use a chopstick or bubble remover around the inside of each jar to help release trapped air bubbles.
You can also gently tap the jars to encourage any remaining bubbles to rise.
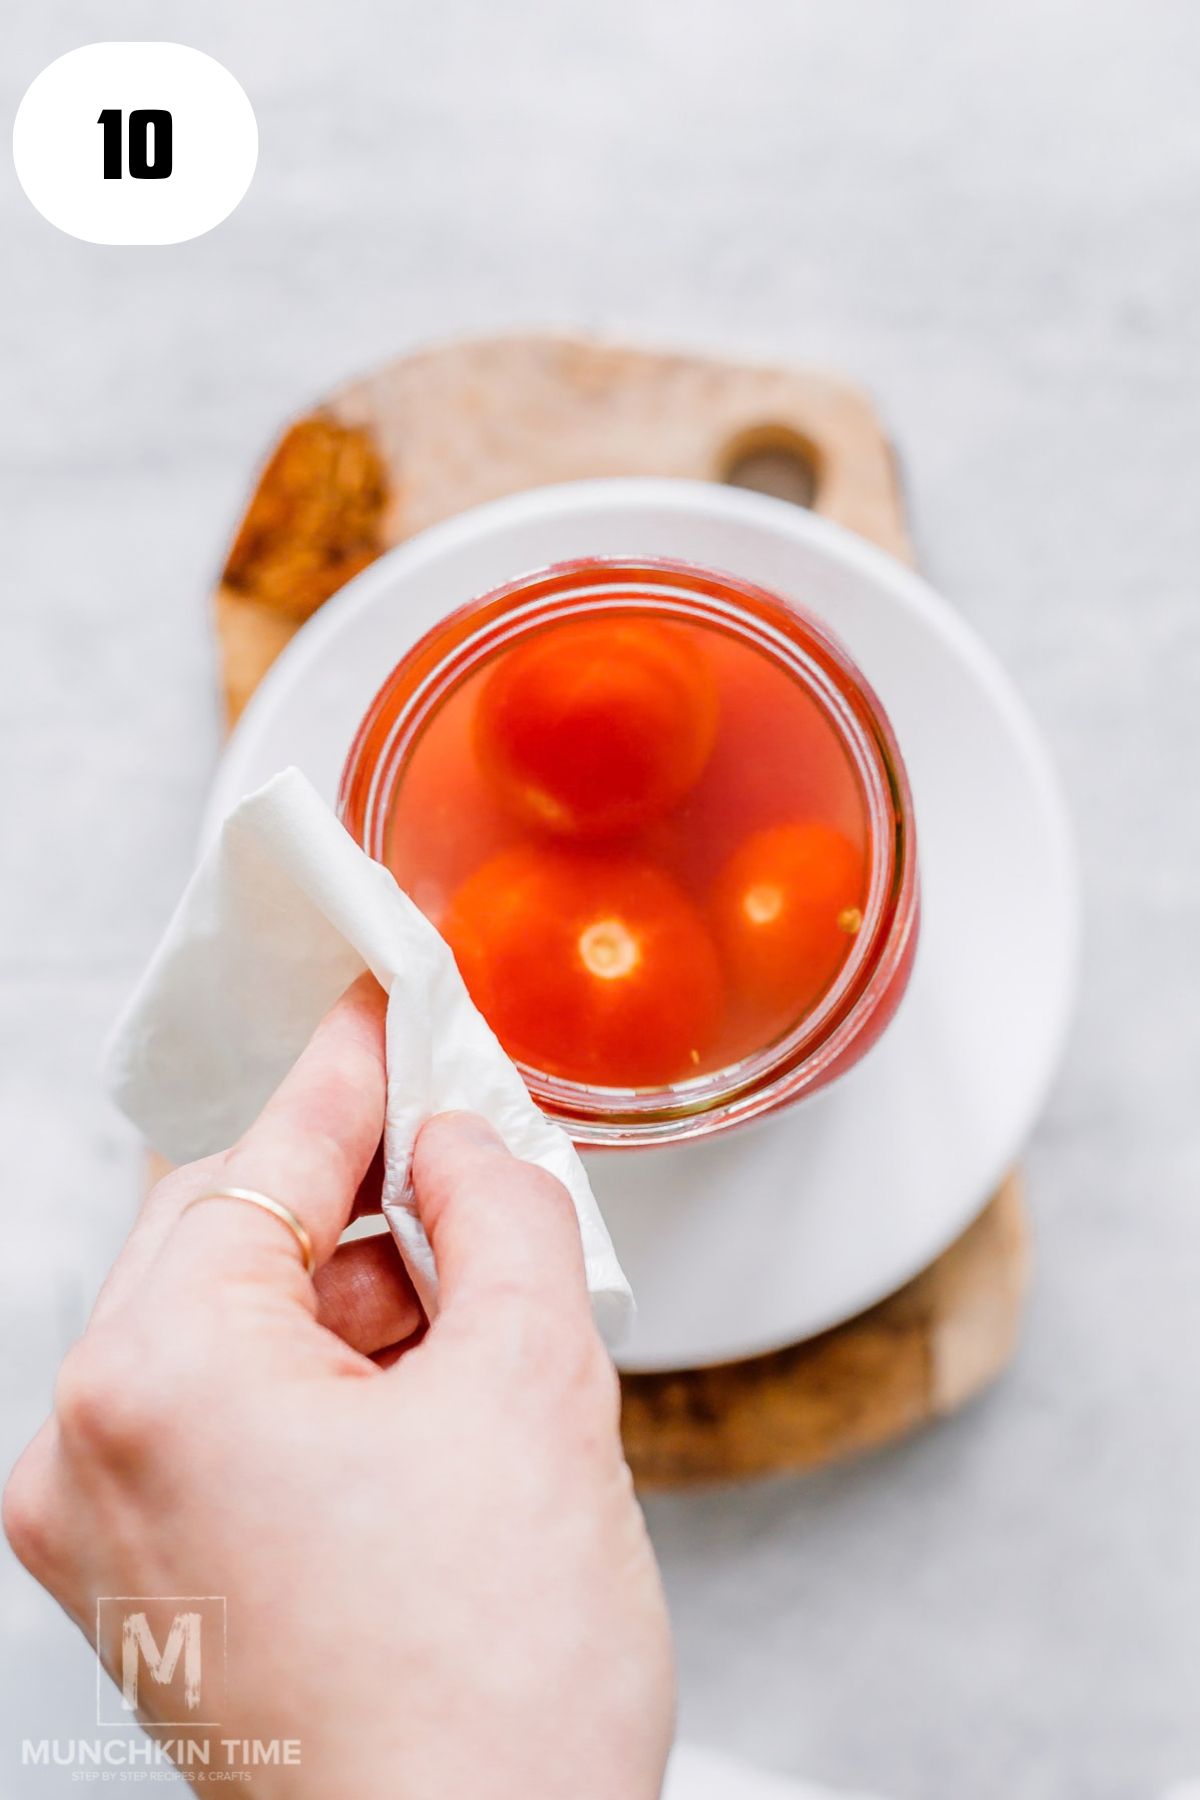
Wipe the jar rims clean and apply the lids according to the manufacturer's instructions.
Step 10: Water-Bath and Cool the Jars
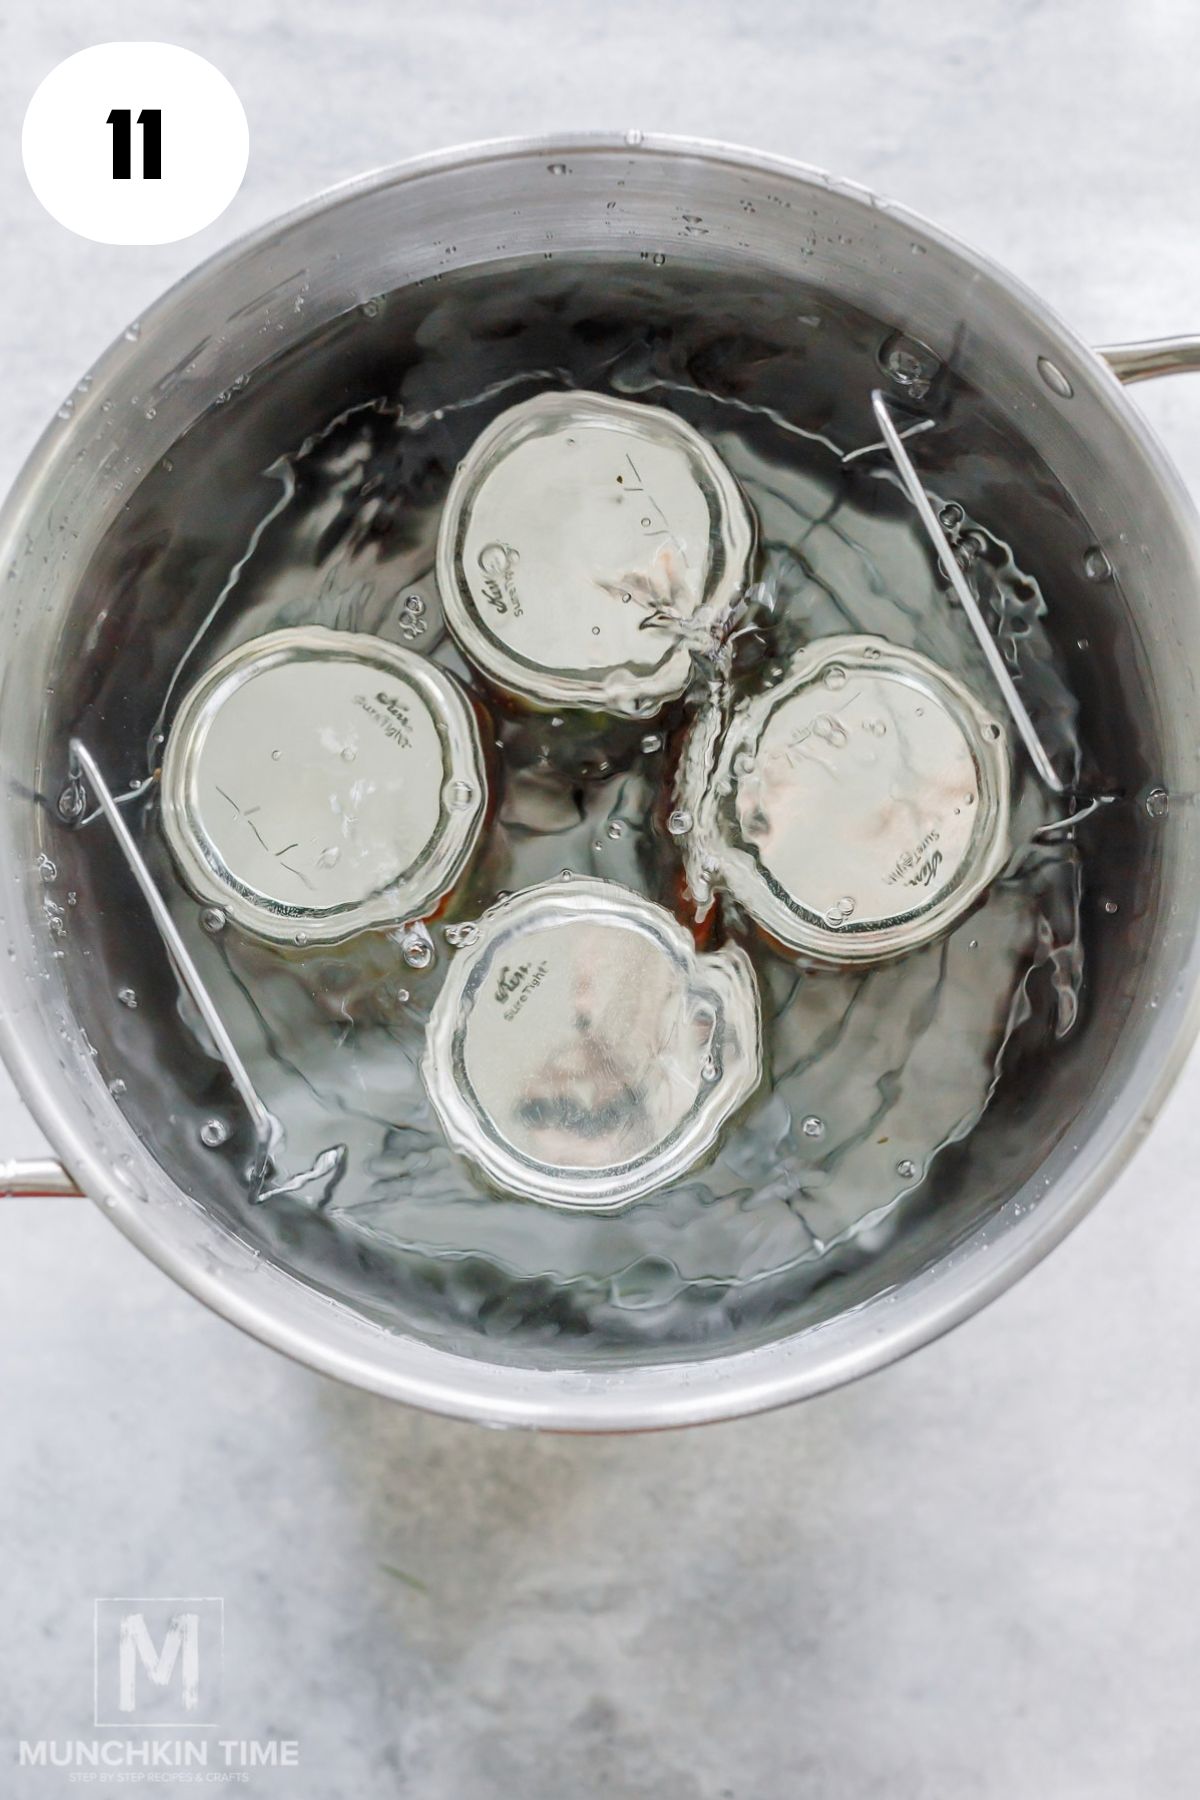
Place the jars upright in the water bath, making sure they're covered with at least 1 inch of water. Bring to a full boil. In my family's traditional method, I process the jars for 15–20 minutes, depending on elevation.
Carefully remove the hot jars with a jar lifter and place them upright on a towel-lined surface. Traditionally, my family covers the jars with a blanket and leaves them undisturbed for 24 hours to cool.
Important: This is my personal family method, not a research-tested processing time for shelf-stable canned tomatoes.
My Best Tips for Pickled Tomatoes
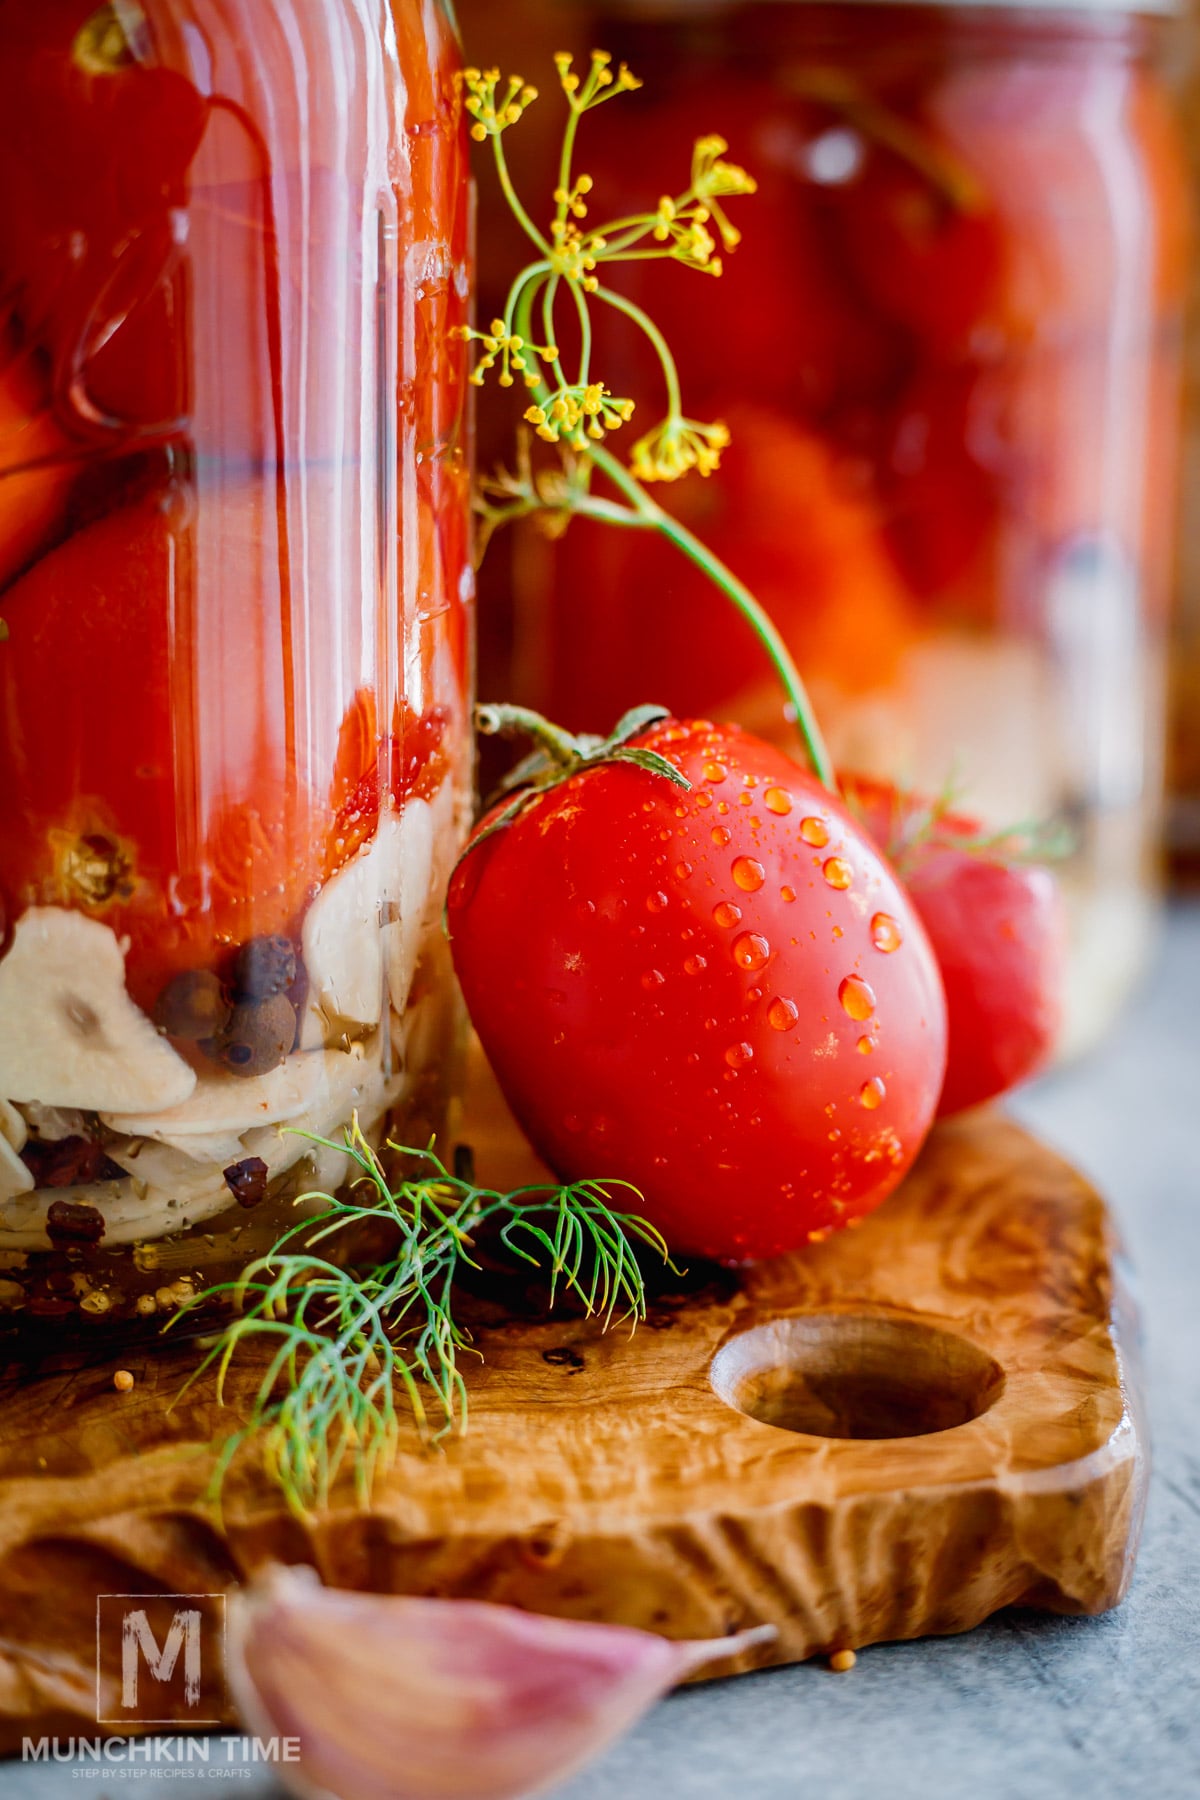
A few simple tips I've learned over the years that make these pickled tomatoes turn out delicious every time:
- Choose firm tomatoes. Use ripe tomatoes that still feel nice and firm. Roma tomatoes are my favorite because they're meaty and hold up well to pickling.
- Don't skip the fresh dill. Use both the dill florets and stalks—they're packed with that classic pickled flavor! If you can't find pickling dill at the store ask your local farmers.
- Use pickling salt. Pickling or canning salt dissolves easily and helps keep the brine nice and clear.
- Keep everything clean. Start with clean jars, utensils, tomatoes, dill, garlic, and onion. I also like to give my counters a good wipe before getting started.
- Release the air bubbles. After adding the brine, gently run a clean, chopstick or utensil around the inside of each jar to release any trapped bubbles.
- Give them time. This is the hardest part! I like to wait about 1 week before opening a jar so the tomatoes have plenty of time to soak up all that garlicky, dilly goodness.
And if you're in the mood to keep pickling, try my Quick Pickled Red Onions next. They're one of those little things I LOVE keeping in the fridge for tacos, sandwiches, salads, and more!
What to Serve With Pickled Tomatoes
Honestly, I can eat these pickled tomatoes straight from the jar! Their tangy, garlicky dill flavor also pairs perfectly with:
- Grilled Chicken Thighs – juicy, smoky, and perfect for summer.
- Grilled Ribeye Steak – the tangy tomatoes balance the rich steak beautifully.
- Oven-Baked Chicken Thighs – an easy weeknight dinner pairing.
- Honey Garlic Chicken Thighs – sweet, savory, and delicious with something tangy.
- Grilled Mexican Street Corn – perfect for a summer cookout.
- Instant Pot Mashed Potatoes – creamy potatoes + tangy tomatoes = SO good!
- Creamy Baby Potatoes – a cozy, creamy side that pairs beautifully with pickled tomatoes.
They're also delicious with sandwiches, burgers, no-knead bread, cheese, olives, or added to a snack board.
Frequently Asked Questions
I really recommend fresh garlic here. The garlic sits right in the brine with the tomatoes, so fresh sliced cloves give you much better flavor.
It depends on the size of your Roma tomatoes. With mine, I can usually fit about 4–5 Roma tomatoes per jar.
This is how I prepare mine. It gives that delicious brine a place to start working its way into the tomato.
I make a small hole where the tomato was attached to the stem using a clean chopstick or skewer.
You don't need to pierce the entire tomato. Just make a small opening.
For this particular recipe, I prefer small Roma tomatoes because they're firm and meaty.
If you're looking for something to make with cherry tomatoes, try my Cherry Tomato Salad with Chimichurri. It's one of those ridiculously easy summer sides that comes together in minutes.
For this recipe, I prefer pickling or canning salt.
It dissolves easily and is specifically made for pickling and preserving.
Different salts can have different crystal sizes, which means measuring them tablespoon-for-tablespoon doesn't always give you exactly the same amount of salt by weight.
Check the bottle and choose vinegar labeled 5% acidity.
I know it's tempting to open one immediately!
For the best flavor, I like giving the tomatoes time to marinate so they can soak up the garlic, dill, onion, pickling spices, and tangy brine.
I recommend waiting about 1 week before enjoying them if you can.
More Tomato Recipes
If you love tomatoes as much as I do, here are a few more delicious ways to enjoy them:
- Heirloom Tomato Bruschetta – juicy tomatoes, fresh basil, and crispy garlic-rubbed bread... SO good!
- Cucumber Tomato Salad – light, crunchy, and one of my favorite easy summer sides.
- Tomato Salad with Cheese – creamy, garlicky, and ready in just 5 minutes.
- Homemade Tomato Salsa – an easy 4-ingredient salsa that's perfect with chips or tacos.
- Cold Tomato Soup (Gazpacho) – cool, refreshing, and perfect when you have lots of ripe tomatoes.
- Creamy Tomato Bisque – rich, cozy, and one of the most delicious ways to turn tomatoes into dinner.
If You Make These Pickled Tomatoes...
I would LOVE to hear how they turned out! ❤️
Please leave a review below—your feedback means so much to me and helps other readers too.
And if you make a batch, snap a picture of those beautiful jars and tag me @munchkintimeblog on Instagram. I absolutely love seeing what you're making in your kitchen!
You can also follow Munchkin Time on Pinterest, Facebook, TikTok, and YouTube for more easy, delicious recipes.
Happy pickling! ❤️
📖 Recipe
Easy Pickled Tomatoes with Garlic and Dill
Ingredients
- 4 lb roma tomatoes washed
- 3 springs pickling dill washed
- 8 cloves garlic peeled and sliced
- 1 medium onion peeled and sliced
- 4 teaspoons pickling spice 1 teaspoon per jar
For Pickling Brine
- 1 cup vinegar 5%
- 2 liters water about 8 ½ cups
- 5 tablespoons pickling salt or sea salt
- 3 tablespoons sugar
Instructions
Prepare the Tomatoes and Jars
- Prep the tomatoes. Wash the Roma tomatoes well. Using a clean chopstick or skewer, gently poke a small hole where the stem was attached. This can help the tomatoes absorb the brine and may help reduce splitting.
- Prep the dill. Rinse the pickling dill well. Cut the dill florets and stalks into smaller pieces so they're easy to divide between the jars.
- Prepare the jars. Wash the jars and lids thoroughly. To sterilize the jars, place the jars upright in a large pot and cover them with water by at least 1 inch. Bring to a boil and boil for 10 minutes, adjusting for elevation as needed. Keep the jars hot until you're ready to fill them. Prepare the lids according to the manufacturer's directions.
Fill the Jars
- Add the seasonings. Divide the dill florets and stalks among the jars. Add the sliced garlic and 1 teaspoon pickling spice to each jar.
- Add the onion and tomatoes. Divide the sliced onion among the jars, then gently pack in the tomatoes. I was able to fit about 4–5 Roma tomatoes per 32-ounce jar, depending on their size.
- Add boiling water. Carefully pour plain boiling water over the tomatoes. Let the jars stand for 15 minutes.
Make the Pickling Brine
- Prepare the brine. Add the vinegar, water, pickling salt, and sugar to a large pot. Stir and bring the mixture to a boil.
- Drain the jars. After the tomatoes have rested for 15 minutes, carefully pour the plain water out of each jar. You can hold a small strainer over the opening to catch any dill, garlic, onion, or pickling spices that try to escape. Return anything you catch to the jar.
- Add the hot brine. Carefully pour the hot pickling brine into each jar, making sure the tomatoes are completely covered.
- Remove air bubbles. Slide a chopstick or plastic utensil around the inside of each jar to release trapped air bubbles. Gently tap the jars if needed.
- Wipe the rims: Using a clean, damp paper towel, wipe the rim of each jar to remove any brine or food residue.
- Close the jars. Center a clean lid on each jar, add the ring, and screw it on until snug.
Pickling Tomatoes
- Water-bath the jars: Place the filled jars upright in a water-bath canner with a rack and cover with at least 1 inch of water. Bring to a full boil and simmer on medium/low for 15–20 minutes. Carefully remove the jars with a jar lifter and place upright on a towel. Covers the jars with a blanket and leaves them undisturbed for 24 hours to cool.
- After transfer them to a cool dark place or refrigerator.
- For the best flavor, let the tomatoes marinate for at least one week before opening, the longer they sit, the more delicious that garlicky, dill pickle flavor becomes! Enjoy!
Notes
- Use firm Roma tomatoes. Choose ripe but firm tomatoes without bruises or soft spots. Firmer tomatoes will hold their shape better while pickling.
- Poke the tomatoes first. Use a clean chopstick or skewer to make a small hole where the stem was attached. This helps the brine get inside the tomato and may help reduce splitting.
- Use pickling salt. Pickling or canning salt dissolves easily and helps keep the brine nice and clear.
- Use 5% acidity vinegar. Check the vinegar label before using it. I like distilled white vinegar for a classic clean and tangy pickle flavor.
- Don't skip the garlic and dill! This is where so much of that delicious classic pickle flavor comes from.
- Remove the air bubbles. After adding the brine, gently slide a nonmetallic utensil around the inside of the jar to release trapped air.
- Let the flavor develop. Wait at least one week to open the tomatoes, it gives them time to soak up all that delicious garlic, dill, onion, and pickling spice flavor before serving.
- Tag me! When you make these Pickled Tomatoes, tag me @munchkintimeblog on Instagram. I would LOVE to see your beautiful jars!
- A little note from my kitchen: This is how I make these pickled tomatoes for my family, using the method I grew up with. Every family has their own way of making pickled tomatoes, and this is the version we know and love! I’m sharing my personal recipe and experience, not professional canning or food-safety advice.
Nutrition
Thank YOU for YOUR Comment, Share & Recipe Review!

Leave a Reply